
How to Join Knitting in the Round Neatly (Extra Stitch + K2tog Method)
Have you wondered how to join knitting in the round? Ever needed to join knitting in the round and ended up with a loose gap, twisted stitches, or an awkward jog at the start, you’re not alone. Join knitting in the round is one of those skills that feels simple in theory but frustrating in practice.
This method uses one extra cast-on stitch and a knit two together to create a clean, gap-free join. It works whether you’re using two circular needles or double-pointed needles, and once you’ve done it a few times, it becomes second nature.
If neat joins matter to you (and they usually do), this approach is worth learning.
Watch the Tutorial First
This post walks through the same steps you see in the video, so you can follow along at your own pace.
Why Most Joins in the Round Look Messy
The gap at the beginning of a round usually happens because:
- The first and last stitches don’t sit snugly together
- There isn’t enough tension when the round is joined
- The join relies only on pulling the yarn tight later
Instead of trying to fix the gap after it appears, this method prevents it from forming in the first place.
Step 1: Cast On One Extra Stitch
Start by casting on one more stitch than your pattern calls for.
For example:
- Pattern calls for 100 stitches → cast on 101
- Pattern calls for 15 stitches → cast on 16
That extra stitch is temporary. Its only job is to help create a smoother join.
Step 2: Divide Your Stitches
Once all stitches are cast on:
- Divide them evenly across two circular needles
(or across double-pointed needles if you prefer)
You should now have:
- Half the stitches on one needle
- Half on the other
This setup makes it easy to bring the first and last stitches together cleanly.
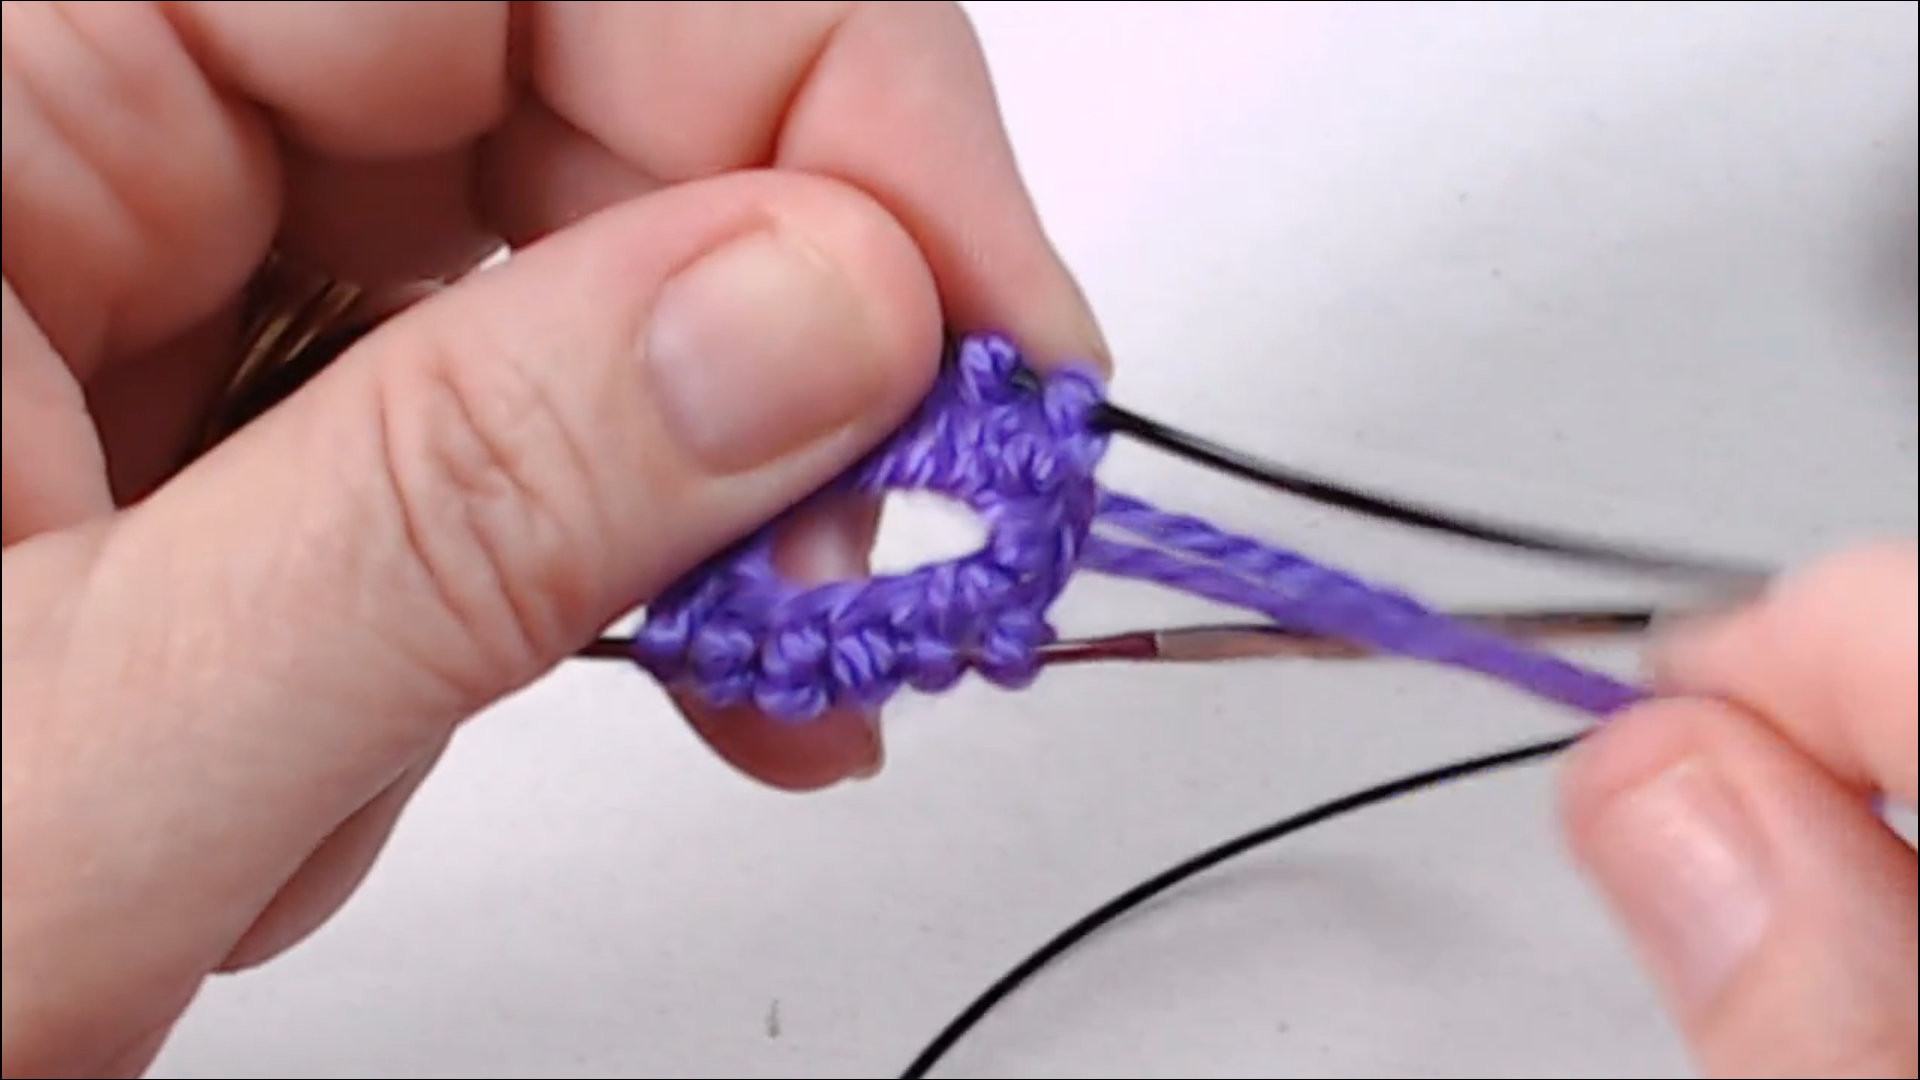
Step 3: Bring the First and Last Stitches Together
Turn your needles so:
- The first stitch you cast on
- And the last stitch you cast on
are sitting next to each other.
You’ll notice the working yarn is coming from the last stitch. That’s exactly where it should be.
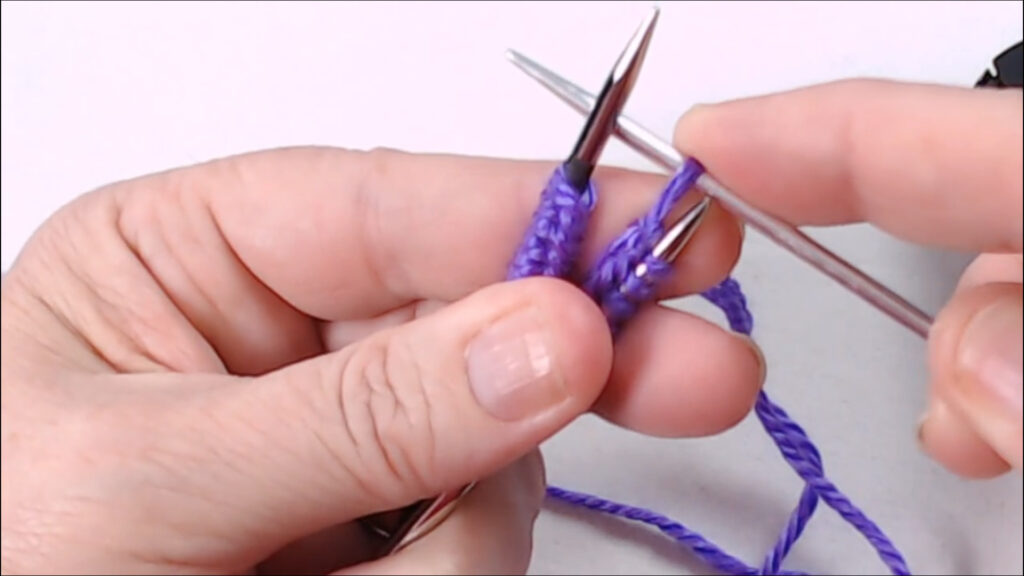
Step 4: Knit the First and Last Stitch Together
This is the key step.
- Slip the last stitch over to the needle holding the first stitch
- Hold the yarn with a bit of tension so nothing loosens
- Knit those two stitches together (K2tog)
You’ve now learned how to join knitting in the round and removed the extra stitch in one clean motion.
This creates a snug connection right from the start.
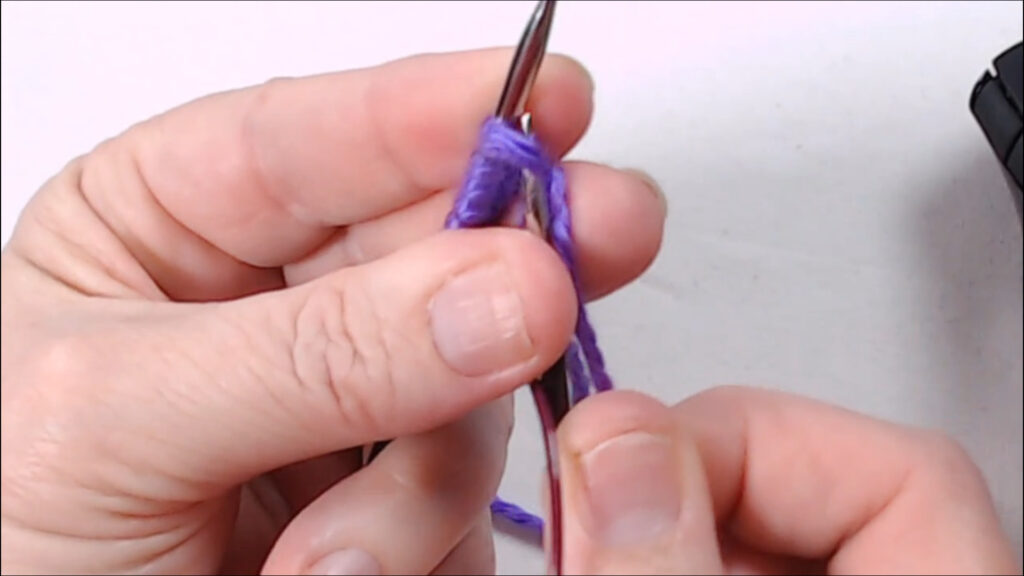
Step 5: Knit the First Stitch Extra Tight
As you begin knitting in the round:
- Knit the next stitch normally
- Then pull the yarn slightly tighter than usual
This extra tension helps the join settle neatly and prevents any slack from showing later.
It may feel a little tight at first. That’s normal.
What the Join Knitting in the Round Should Look Like

After knitting one full round:
- The join will look smooth and continuous
- Any slight looseness usually disappears after the next round
- The beginning of the round blends naturally into the fabric
If you gently tug the yarn tail out of the way, you should be able to see how clean the join is.
Does This Work with Double-Pointed Needles?
Yes.
You can use this exact method with:
- Two circular needles
- Three or four double-pointed needles
The steps are the same:
- Cast on one extra stitch
- Bring first and last stitches together
- Knit them together to join
Common Questions
What if the first stitch feels very tight?
That’s normal, especially on the first round. You may need to “stab” the stitch a couple of times to get the needle through.
Will this mess up my stitch count?
No. The extra stitch disappears when you knit two together, leaving you with the correct number of stitches.
Do I still need a stitch marker?
Yes. Place a marker after the join so you always know where the round begins.
Final Thoughts
A neat join in the round makes everything that follows feel better. This extra stitch + knit two together method is simple, reliable, and works across different needle setups.
Once you’ve used it a few times, you may never go back to joining the round any other way.
Where to Go Next
If you’re learning to knit in the round, you may also find these helpful:
")


")