
How to Bind Off Your Knitting for Beginners | Step-by-Step Tutorial (Part 4)
You have learned how to cast on, knit, and purl. Now it is time for the final step: binding off. Binding off is how you get all your stitches off the needles in a way that keeps your finished edge from unraveling. Every knitting project ends with a bind off, so this is a technique you will use every single time you finish something.
This tutorial walks you through the basic knit bind off one stitch at a time, including how to finish off the last stitch and weave in your ends. There is a full video below so you can follow along.
This is Part 4 of the Knitting for Beginners series:
- Part 1: Long Tail Cast On
- Part 2: How to Knit Stitch
- Part 3: How to Purl Stitch
- Part 4: How to Bind Off (you are here)
What Does Bind Off Mean?
Binding off closes the last row of your knitting so the stitches cannot unravel once you take them off the needle. It is also called casting off. Either term means the same thing.
The basic bind off creates a neat chain-like edge across the top of your work. It works for most beginner projects and is the method most patterns assume you will use unless they specify otherwise.
What You Will Need
- Your knitting with stitches on the left needle
- Your working yarn
- Scissors
- A darning needle for weaving in ends
How to Bind Off Step by Step
Step 1: Knit Two Stitches
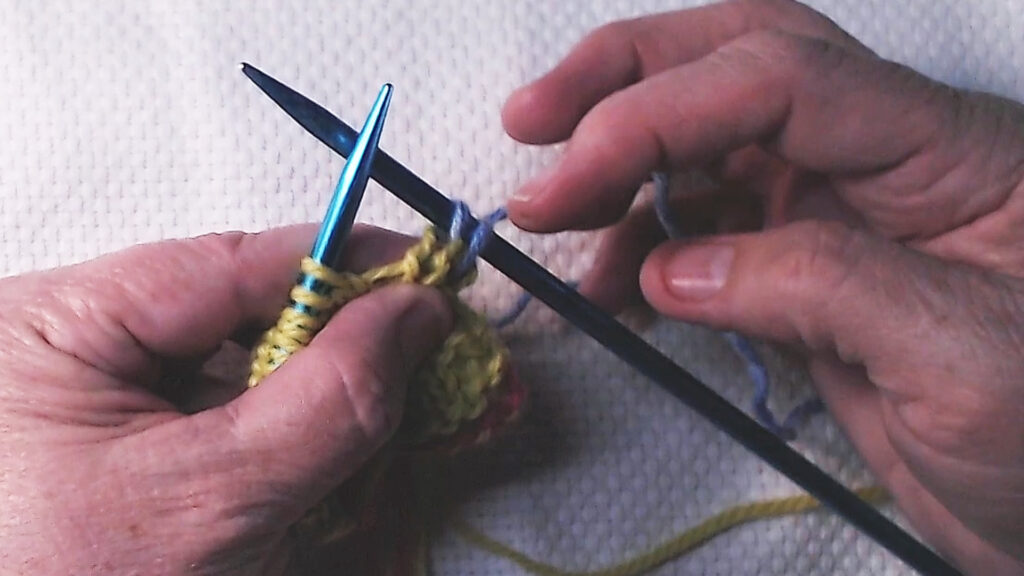
To start binding off you need two stitches on your right needle. Knit the first stitch from your left needle, then knit the second stitch. Now you have two stitches on your right needle and you are ready for the leapfrog move.
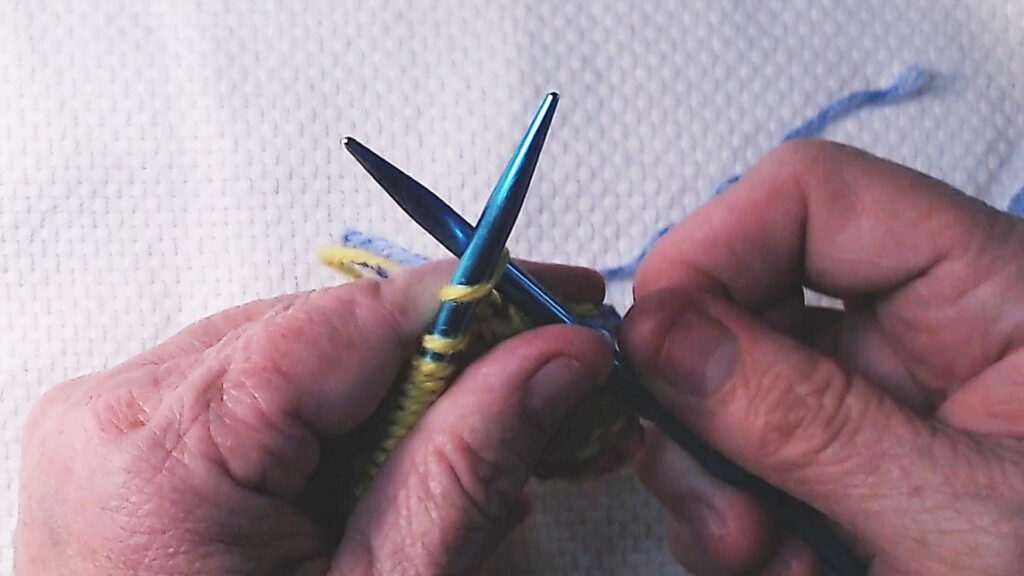
Step 2: Leapfrog the First Stitch Over the Second

Using the tip of your left needle, pick up the first stitch you knitted, the one sitting closest to the right end of your right needle. Lift it up and over the second stitch and off the tip of the needle. Let it drop.
You have just bound off one stitch. One stitch remains on your right needle.
Before you do the lift, put a little extra tension on the stitch you just finished knitting. That keeps the second stitch from accidentally slipping off at the same time. Pulling gently downward on the fabric with your left hand also creates a small gap that makes it easier to get your needle tip through cleanly.
Step 3: Knit One More and Repeat
Knit one more stitch from your left needle so you have two stitches on your right needle again. Leapfrog the first stitch up and over the second and off the needle.
Keep repeating. Knit one, leapfrog one, all the way to the end of the row.
Step 4: Finish Off the Last Stitch
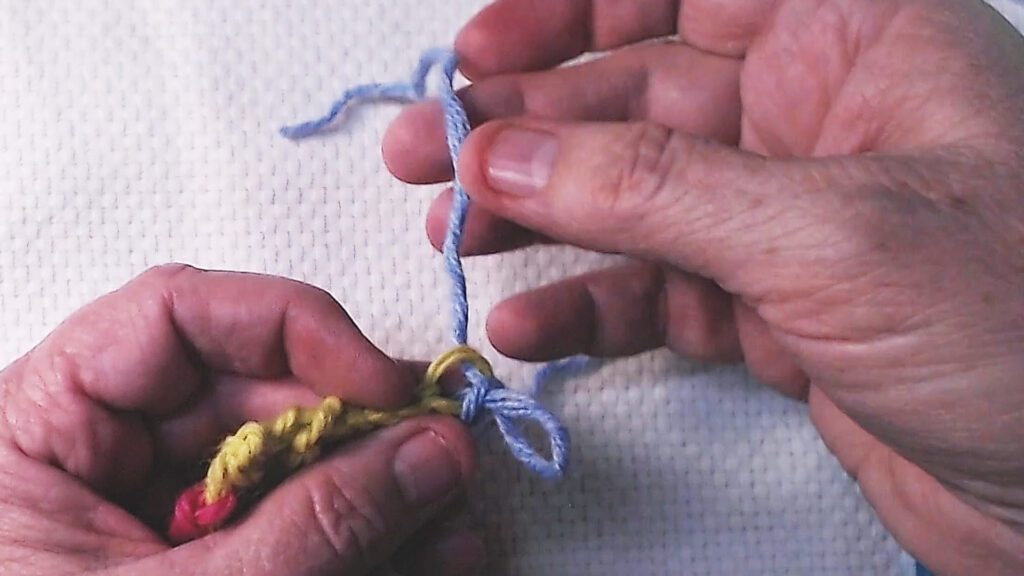
When you reach the end of the row you will have one stitch left and no more stitches to knit. Cut your yarn, leaving a tail of about six to eight inches so you have enough to weave in later. Do not cut close to your knitting.
Now you need to secure that last loop. There are two ways and both work fine. You can make the loop on your needle larger, reach through it, and pull the yarn tail through to lock it. Or you can simply keep pulling on the tail until the loop disappears and locks on its own. Either way closes the last stitch so your work cannot unravel.
Step 5: Weave In Your Ends
Thread each yarn tail onto a darning needle and weave it into the purl bumps on the back side of your work so it is hidden from the front.
Weave in one direction for a few stitches, then turn the piece and weave back the other way. Going both directions locks the tail in place so it will not work loose over time.
Binding Off in Pattern
The basic bind off uses knit stitches all the way across. But you can also bind off while continuing whatever stitch pattern you have been working.
If your pattern says “bind off in pattern,” it means to knit and purl in your established sequence while working the leapfrog motion. So if you have been working knit one, purl one ribbing, you would knit one stitch, purl the next, then leapfrog the first stitch over the second, and continue across that way. The finished edge will match the fabric below it instead of looking like a row of knit stitches across the top.
What the Finished Edge Should Look Like
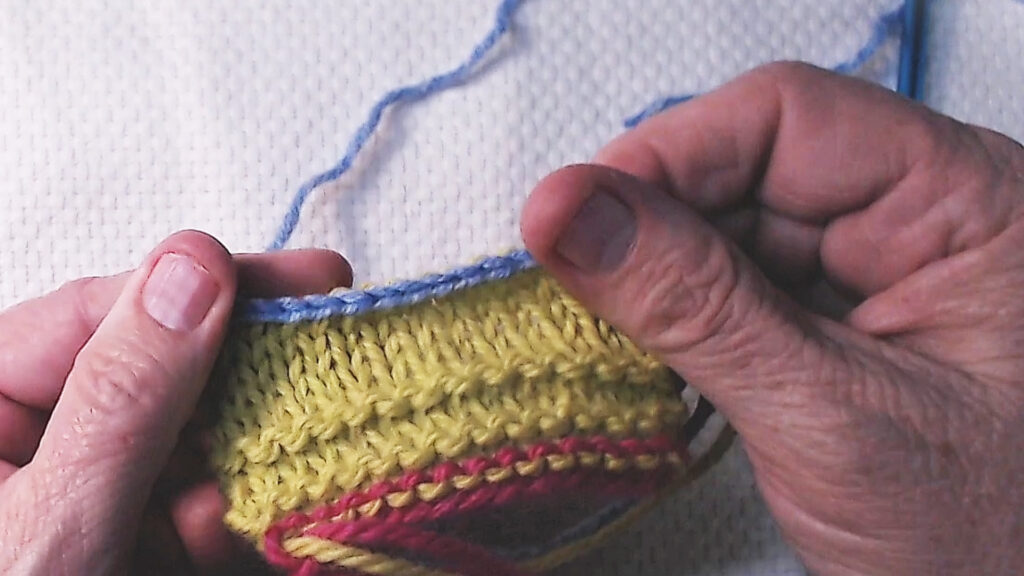
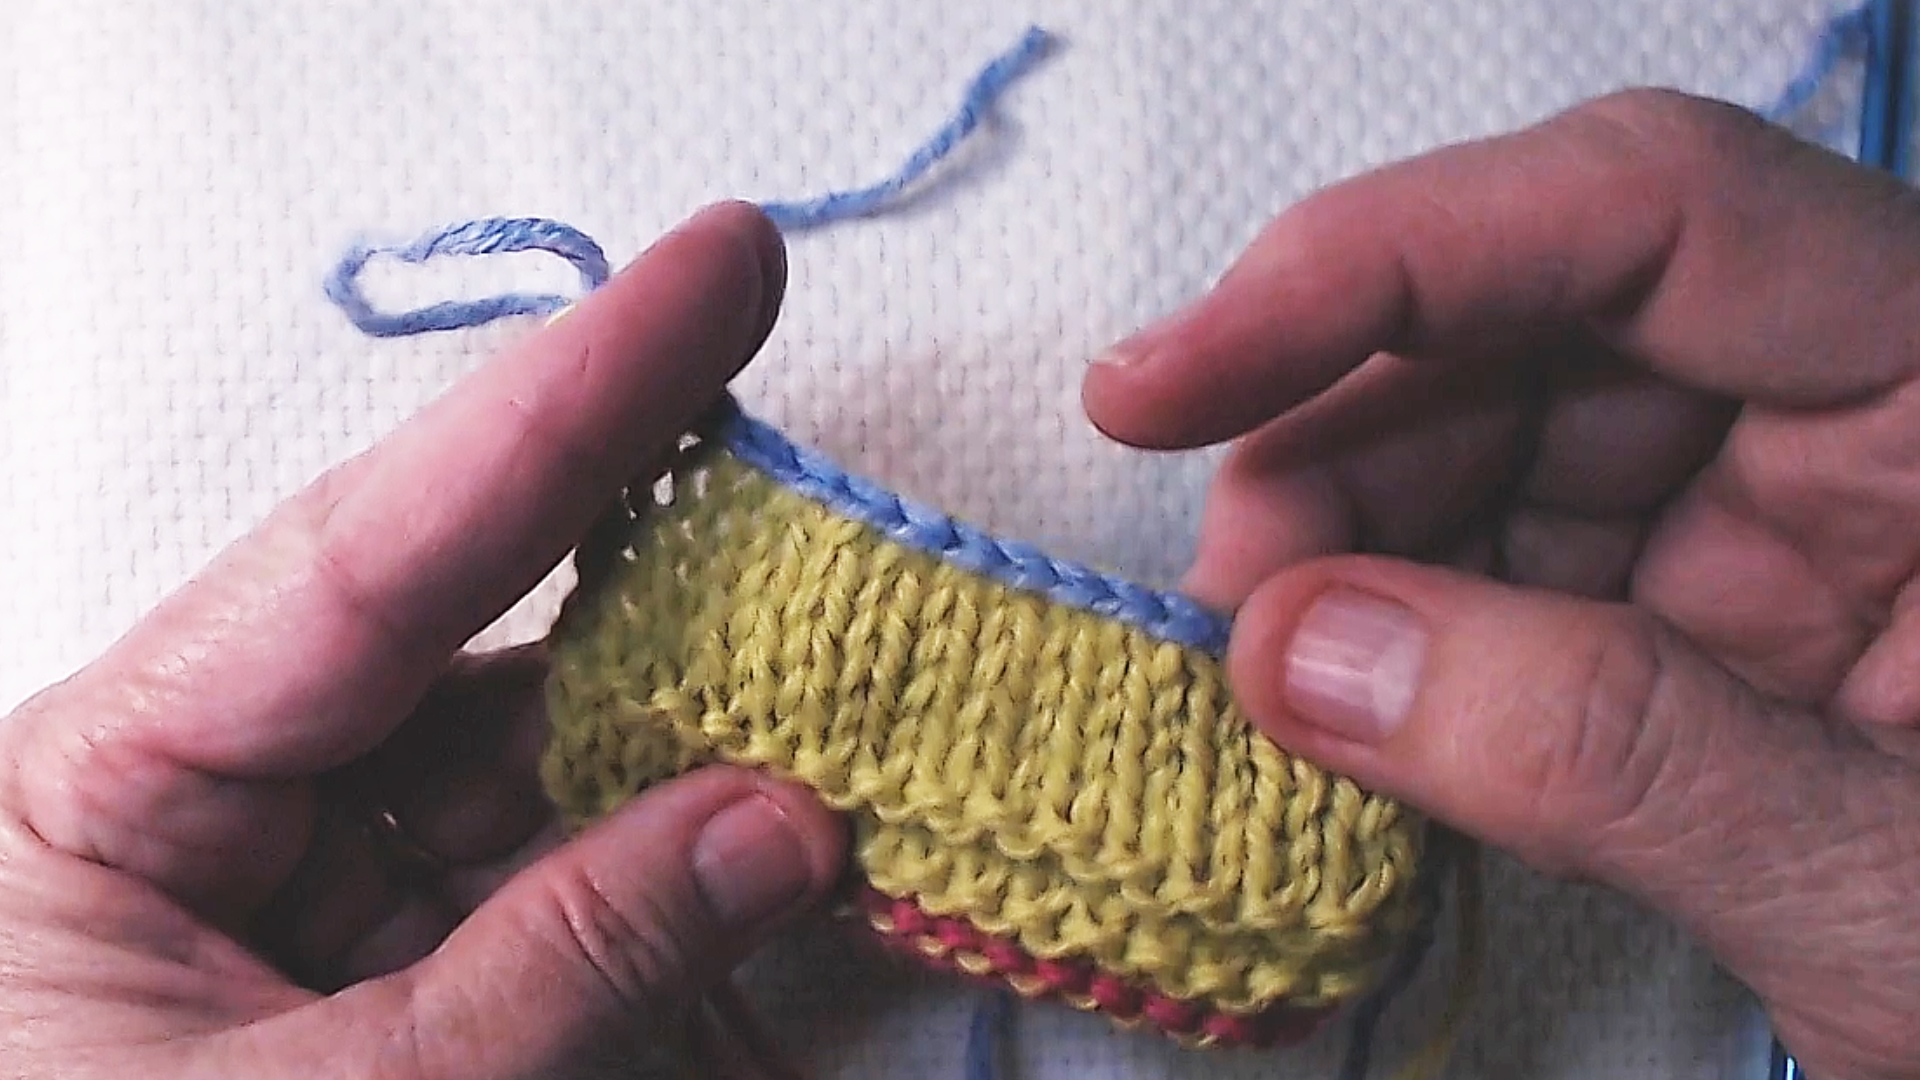
Once you have bound off, you will see a neat little chain running across the top of your knitting. It looks almost like a small braid or a row of crochet chain stitches. That is exactly what you are aiming for.
If the edge feels tight or puckers, that is common for beginners and there are easy ways to address it. See the Tips section below.
Tips for a Neat Bind Off
Keep your tension relaxed. Binding off too tightly is the most common beginner mistake. If your edge puckers or feels stiff, try going up one needle size just for the bind off row. Use your regular needle for everything else and switch for the final row only.
Make sure the second stitch stays on the needle. Before you let the first stitch drop, check that you can clearly see the second stitch sitting safely on your right needle. Go slowly until the leapfrog motion feels natural.
Watch for yarn splitting. If your yarn starts to separate as you work, slow down and make sure your needle is going through the full stitch rather than splitting the plies apart.
Leave a long enough tail. Six to eight inches is the minimum for weaving in comfortably. If you cut too close you will have a hard time securing the end.
Weave in both directions. One direction is not enough to lock a tail permanently. Always weave one way and then turn and weave back the other way before trimming.
Frequently Asked Questions
What is the difference between bind off and cast off? Nothing. They are two names for exactly the same technique. Different patterns and knitters use different terms but the method is identical.
My bind off edge is too tight. What do I do? Go up one needle size for the bind off row only. This is the standard fix and it works well. You can also try consciously loosening your tension as you work each leapfrog.
Can I bind off in the middle of a project? Yes. Some patterns have you bind off stitches at specific points to create shaping, like armholes or necklines. The technique is the same.
Do I have to bind off in knit stitch? No. You can bind off in purl stitch or in pattern. The knit bind off is just the most common starting point for beginners because it is the simplest.
What happens if I forget to bind off? Your stitches will unravel once they come off the needle. If you need to put your project aside before binding off, leave the stitches on the needle or thread a piece of scrap yarn through them to hold them in place.
Final Thoughts
Binding off is the last technique you need to finish a basic knitting project. The leapfrog motion takes a few stitches to feel comfortable but comes together quickly. Take your time, keep your tension relaxed, and you will end up with a clean even edge that closes your project neatly.
Next Steps
- Made a mistake during bind off? Learn how to undo a cast off row and start fresh.
- Find more foundational skills in the Beginner Basics hub
")
")

