
How to Knit Stitch for Beginners | Step-by-Step Tutorial (Part 2)
You’ve cast on your first stitches and now it’s time to actually knit. The knit stitch is the most fundamental technique in all of knitting. Every scarf, dishcloth, blanket, and sweater starts here. Once you have this one stitch down, you’re a knitter.
This tutorial walks you through the knit stitch step by step, including how to hold your yarn, what the X shape means, and how to get through that tight first row without losing your mind. There’s a full video below so you can follow along at your own pace.
This is Part 2 of the Knitting for Beginners series:
- Part 1: Long Tail Cast On
- Part 2: How to Knit Stitch (you’re here)
- Part 3: How to Purl Stitch
- Part 4: How to Bind Off
What Is the Knit Stitch?
The knit stitch is how you transfer stitches from the left needle to the right needle, one at a time, while creating new loops of yarn in the process. Each stitch you knit creates a small V shape on the front of your work. A whole row of those V shapes is what knitting looks like.
It’s the building block for garter stitch, stockinette, and most of the stitch patterns you’ll ever use. Learn this one well and everything else builds from it.
What You’ll Need
- Your knitting with cast on stitches on the left needle
- Your working yarn
- An empty right needle
Before You Start
Make sure your cast on stitches are all lined up neatly with the little knots along the bottom of the needle, not twisted around it. Your working yarn, the strand that goes back to the ball, should be hanging at the back of your work. The empty needle goes in your right hand and the full needle goes in your left.
How to Work the Knit Stitch Step by Step
There’s a little saying that covers all four parts of the knit stitch: stab it, strangle it, scoop out the guts, throw it off the cliff. It’s a little dramatic but it works. Here’s what each part means.
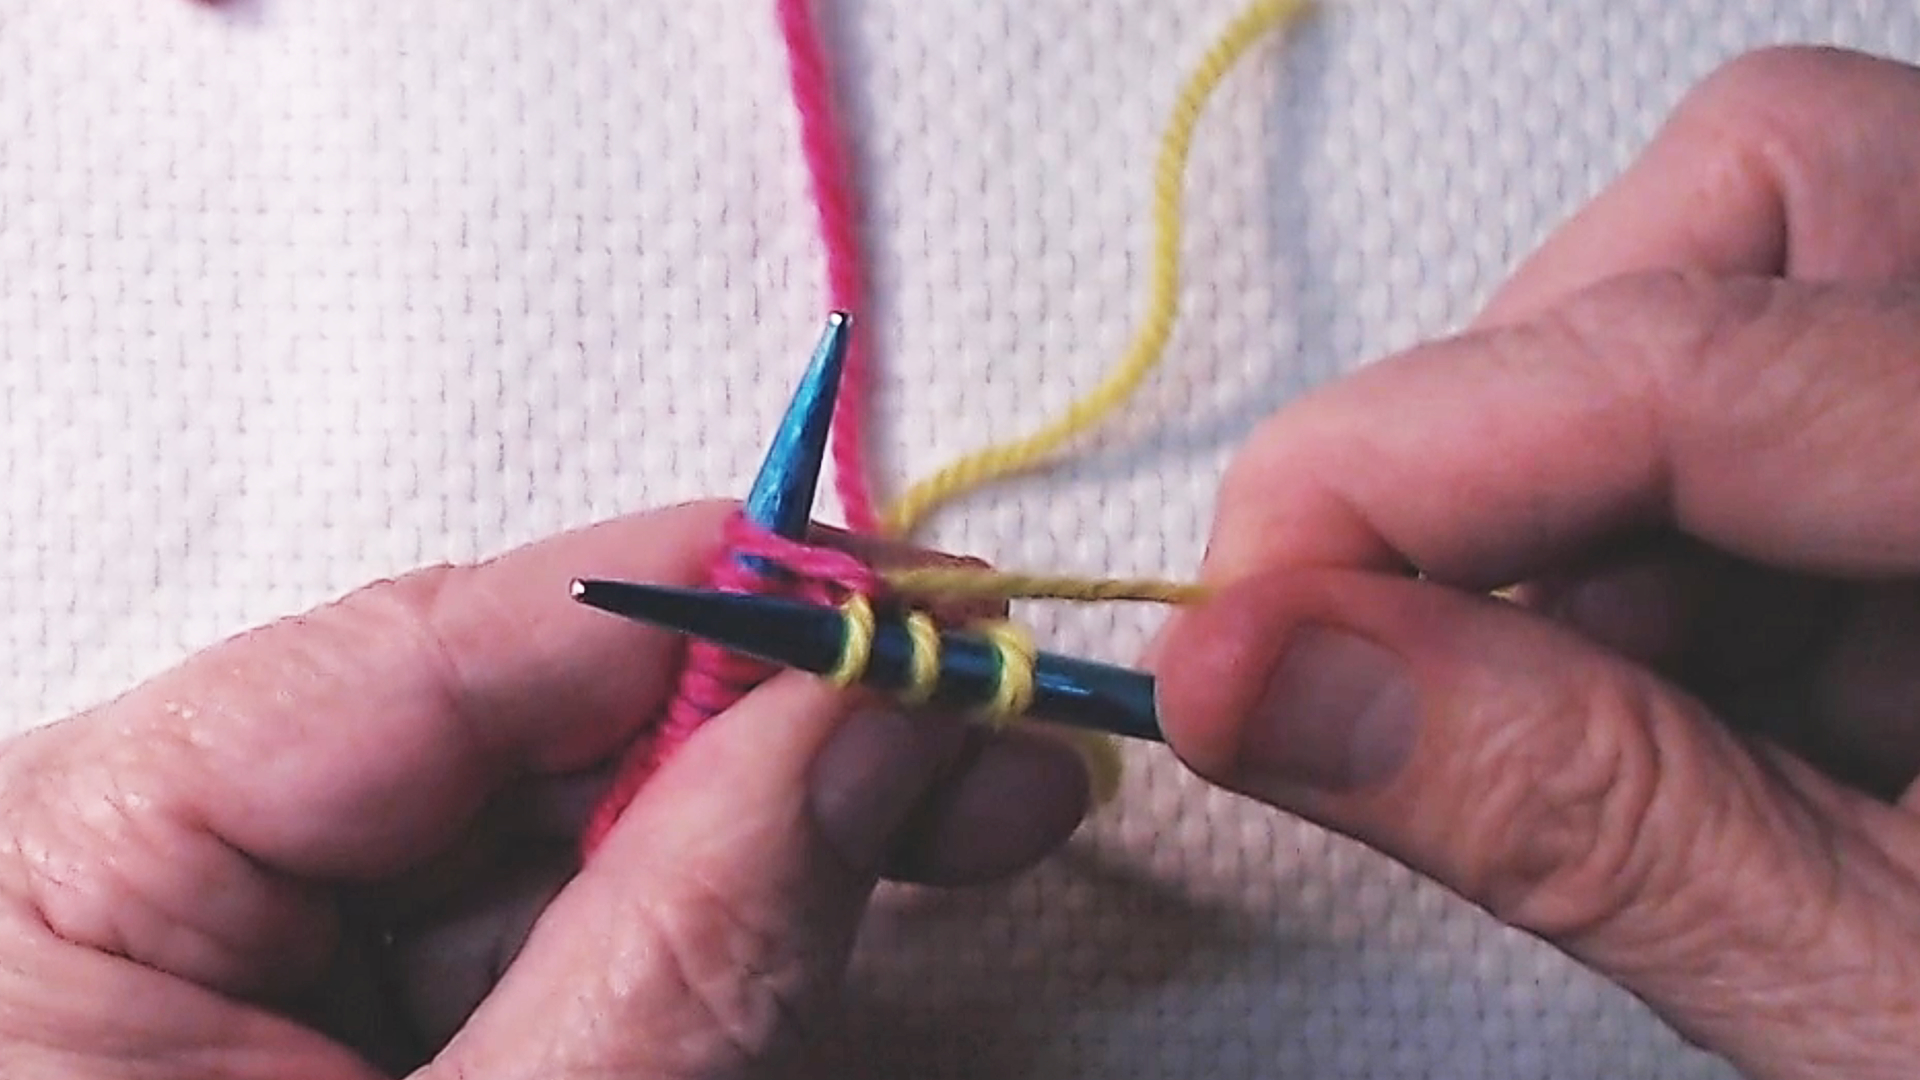
Step 1: Stab It

Insert the tip of your right needle into the first stitch on your left needle, going in from the bottom up. This creates an X shape where the two needles cross. The right needle should sit behind the left needle at that X.
Make sure you go into the stitch right in front of the little knot and that you go under the whole strand rather than splitting through the middle of the yarn. Splitting the yarn is one of the most common beginner mistakes and it makes a mess of your stitch. If you feel resistance or see the yarn separating, back out and try again.
Step 2: Strangle It
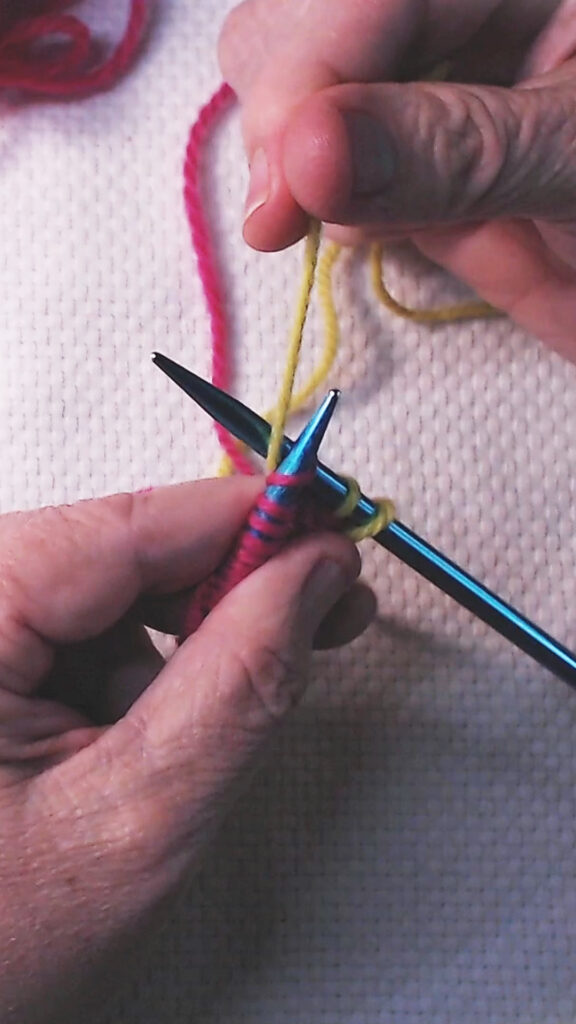
Bring your working yarn around behind both needles and then forward between them. You’re wrapping the yarn around the right needle tip so it can be pulled through the stitch.
Put a little tension on the yarn as you do this. Pinching the yarn between your thumb and index finger works well. Some knitters hold their index finger up to create tension. Find whatever feels natural for your hands. The goal is just to keep the yarn taut enough that it pulls through cleanly.
Step 3: Scoop Out the Guts
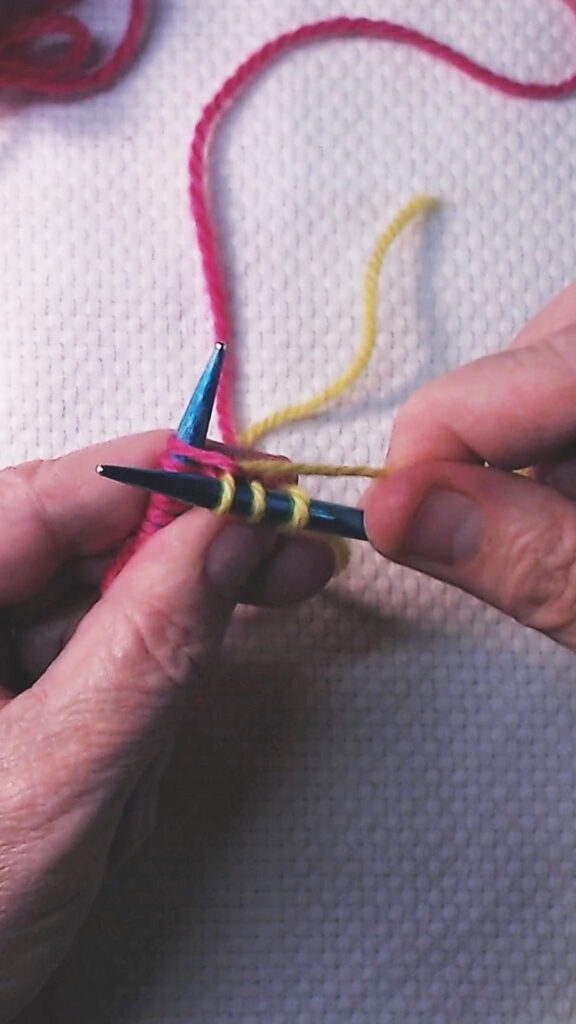
Slowly bring the tip of your right needle down and back through the stitch you started with, pulling the new loop of yarn through with it. Take your time here, especially on the first row. Go slowly until you can clearly see the new stitch sitting on your right needle.
Step 4: Throw It Off the Cliff
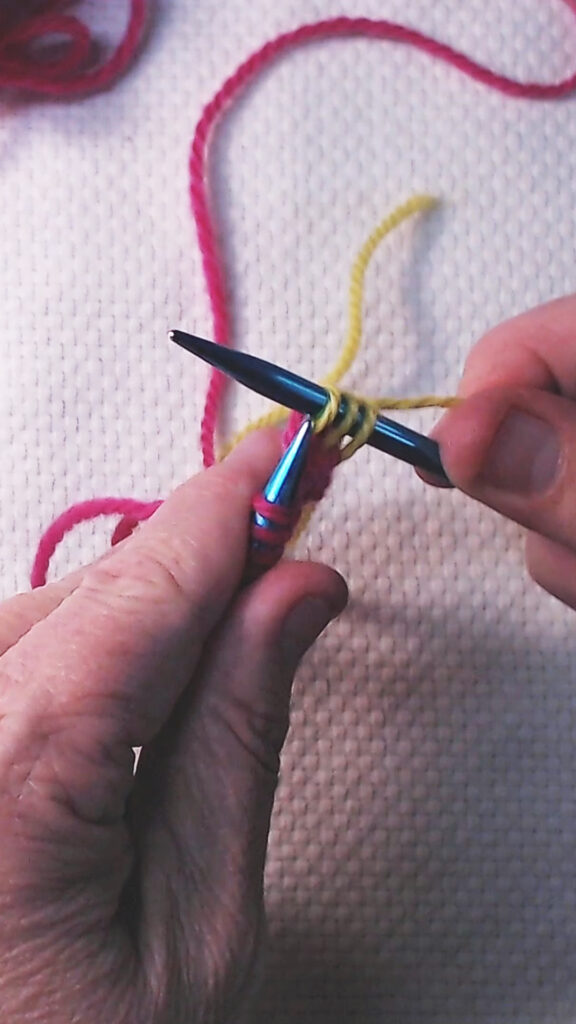
Once the new stitch is secure on your right needle, let the original stitch slide off the left needle. Use your left hand to scooch the stitches up toward the tip so the stitch drops off cleanly rather than yanking and pulling at it. Yanking creates loose uneven stitches.
That’s one knit stitch. Repeat all four steps for every stitch across the row.
Turning and Starting the Next Row
When you’ve knitted every stitch across, all your stitches will be on the right needle and the left needle will be empty. To start the next row, swap hands. Put the full needle in your left hand and the empty needle in your right hand and start again from the first stitch.
Before you knit the first stitch of a new row, watch out for the loopy stitch. There’s always a loose loopy stitch right at the beginning of every row. It’s not a stitch you’re supposed to knit. It’s just the natural result of turning your work. Make sure your working yarn is pulled down and out of the way so you don’t accidentally knit into that loop by mistake. The actual first stitch is the one sitting on the needle, not the loopy thing hanging below it.
A Note on the Last Stitch
The very last stitch in your cast on row is the slip knot you started with. It tends to be a little tighter than the others. If your needle won’t go in easily, wiggle the tip around gently to loosen it up before trying to knit into it. Don’t force it.
Tips for Your First Rows
The first row will feel tight. This is completely normal. You always cast on tighter than you knit. Push through that first row and the second row will feel noticeably easier.
Don’t over-tighten your stitches. You don’t need to tug hard after each stitch. The simple act of wrapping the yarn for the next stitch automatically tightens the one you just finished. Let it do the work.
Go under the yarn, not through it. If your yarn starts to fray or split, you’re stabbing into the middle of the strand instead of going cleanly underneath it. Back out, reposition, and try again.
Scooch, don’t yank. Use your left hand to slide stitches toward the needle tip so they fall off naturally. Yanking creates loose uneven stitches at the edges.
Your hands will fumble and that’s fine. Everyone’s hands feel clumsy at first. There’s no one correct way to hold the yarn as long as you’re maintaining enough tension to pull it through the loops. Experiment until you find what feels comfortable.
Uneven stitches even out with practice. Your first few rows will probably look a little loose in some spots and tight in others. Keep going. The tension evens out as your hands find their rhythm.
Frequently Asked Questions
Why does my first row feel so tight? Because you cast on tighter than you knit. It’s one of the most universal beginner experiences. The second row will feel much better. If it’s truly impossible to get your needle in, try casting on more loosely next time or go up a needle size for the cast on only.
What does the X shape do? The X keeps the stitch from stretching out of shape as you work into it. If you insert your needle the wrong direction and don’t form an X, the stitch gets loose and floppy. The X puts the least amount of strain on the stitch while you work.
My yarn keeps splitting. What am I doing wrong? You’re inserting your needle through the middle of the yarn plies instead of cleanly underneath the whole strand. Slow down and aim to go under the complete strand before wrapping your working yarn.
How do I know how many stitches I should have? You should have the same number of stitches at the end of every row as you cast on. Count your stitches occasionally to make sure you haven’t accidentally added or dropped any. Beginners most often add stitches by accidentally knitting into that loopy stitch at the beginning of a row.
What do I make once I can knit? If you knit every row back and forth, you’re making garter stitch, which is the simplest fabric in knitting. A garter stitch swatch, dishcloth, or simple scarf is the perfect first project.
Final Thoughts
The knit stitch has four parts and takes a few rows to feel natural. Stab it, strangle it, scoop out the guts, throw it off the cliff. Once that sequence is in your hands it becomes automatic and you’ll stop thinking about it altogether. That’s when knitting starts to feel like knitting.
Knitting every row is called Garter Stitch.
Next Steps
- Ready to learn the next stitch? Move on to How to Purl Stitch for Beginners (Part 3)
- Find more foundational skills in the Beginner Basics hub
")
")

