
How to Unpurl Stitches and Fix Purl Mistakes Step by Step
If you’ve ever looked at your knitting and realized a purl stitch went wrong a few rows back, the instinct is often to panic or start pulling needles out. The good news is that you usually don’t need to.
Unpurling stitches lets you calmly undo purl stitches one at a time so you can fix mistakes without ripping out your work. It’s a quiet, controlled skill that gives you confidence instead of frustration.
This guide shows you how to unpurl stitches step by step, even if the mistake is a few rows down.
Watch the Tutorial First
You can watch once for the overview, then follow along as you try it yourself.
When You’d Need to Unpurl a Stitch
Unpurling is useful when:
- A purl stitch is twisted
- A stitch was purled instead of knit (or vice versa)
- The tension looks uneven in a small area
- You want to fix a mistake without undoing whole rows
This is especially helpful in ribbing, garter stitch sections, or textured patterns where mistakes stand out.
Before You Start: A Calm Expectation
Unpurling is slower than knitting forward. That’s normal.
You’ll be:
- Working one stitch at a time
- Gently controlling the yarn
- Paying attention to stitch orientation
This isn’t about speed. It’s about accuracy and calm.
Step 1: Identify the Exact Purl Stitch to Undo
Look closely at your fabric and find:
- The specific purl stitch that’s incorrect
- The row it’s sitting in
Make sure you’re fixing the right stitch before you begin. That alone saves frustration.
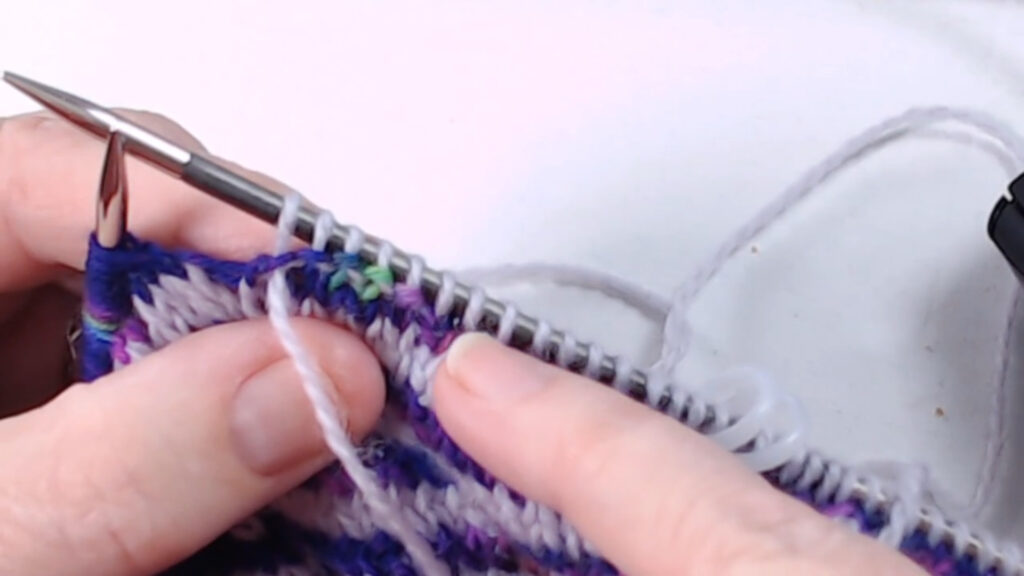
Step 2: Bring the Yarn to the Front
Because purl stitches are formed with the yarn in front:
- Move the working yarn forward between the needles
- Keep light tension so it doesn’t slip away
This sets you up to reverse the stitch cleanly.
Step 3: Slip the Stitch Off the Needle Carefully
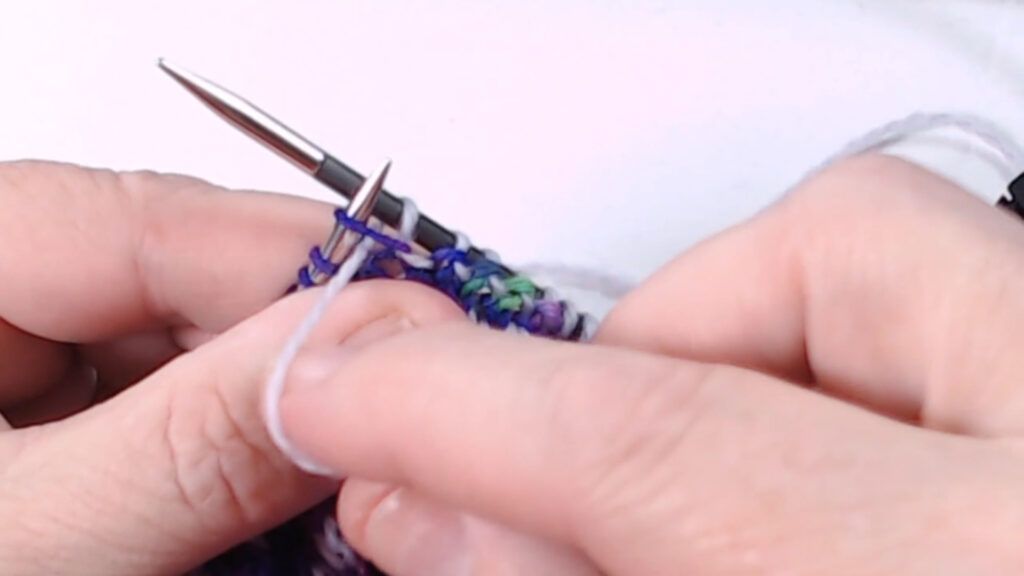
Gently:
- Slide the purl stitch off the needle
- Hold the yarn so the loop doesn’t drop uncontrollably
You’ll see the stitch begin to open as the yarn releases.
Step 4: Pull the Yarn Back Through to Undo the Stitch
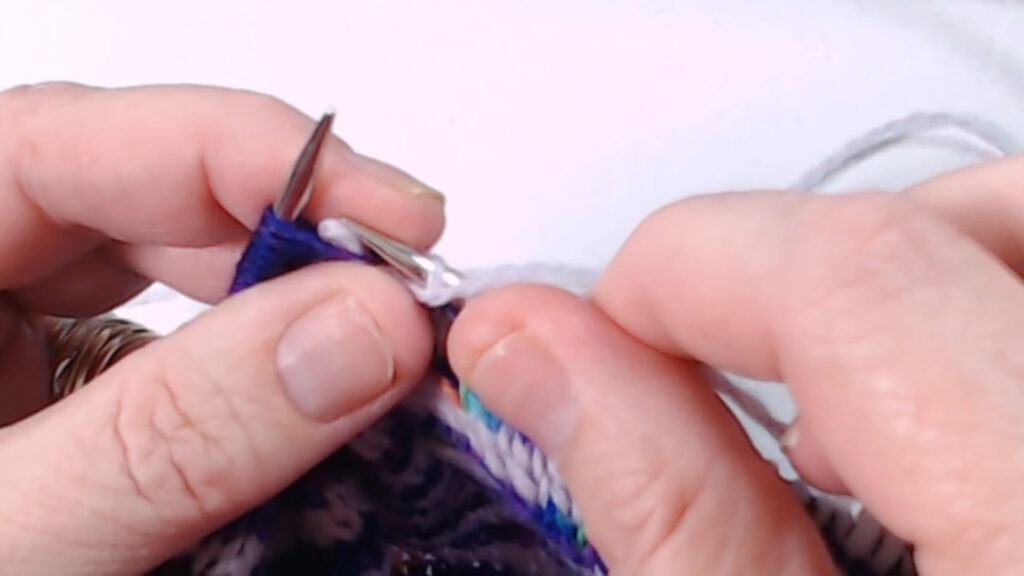
Slowly pull the working yarn backward:
- The purl stitch will unravel
- The previous stitch loop will reappear
That loop is your live stitch.
Step 5: Place the Live Stitch Back on the Needle
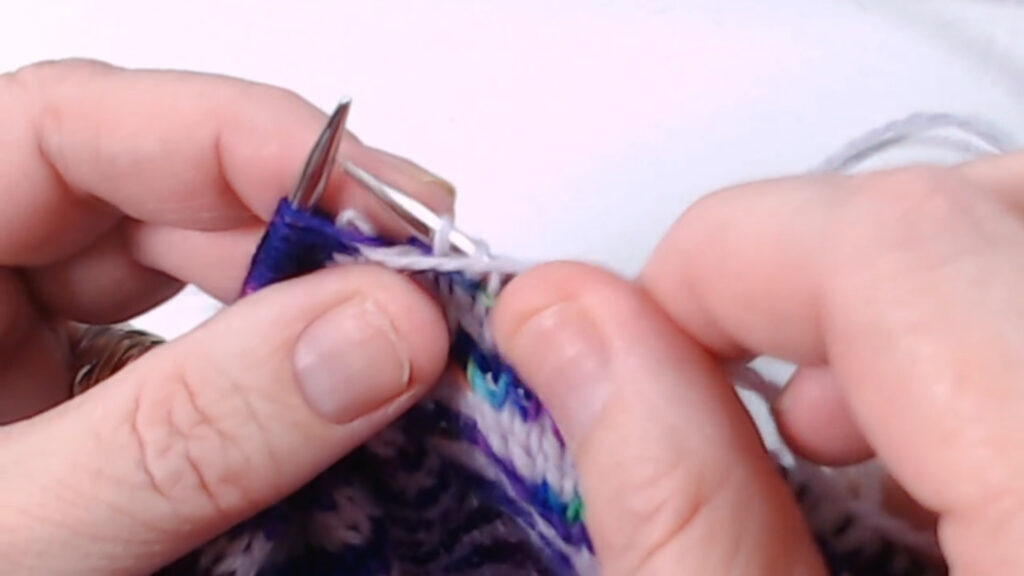
As soon as the stitch is free:
- Place it back on the needle
- Make sure it’s seated correctly and not twisted
At this point, the mistake is undone and you can rework the stitch correctly.
What If the Stitch Feels Tight?
That’s common, especially if:
- Your tension was firm
- The stitch has been sitting for a few rows
If it resists:
- Wiggle the needle tip gently
- Ease the yarn a little at a time
- Avoid pulling hard
The stitch will open with patience.
A Quiet Reminder
Fixing a stitch isn’t failure. It’s part of knowing how knitting works.
Experienced knitters unpurl stitches all the time. This is a skill that keeps projects moving forward.
After You Fix the Stitch
Once the stitch is corrected, you can:
- Continue knitting normally
- Check nearby stitches for consistency
- Relax and keep going
No one will ever know there was a mistake there unless you tell them.
Conclusion
Unpurling stitches gives you control instead of stress. It lets you fix small mistakes exactly where they happen, without unraveling progress you’ve already made.
Knitting isn’t about perfection. It’s about knowing you can fix things when they don’t look right.
Where to Go Next
If you’re learning how to fix knitting mistakes calmly, the Fix a Knitting Problem hub collects other quiet, practical solutions you can return to anytime.

")
")
