
How to Knit an M1 Increase (M1L vs M1R) for Beginners
Learning how to increase stitches is a milestone for every knitter. Whether you’re shaping a sweater, working on a blanket, or simply building your skills, understanding the M1 (Make One) increase is a must-have in your toolkit. It’s one of the most invisible increases in knitting — clean, subtle, and once you get the hang of it, really satisfying to work. So Let’s get started and Knit an M1!
In this post, I’ll show you two ways to Knit an M1 Increase — the M1L (Make One Left) and the M1R (Make One Right) — with tips, photos, and a full video tutorial to help you feel confident every step of the way.
Watch the Full Video Tutorial
I’ve put together a full walkthrough of both M1L and M1R in my video below. You’ll see how to make each stitch, what it looks like in your fabric, and how to decide which one to use.
🧵 Grab your needles and follow along with me!
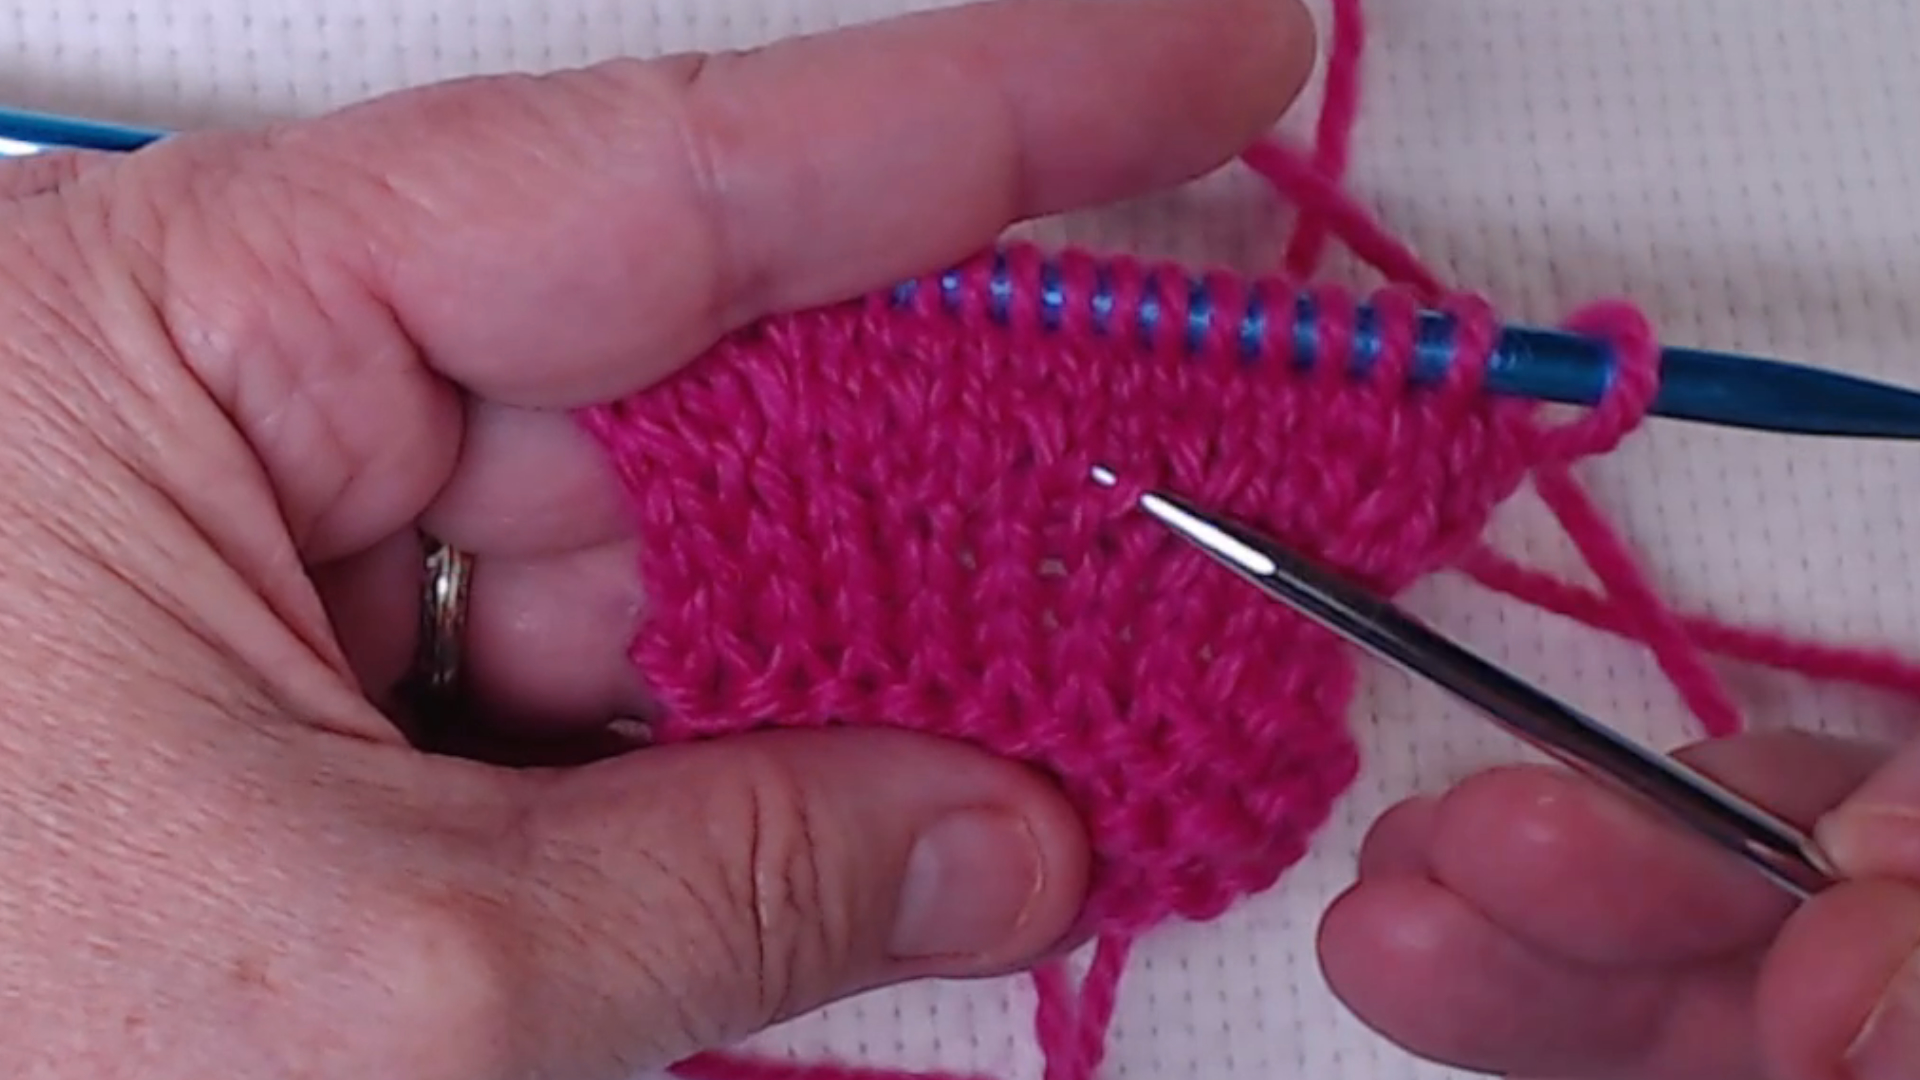
What Is an M1 Increase in Knitting?
“M1” stands for Make One, and it’s a method for creating a new stitch between two existing stitches. Unlike yarn overs (which leave a hole), M1 increases are designed to be practically invisible. They’re especially common in garment shaping, sock patterns, and projects where you want the fabric to stay smooth.
There are two types of M1 increases:
- M1L (Make One Left): The new stitch leans to the left
- M1R (Make One Right): The new stitch leans to the right
Let’s walk through each one.
How to Knit an M1R (Make One Right)
- Look for the bar of yarn between two stitches.
- With your left needle, pick up the bar from back to front.
- Knit through the front loop of that bar (this is the “short leg”).
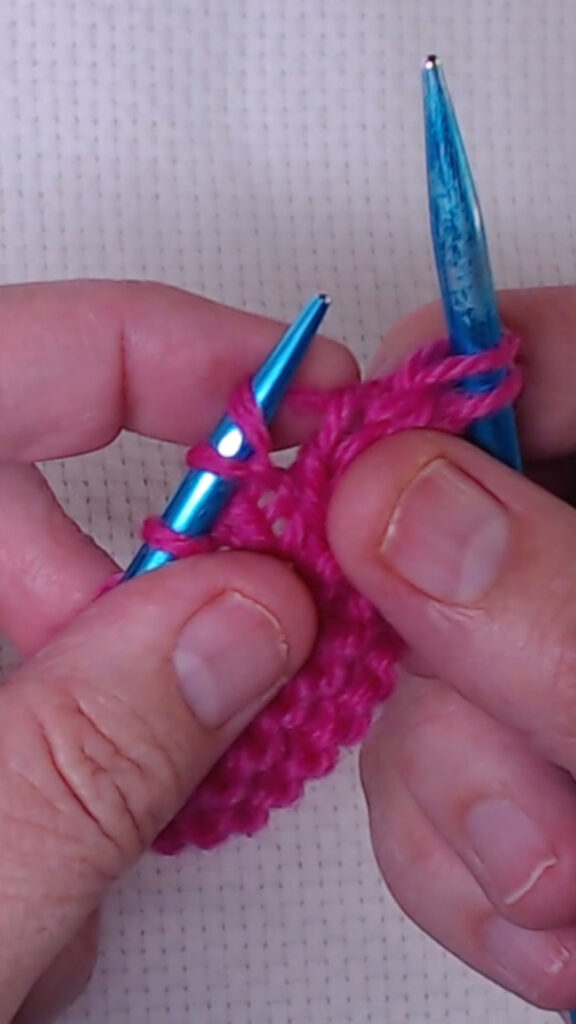
👉 This creates a right-leaning stitch. I recommend working the increase at least one or two stitches in from the edge of your row for a cleaner look.
✅ Tip: Sometimes the bar can feel tight. Gently tug the yarn with your fingers to loosen it before inserting your needle.
How to Knit an M1L (Make One Left)
- Again, find the bar of yarn between two stitches.
- With your left needle, pick up the bar from front to back.
- Knit through the back loop of that lifted bar.
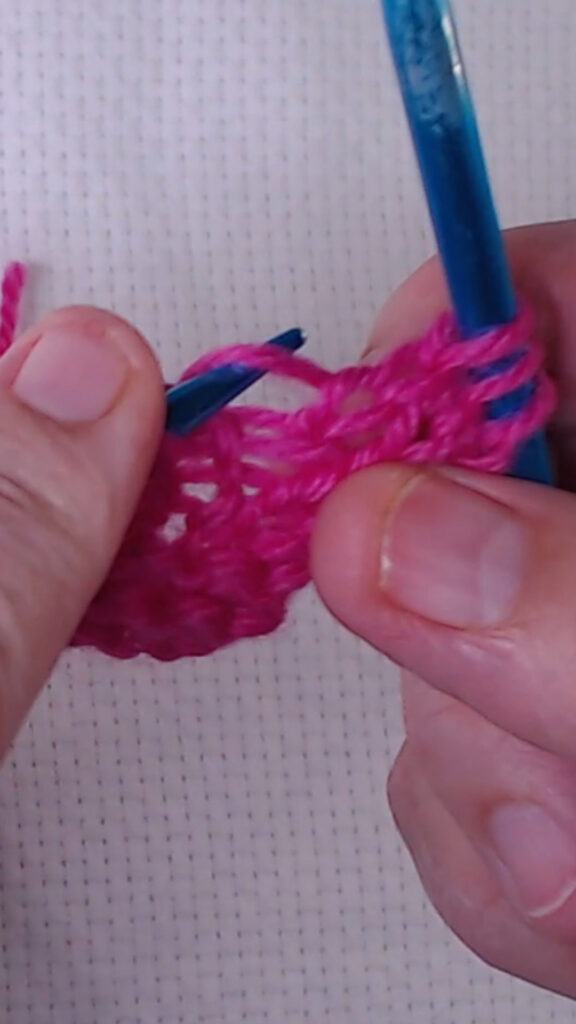
👉 This creates a left-leaning increase, which pairs nicely with M1R for symmetrical shaping (like in sleeves or triangular shawls).
✅ Tip: You may need to “scooch” the stitch with your finger to get the right angle for your needle.
Which One Should You Use?
If a pattern specifies M1L or M1R, it’s trying to control the direction the stitch leans. But here’s the secret: many knitters default to just one (usually M1L) — and that’s okay too!
In fact, I tend to use M1L most often because it’s easier for my hands. Unless I’m working on a project where the lean direction really matters, I stick with the one that feels smooth and natural.
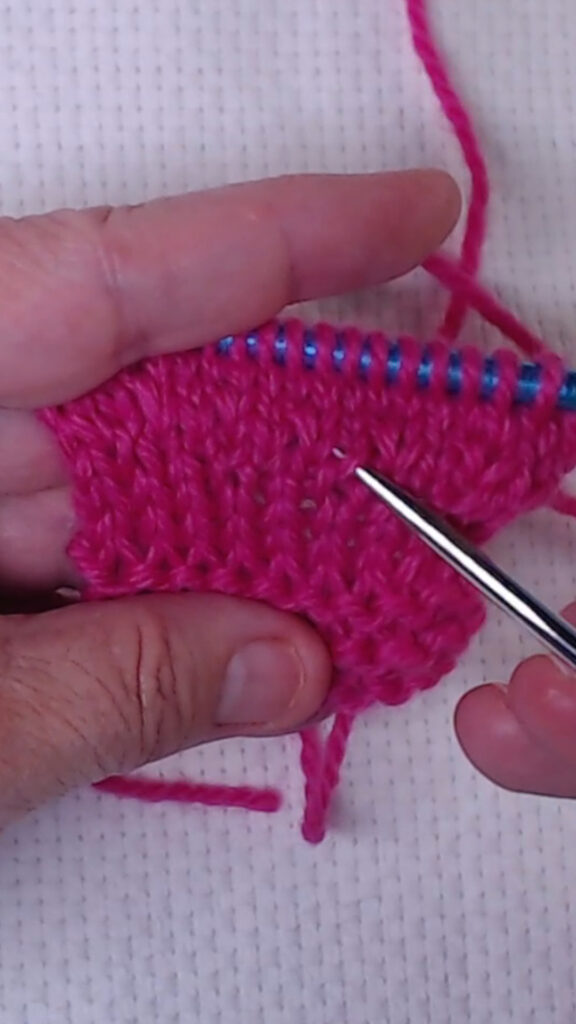
Common Mistakes to Avoid
- Twisting the bar the wrong way (can create an unintentional hole)
- Knitting into the wrong leg of the stitch
- Placing the increase too close to the edge (can distort your edge)
🧶 Don’t worry — it takes a little muscle memory, but once it clicks, you’ll do it without thinking.
Final Thoughts
Learning M1L and M1R gives you a clean, reliable way to shape your knitting without interrupting the flow of your stitches. Once you know the difference, you’ll start to notice these increases used in all kinds of patterns — and you’ll be ready for them.
You don’t need to be perfect, just consistent. Try both, see which feels best to you, and trust your hands as you go.
Listening Makes Projects Even Better
When you’re working through a project that takes time—especially when you’re repeating stitches or relaxing into a rhythm—having something to listen to makes a big difference. I usually have an audiobook or podcast playing while I knit, and it keeps my hands moving and my mind engaged.
If listening fits your style too, Audible has a free trial you can try. It’s a nice way to enjoy stories or learning while you work through your favorite projects.
Call to Action
🧶 Want more beginner-friendly techniques like this?
Join my email list and grab my free Tales from the Stash blanket pattern here
✨ For more tutorials, project inspiration, and cozy community:
- Explore the JennyKnits Blog
- Subscribe on YouTube
- Follow along on Instagram → @jennyknitsdaily
- We have a Beginner Friendly Playlist on YouTube and an article for each. Here’s the first in the series: Learn the Long Tail Cast On – Easy Step-by-Step Tutorial for Beginners (Part 1)
Ready to stitch invisibly? Try out M1L and M1R today — your knitting will thank you.
")
")
")
