
How to Add Stitches at the Beginning of a Row in Knitting
Sometimes a pattern throws you a curveball:
“Cast on 5 stitches at the beginning of the next row.”
Wait… what? You’ve already started your project! Don’t worry — this is a common technique, especially in sweaters, underarm shaping, shawls, or anytime a pattern grows mid-stream. Let’s look at how to Add Stitches at the Beginning of a row.
In this post, I’ll walk you through three ways to add stitches to the beginning of a row, show you the difference between them, and share which method I prefer (and why). There’s a full video tutorial below, plus tips, comparisons, and screen grabs to help you follow along.
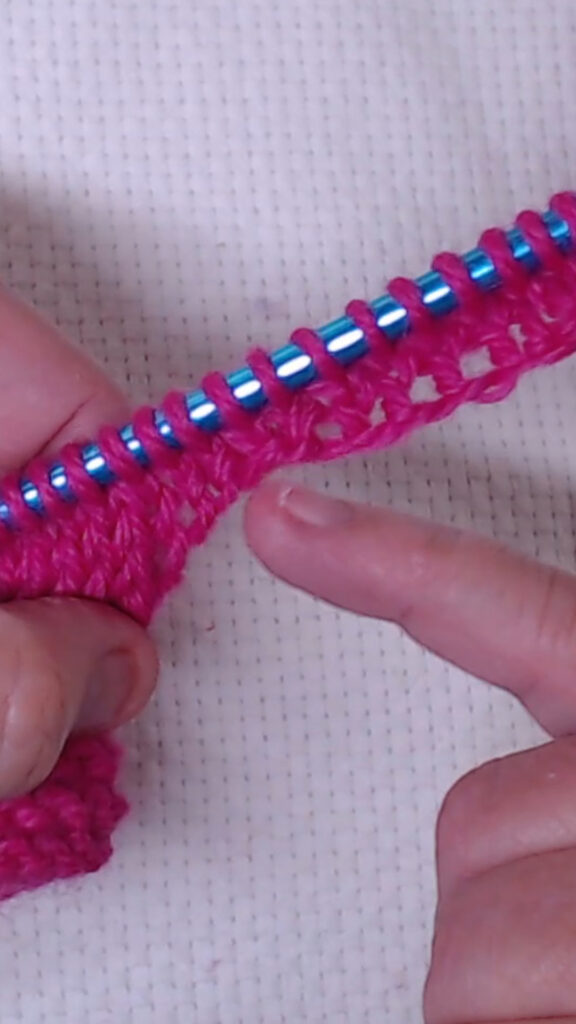
Watch the Full Video Tutorial
Want to see each method step-by-step? Watch the full tutorial below where I knit all three cast-ons, compare their edges, and share tips for when to use each one.
📺 Watch now: – https://youtu.be/nVb6I77B_VY
Why Would You Add Stitches Mid-Project?
Adding stitches to an already-started project can help shape your fabric — you might see this technique when:
- Starting sleeves or shaping underarms
- Adding button bands or borders
- Expanding triangular shawls or wraps
There are a few different ways to add these stitches, and they each affect the look, structure, and stretch of your edge.
Method 1: Backward Loop Cast-On
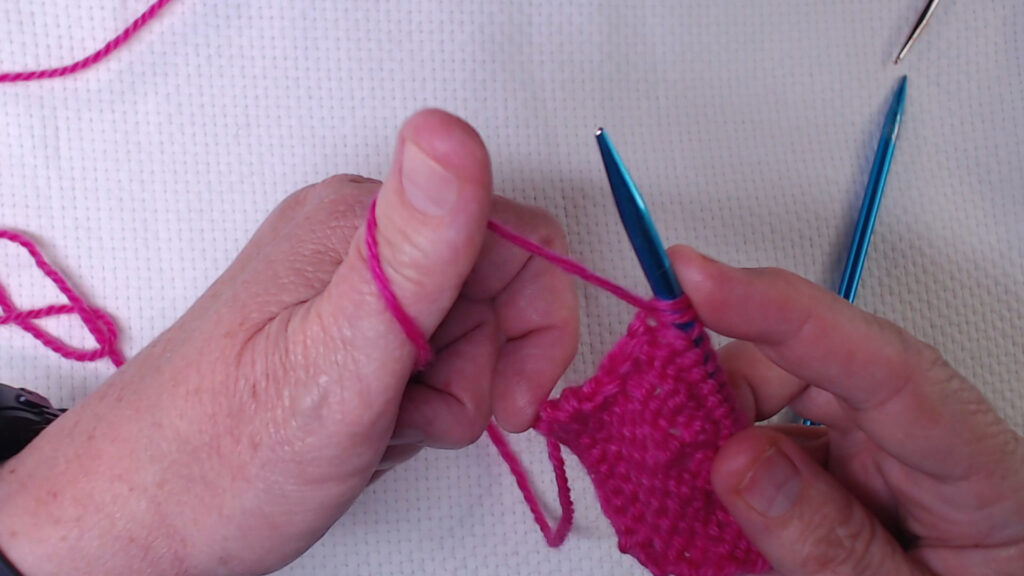
This is the simplest method — and the one I use the least.
To do it:
- Hold your working yarn in your hand.
- Use your thumb to make a loop.
- Slip that loop onto your needle.
✅ It’s fast.
❌ But it’s not very stable. The stitches can stretch out and look a little loopy or messy, especially over time.
💬 “I rarely use this one, except for very short or hidden edges.”
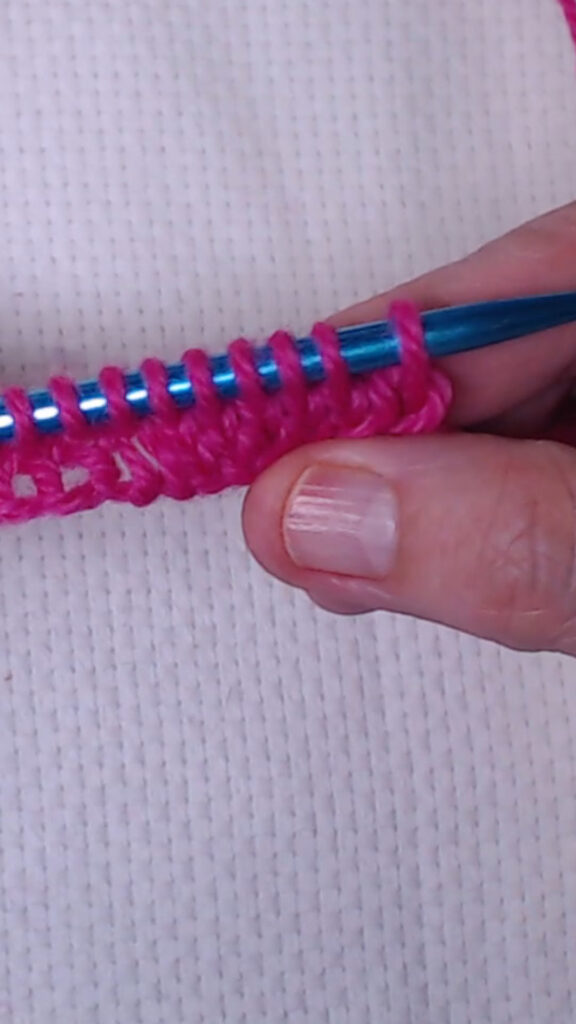
Method 2: Knitted Cast-On
This one builds a sturdier edge and is a bit more polished.
Here’s how:
- Knit into the first stitch — but don’t slide it off.
- Instead, pull the new loop through and place it on the left needle.
- Repeat for as many stitches as needed.
✅ More structured than backward loop
✅ Easy to control tension
❌ Still creates small gaps at the bottom of each stitch
This method works great for lightweight projects, kids’ items, or where flexibility matters.
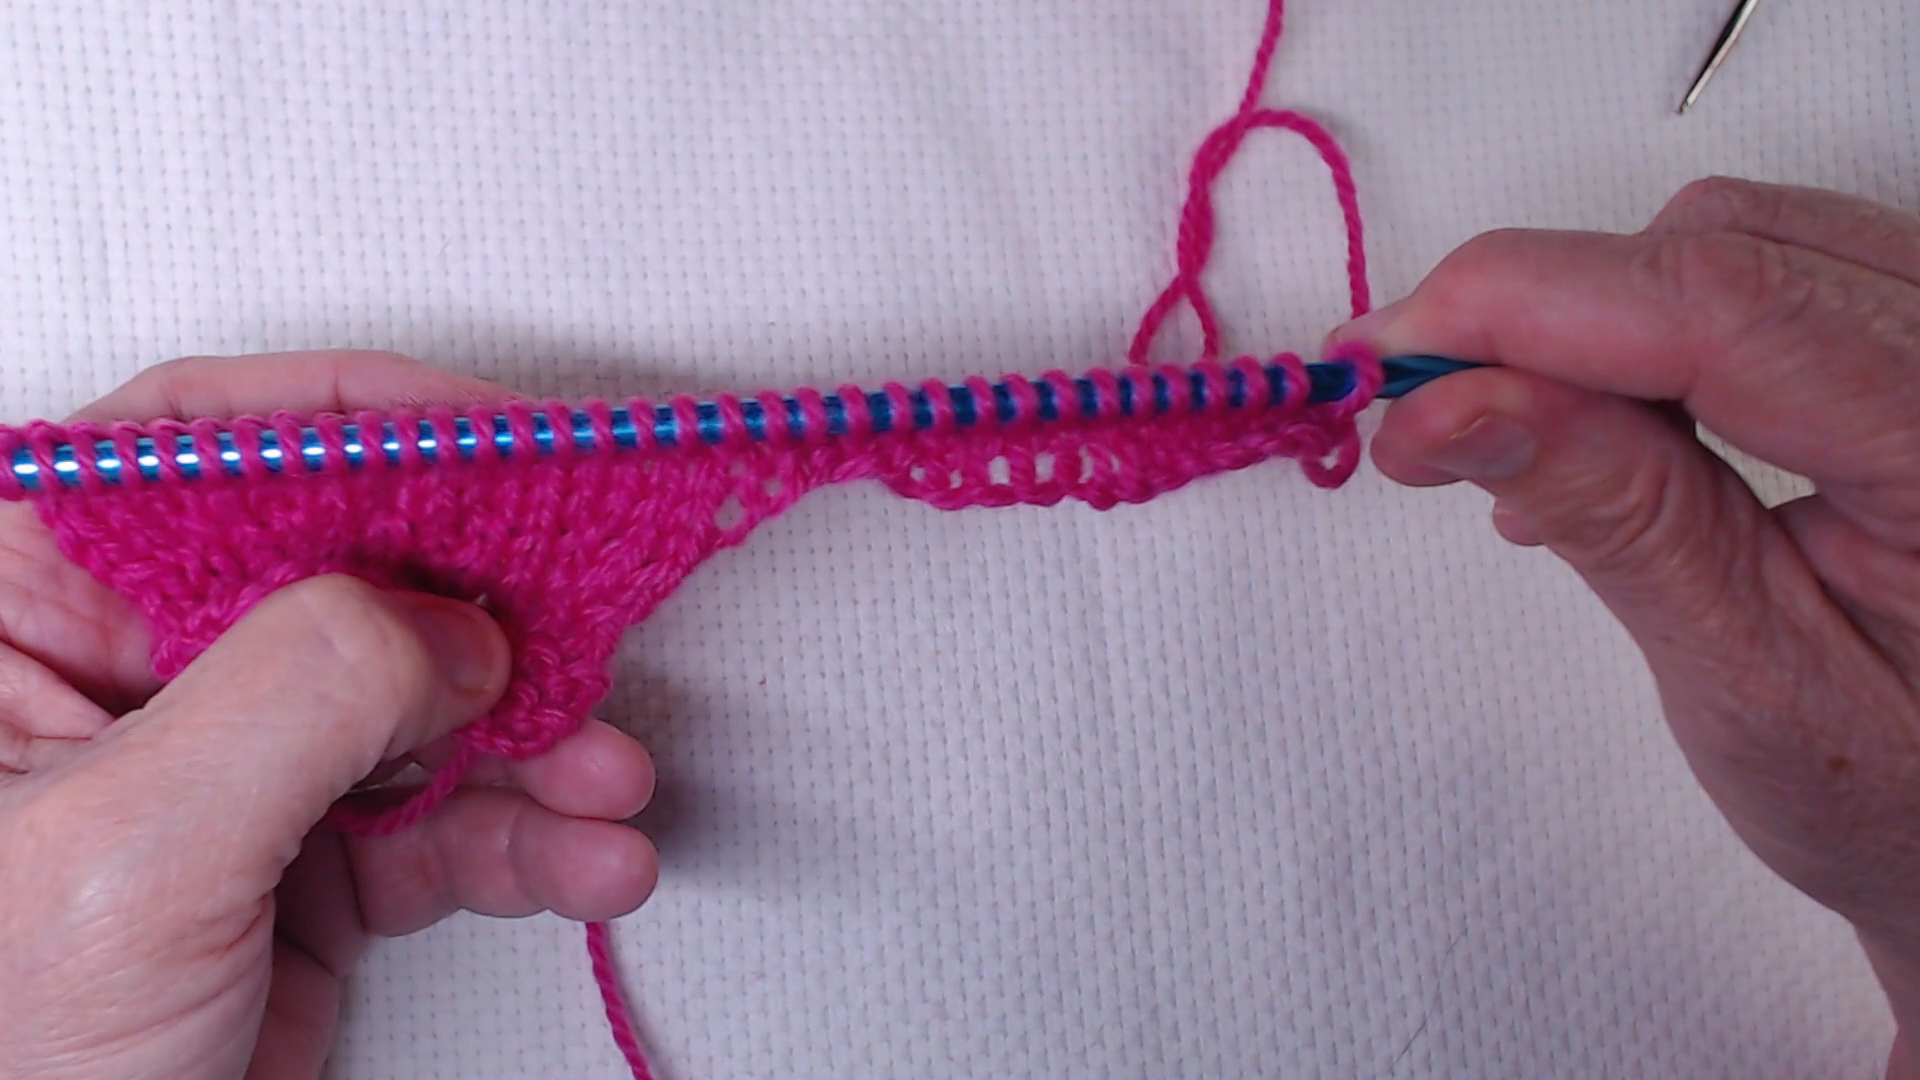
Method 3: Cable Cast-On (My Favorite!)
This is my go-to when I need a neat, solid edge — especially for garments.
How to do it:
- Insert your needle between two existing stitches, not into a stitch itself.
- Pull the loop through as if knitting.
- Place that loop on your left needle.
✅ Creates a clean, squared-off edge
✅ Strong and stable — great for high-stress areas
❌ A little trickier to get the needle placement at first
💬 “If I’m adding stitches for an underarm seam or any visible area, I always choose the cable cast-on.”
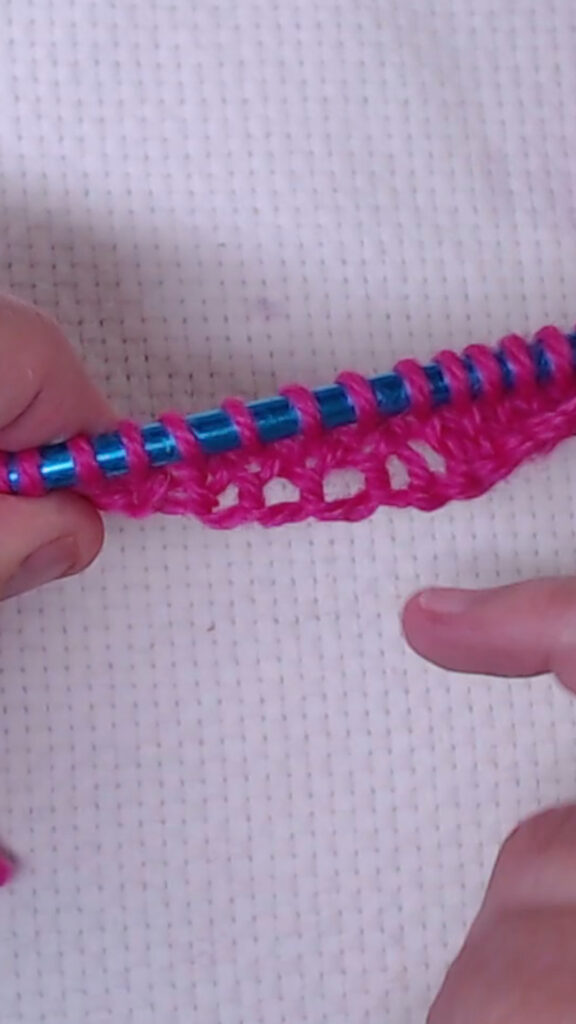
Side-by-Side Comparison
Here’s what the edges look like after working a few rows past the new cast-on stitches:
| Method | Appearance | Structure |
|---|---|---|
| Backward Loop | Loose, stretchy, uneven | Weakest |
| Knitted | Slight gaps, medium edge | Good |
| Cable | Smooth, square, strong | Best overall |
Final Thoughts
Adding stitches at the beginning of a row doesn’t have to be intimidating. Once you’ve tried each method, you’ll start to notice what works best for your hands, your yarn, and your project. You might even mix and match, depending on the situation.
And remember — no one checks the edges as closely as we do. 😉
Call to Action
🧶 Want more cozy tutorials and free patterns?
Grab my Tales from the Stash scrap blanket pattern here → https://jenchambers.com/tales-getstash
✨ Stay connected:
How to Knit an M1 Increase (M1L vs M1R) for Beginners
Learn the Long Tail Cast On – Easy Step-by-Step Tutorial for Beginners (Part 1)
")

")
")