
How to Fix a Dropped Stitch on the Purl Side (Stockinette)
You’re purling along and suddenly notice something looks off. A stitch has dropped and started to unravel. Fixing a dropped stitch on the purl side is a little trickier than on the knit side, but once you understand the one key difference — which direction you pull the ladders through, the repair makes complete sense.
In this tutorial I’ll walk you through how to catch the stitch before it gets worse, work back to the drop point, and bring the stitch back up correctly so your fabric looks smooth. There’s a full video below so you can follow every step in real time.
What You’ll Need
- A crochet hook sized close to your knitting needle
- A safety pin or paper clip
- Your knitting needles
Why the Purl Side Repair Is Different
When you fix a dropped stitch on the knit side, you pull the ladder bars through the stitch from the front. On the purl side, if you do the same thing, you’ll end up with knit V shapes stacking up instead of purl bumps, and your fabric will look wrong.
The fix is simple: on the purl side, you pull the ladders through from the back. That one change is what makes the repair look correct when you’re done.
Step 1: Stop the Unraveling
The moment you notice the dropped stitch, put your knitting down. Don’t keep purling and don’t tug on the fabric.
Grab a safety pin, paper clip, or crochet hook and catch the dropped stitch right away. If it’s hard to see on the purl side, flip your work to the knit side, the dropped stitch is much easier to spot from there.
Sometimes the stitch is sitting right at the edge of the next row down and is hard to grab cleanly. If that happens, use your crochet hook to let it drop one more row on purpose. That gives you a fuller loop that is much easier to secure. Once you have it, slide your safety pin through the stitch and leave it there. Now you have time to work without worrying about the stitch unraveling further.
Step 2: Work Back to the Drop Point
With the stitch secured, you need to get back to the exact spot where it fell. Unpurl one stitch at a time, moving stitches from your right needle back to your left needle until you reach the dropped stitch.
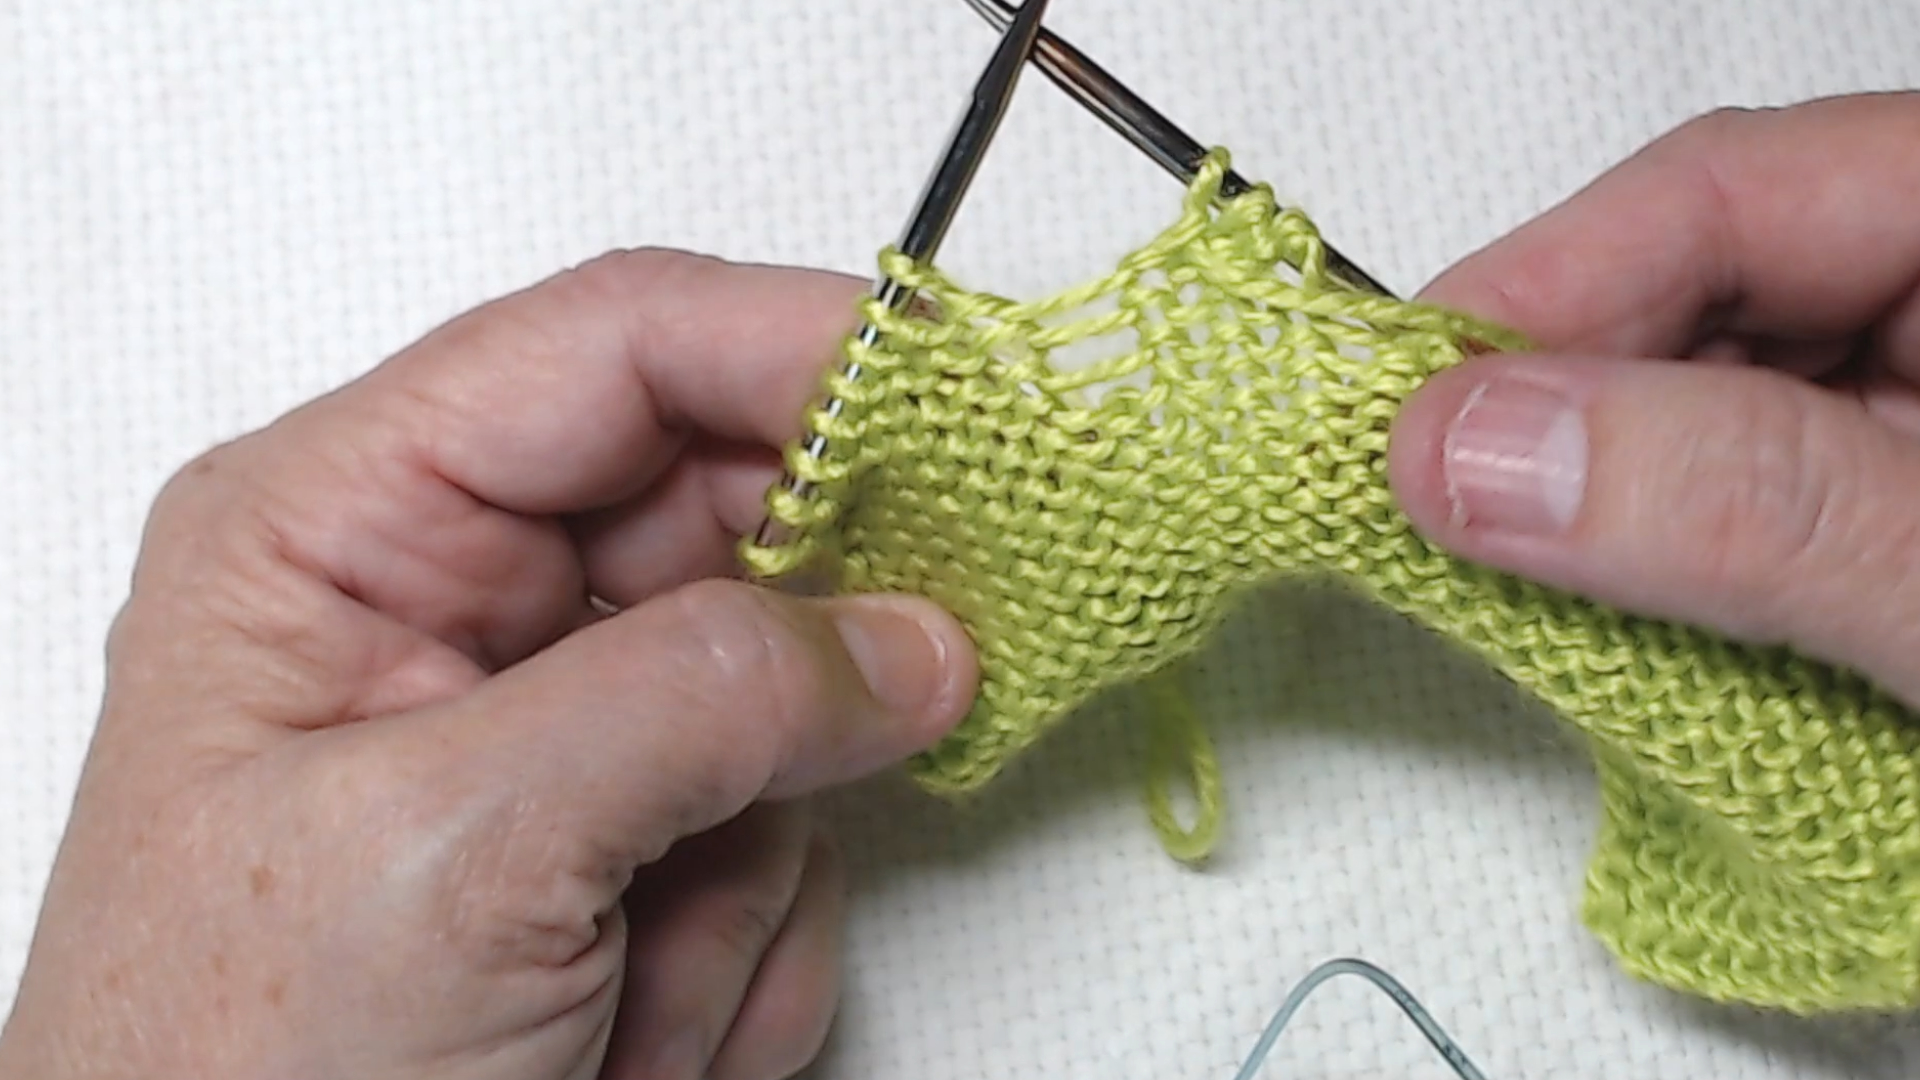
Look at the loose yarn hanging below the secured stitch. Each horizontal bar is called a ladder, and each ladder represents one row. If you see three ladders, the stitch dropped three rows and you need to bring it back up three rows.
If you need a refresher on how to unpurl, take a look at How to Unpurl Stitches before continuing.
Step 3: Set Up the Stitch for Repair
Before you start pulling the ladders through, make sure all of the ladder bars are sitting behind the dropped stitch. This is important because you need them there to pull through from the back.
If any ladders are in front of the stitch, move them behind it now. Pinch the stitch between your fingers so it doesn’t escape while you get set up.
Step 4: Bring the Stitch Up from the Back

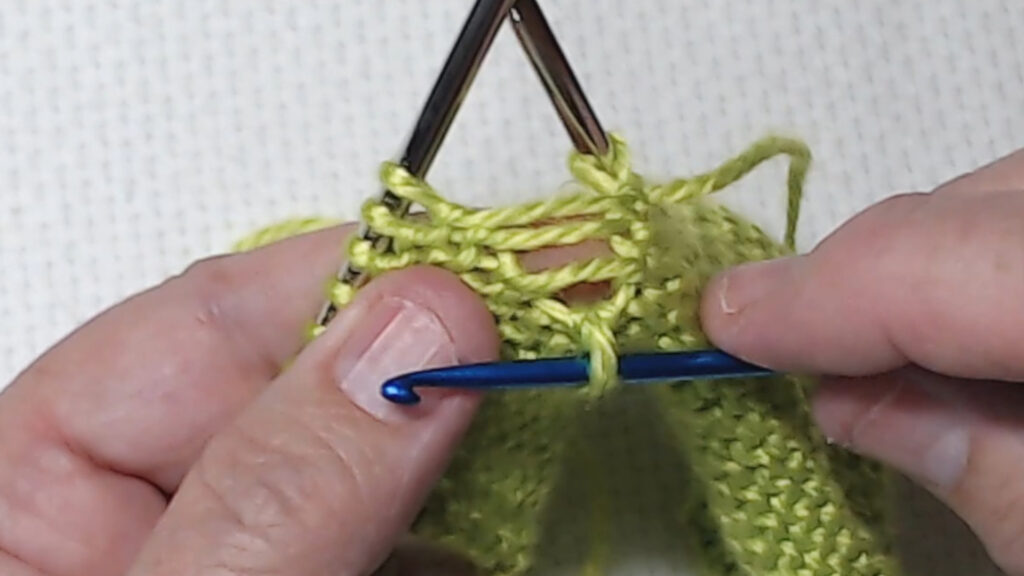
Insert your crochet hook into the dropped stitch from the back side of your work. This is the opposite of how you would approach it on the knit side.
Grab the first ladder bar and pull it through the loop on your crochet hook. That brings the stitch up one row.
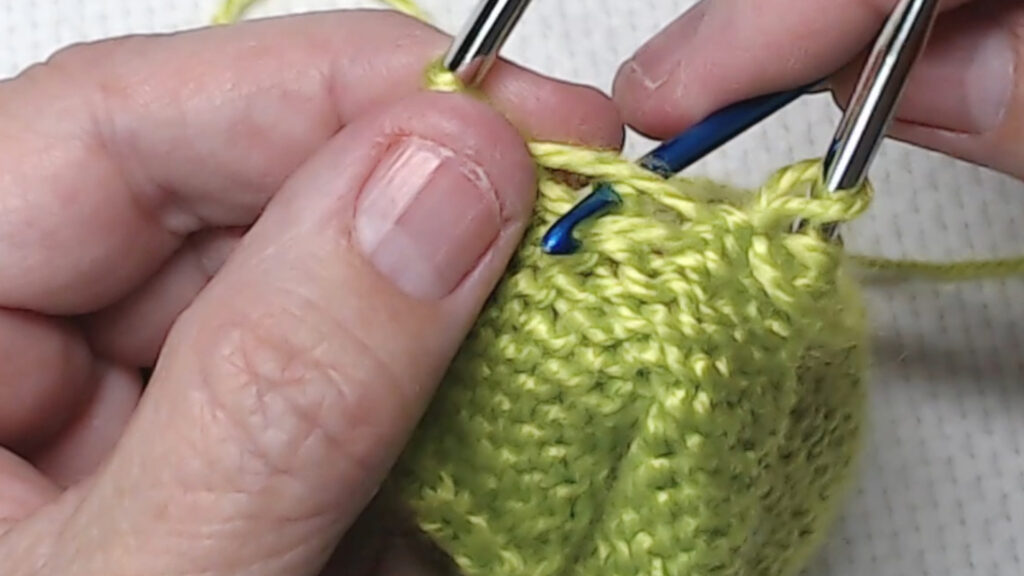
Move to the next ladder bar and repeat, always working from the back. Continue until the stitch has been brought up through all the rows and is back at the level of your needle.
If your yarn starts to fray or split and won’t pull through cleanly, try wrapping the stitch slightly around the crochet hook to create a tighter loop. That gives you more control as you pull through.
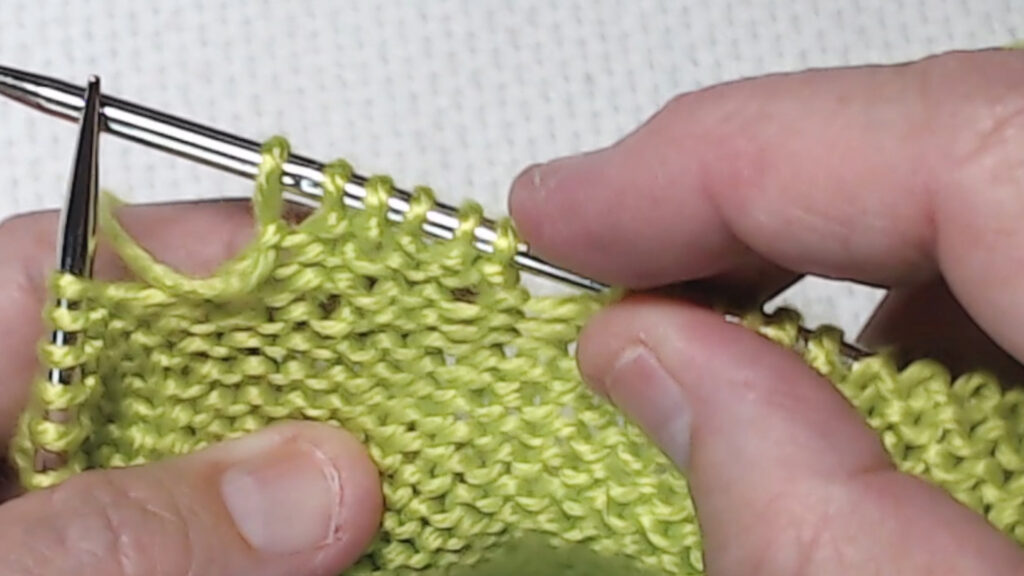
Step 5: Check for Twists and Return the Stitch
Before placing the repaired stitch back on your left needle, take a quick look at it. Check that it isn’t twisted. It should sit naturally without any crossed strands. If it looks twisted, reposition it before putting it back on the needle.
Once it looks correct, place it on the left needle and continue purling.
Tips for a Clean Purl Side Repair
Always work from the back. If you accidentally pull a ladder through from the front, you’ll create a knit stitch in your purl row. Catch it early and rip back that one ladder before moving to the next.
Pinch the stitch. The dropped stitch wants to keep unraveling. Keep it pinched between your fingers whenever the crochet hook isn’t through it.
Go slowly with splitty yarn. Some yarns are more prone to splitting when you’re working a repair. Wrapping the stitch around the hook instead of just catching it straight on gives you a firmer loop to pull through.
Check your repair after a few rows. Knit or purl a few stitches past the repair and then look back. You may see minor tension differences up close, but from a normal viewing distance the repair should be nearly invisible. Blocking at the end of your project will take care of most of what remains.
Final Thoughts
A dropped stitch on the purl side looks intimidating but it follows the same logic as the knit side repair once you understand what’s different. The direction you pull the ladders through is the only real change. Take it one ladder at a time, work from the back, and you’ll have it fixed before long.
Next Steps
- Working on the knit side? How to Fix a Dropped Stitch on the Knit Side (Stockinette)
- Browse more repair tutorials: Fixing & Recovery Hub
")
")
")
