
Knitting Gauge Made Simple: How to Get the Perfect Fit Every Time
Gauge Made Simple
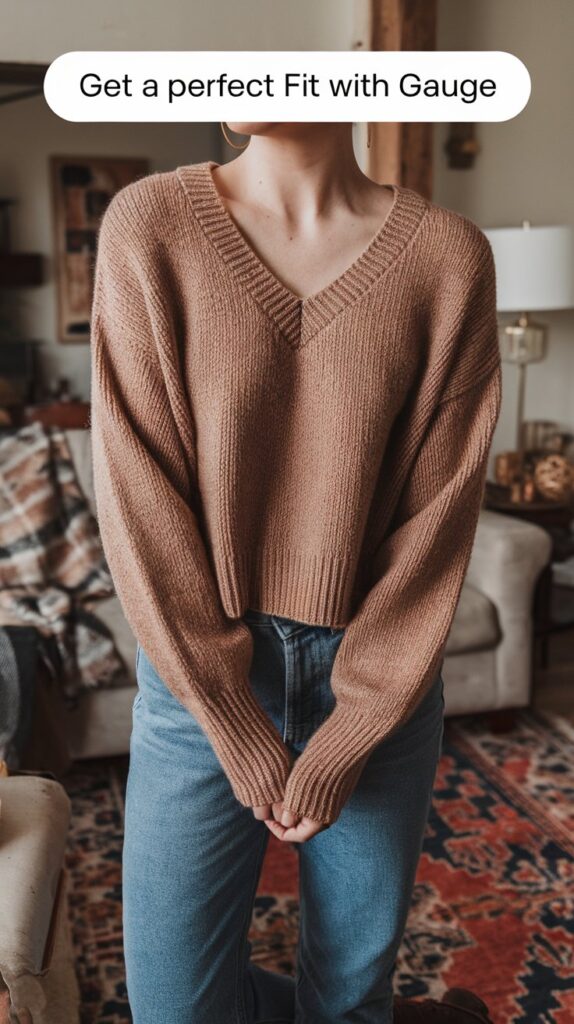
Have you ever followed a knitting pattern exactly but ended up with a hat that was too big or a sweater that didn’t fit? That’s a knitting gauge issue.
Knitting gauge is the key to ensuring your project turns out the right size. Without checking gauge, you could spend hours knitting something that doesn’t fit as expected.
In this guide, we’ll break down:
- What gauge is and why it matters
- How to measure and adjust your gauge
- Common mistakes and how to avoid them
By the end, you’ll feel confident checking gauge and ensuring your knitting projects turn out perfectly every time.
What is Knitting Gauge?
Gauge refers to the number of stitches and rows per inch in your knitting. Every knitter’s tension is different, meaning two people using the same yarn and needles can create different-sized stitches.
Patterns typically specify a recommended gauge. For example:
“Gauge: 18 stitches and 24 rows = 4 inches in stockinette stitch.”
If your stitches are too tight, your finished project will be too small. If they’re too loose, it will be too large. Checking the gauge before starting prevents surprises and ensures accuracy.
How to Check Your Knitting Gauge
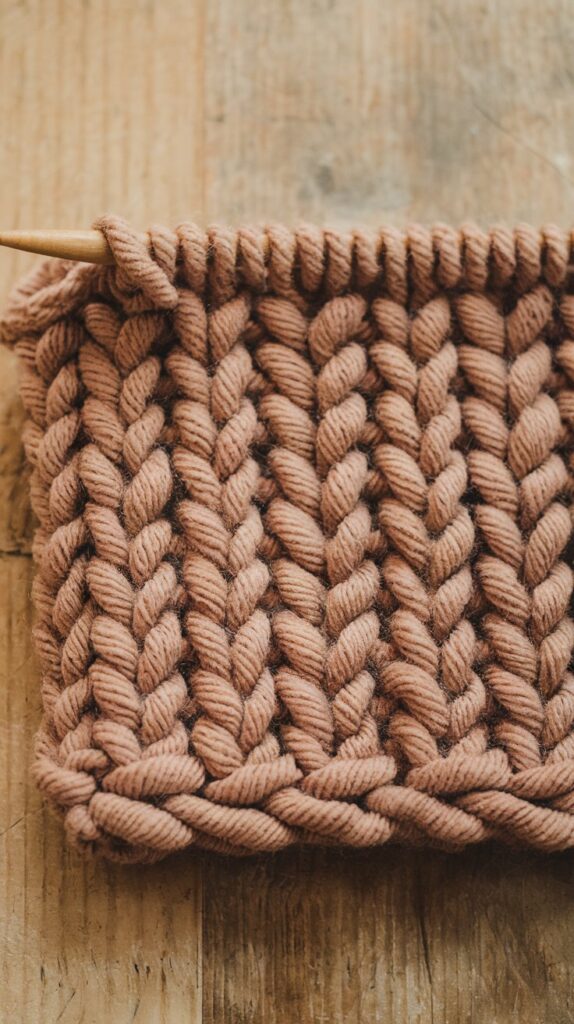
1. Knit a Gauge Swatch
- Use the same yarn, needles, and stitch pattern as the project.
- Cast on at least 5 inches worth of stitches, following the pattern’s gauge recommendation.
- Knit for 5 inches so you have enough fabric to measure accurately.
2. Block Your Swatch
Many fibers shrink, stretch, or change texture after washing. Always block your swatch the same way you plan to block the finished project.
- Soak in lukewarm water for 10-15 minutes
- Gently squeeze out excess water and lay flat to dry
- Pin edges if needed to prevent curling
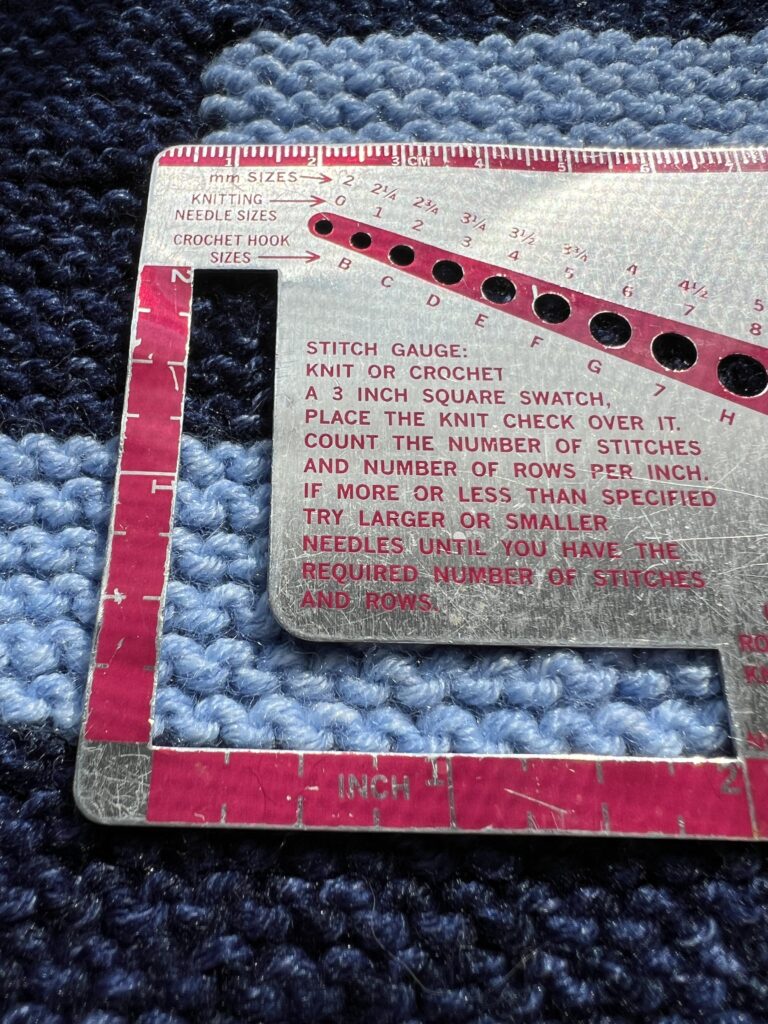
3. Measure Stitches and Rows
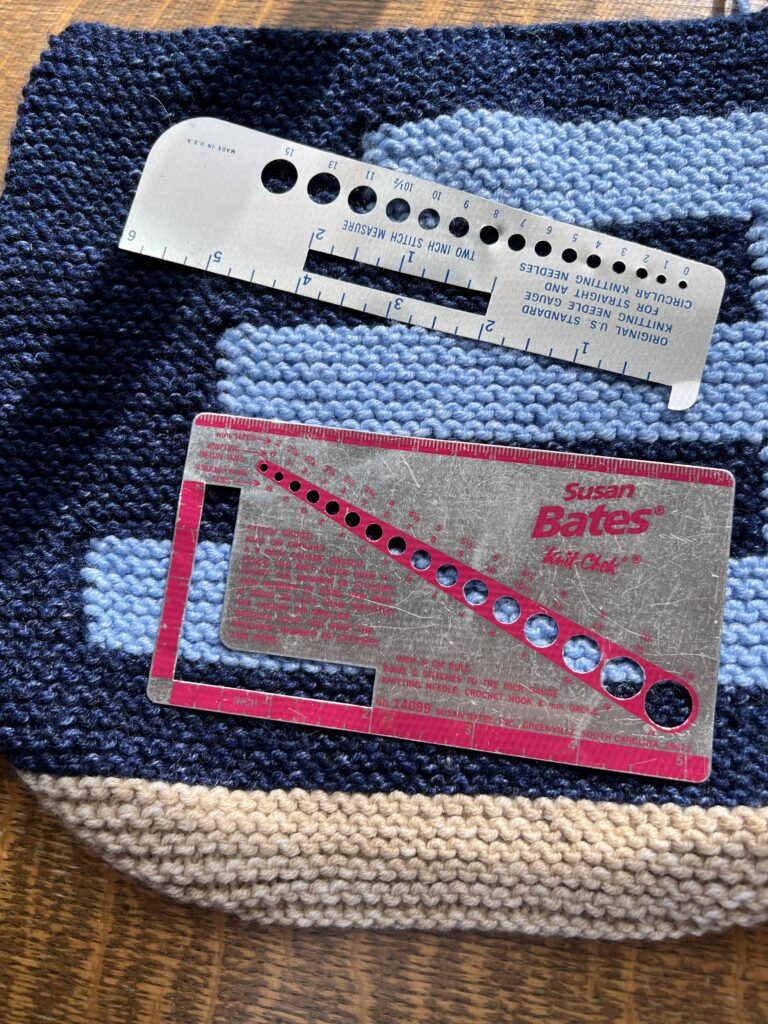
- Lay your swatch on a flat surface.
- Use a ruler or gauge tool to count how many stitches fit in 4 inches.
- Do the same for rows.
If your stitch count matches the pattern’s gauge, you’re ready to begin. If not, adjustments are needed.
How to Adjust Your Gauge
If You Have Too Many Stitches Per Inch (Too Tight)
- Switch to a larger needle to create bigger stitches.
- Relax your tension and avoid pulling the yarn too tight.
If You Have Too Few Stitches Per Inch (Too Loose)
- Switch to a smaller needle to make your stitches tighter.
- Maintain even tension to keep stitches consistent.
If Your Row Gauge is Off
- Row gauge can sometimes be adjusted by adding or removing rows in length-based patterns.
- If the pattern has shaping, adjusting row gauge may require modifying stitch counts to maintain the correct shape.
What Happens if You Skip Checking Gauge?
Not checking gauge might seem tempting, but here’s what can happen:
- A hat that fits like a bucket instead of snugly on your head
- A sweater that’s too short, too wide, or just completely off
- A blanket that ends up twice as big or too small to be useful
Gauge swatches take a few extra minutes but save hours of frustration in the long run.
Common Questions About Knitting Gauge

What if my row gauge doesn’t match, but my stitch gauge does?
Prioritize stitch gauge over row gauge. You can often adjust row counts to reach the right dimensions.
Do I need to check gauge for every project?
For garments and fitted accessories, yes. For scarves or blankets, gauge isn’t always critical.
What if my gauge swatch is perfect, but my knitting tension changes over time?
Try to relax and maintain consistent tension. If you tend to knit more loosely or tightly as you go, check gauge throughout the project.
Final Thoughts
Knitting gauge is the secret to perfectly sized projects. Taking a few minutes to knit a swatch can save you hours of re-knitting and help ensure your final piece fits beautifully.
Before starting your next project, check your gauge and make adjustments as needed—you’ll be glad you did.
Next Steps:
➡️ Want to learn how to Fix a Knitting Problem?
➡️ If you want a project that feels meaningful, why not try knitting my Tales from the Stash Scrap Blanket. Get the pattern for free.


