
How to Knit Stitch for Beginners – Learn the Basics with This Easy Tutorial (Part 2)
Ready to Knit Your First Row? Let’s Do It Together
If you’ve just learned to cast on—congrats! 🎉 You’ve taken your first step into the wonderful world of knitting. Now it’s time for your very first knit stitch—and I’ll guide you through every loop, wrap, and scooch. 😊
This tutorial is Part 2 of my beginner knitting series and builds on our Long Tail Cast On lesson. You’ll learn how to create that classic “V” shape stitch that forms the foundation of so many projects.
💡 Watch the full video below and follow along at your own pace!
🧵 What Is the Knit Stitch?
The knit stitch is the most fundamental technique in knitting. It’s the building block for garter stitch, stockinette stitch, and many more patterns. Once you master this stitch, you’re well on your way to making scarves, dishcloths, blankets—even sweaters!
Here’s What You’ll Learn in This Video:
- How to hold your needles and yarn comfortably
- Where to insert your needle (and why the “X” shape matters!)
- How to keep your tension steady
- What to do if your yarn frays or slips
- A simple rhyme to remember the steps
🧶 Step-by-Step: How to Work the Knit Stitch
“Stab it, strangle it, scoop out the guts, throw it off the cliff!”
Yes, really. This little rhyme helps remember the four core steps. 😄
🔹 Step 1: Set Up Your Needles
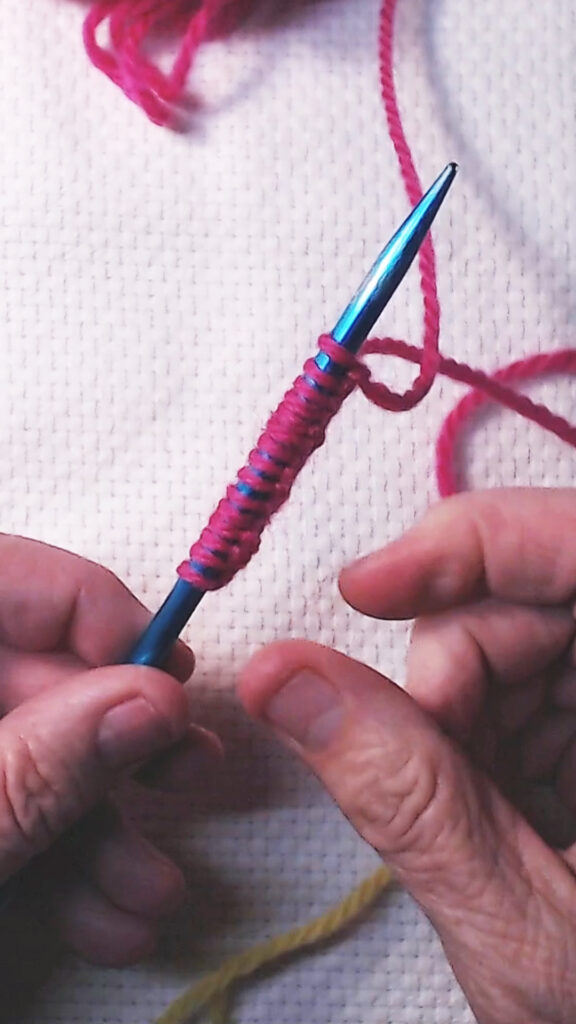
Make sure all your cast-on stitches are lined up neatly with the knots facing down. Your working yarn (the one connected to the ball) should be at the back of your work.
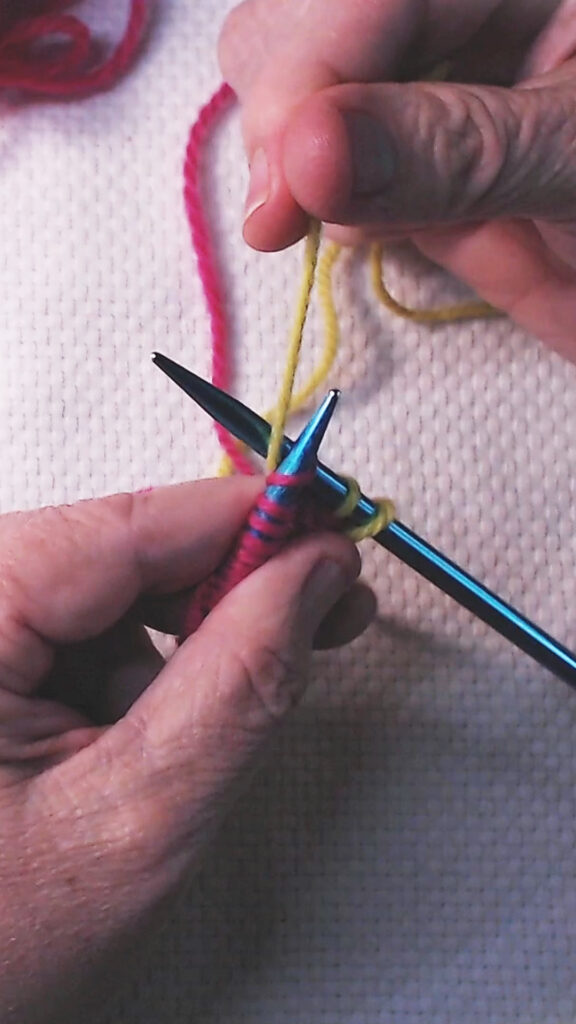
🔹 Step 2: Insert Your Needle

Insert your right-hand needle into the first stitch on the left-hand needle from bottom to top—this forms an “X” shape.
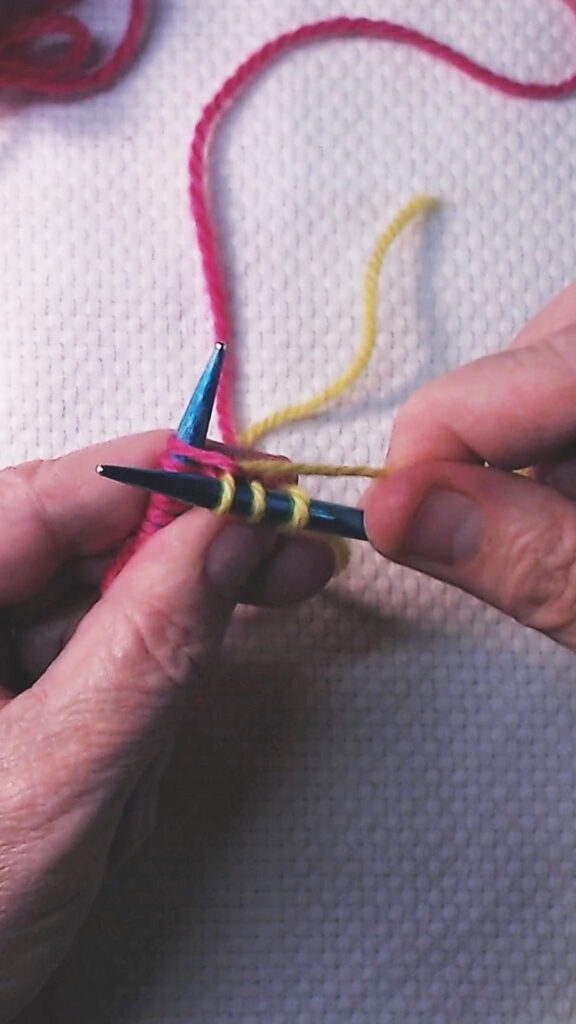
🔹 Step 3: Wrap the Yarn
Bring the working yarn around the back of the needles and forward between them.
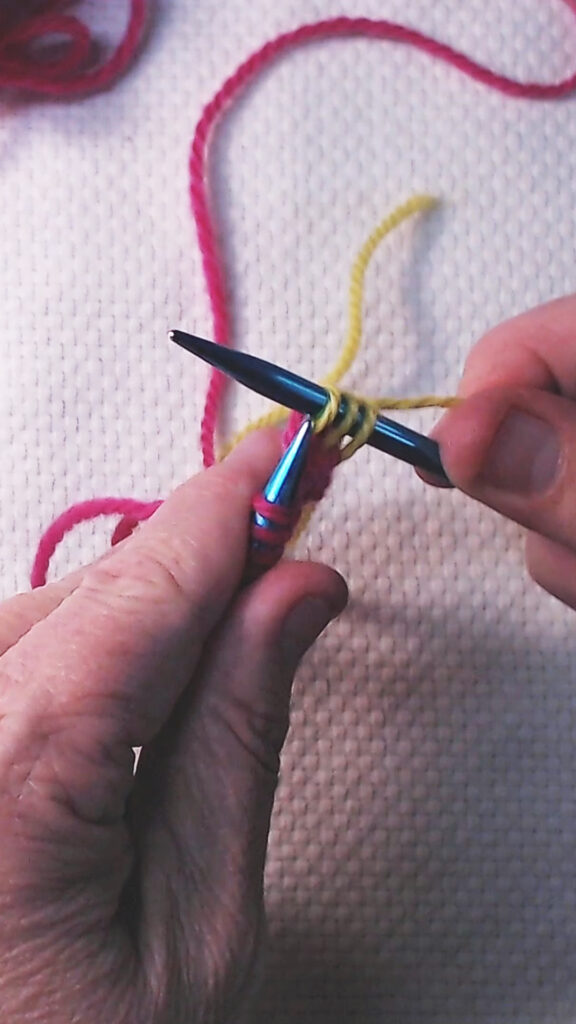
🔹 Step 4: Scoop and Slide
Gently pull the yarn through the stitch using your right needle, then let the old stitch drop off the left needle. One stitch down!
Repeat these four steps for each stitch across the row.
🧶 Jen’s Tips for Beginners
- I’m using a a contrasting color for the first row so you can see it clearly. Yours will continue with the same yarn you cast on with.
- Your first row may feel tight—that’s totally normal! You cast on tighter than you knit.
- Avoid splitting the yarn—go under the whole strand, not into the middle of it.
- If your stitches look wonky, just keep going. Every knitter started here. You’ll have looser and tighter stitches. The even stitches come with more practice.
🌟 You’re not doing it wrong—you’re just learning!
Next Step for Beginners!
🔗 More Beginner-Friendly Help
Looking for more guidance? Start at the beginning or move forward to the next skill!
- 🎥 Part 1: Long Tail Cast On
- 🧶 Beginner Tools & Supplies
- 📚 On YouTube Knitting 101: Start Here
- ✨ Mindful Knitting Video – Freebie
💬 Let’s Keep Stitching Together
This blog is just one part of the cozy community we’re creating. For more tutorials, mindful moments, and yarny goodness:
👉 Follow me on Instagram: @jennyknitsdaily
📺 Subscribe on YouTube for the next video in the series (coming soon: The Purl Stitch!)
🧘♀️ Grab your free calming knitting video at the top of the blog
You’ve got this. One stitch at a time. 💗
")

")
