
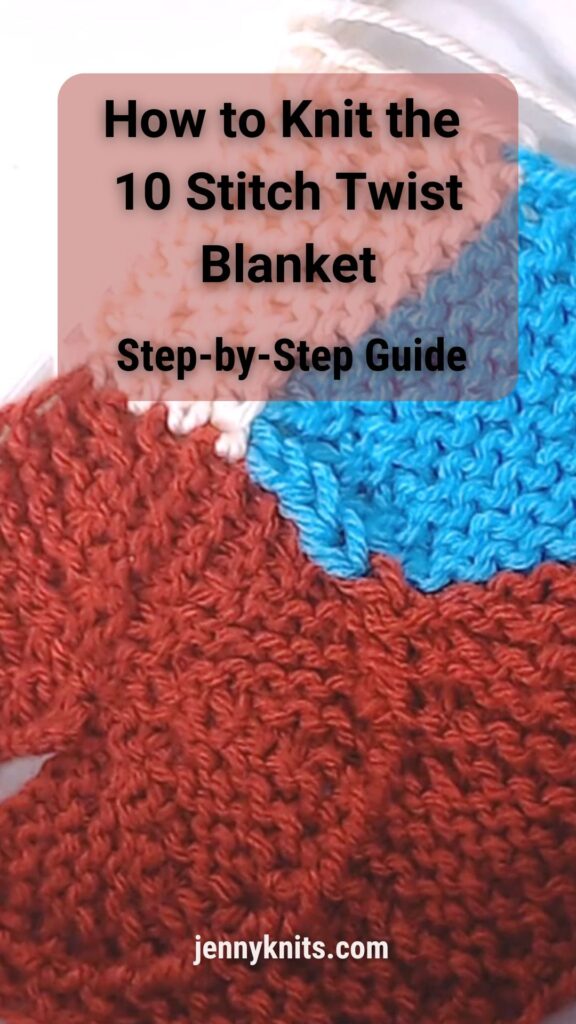
How to Knit the 10 Stitch Blanket – Step-by-Step Guide
The 10 Stitch Blanket is a mesmerizing, spiraling knit blanket that is perfect for using up leftover yarn. This unique pattern, designed by Frankie Brown, is available for free on Ravelry. Look for the variations as well!
Unlike traditional blankets that require sewing multiple strips together, this pattern is worked in one continuous spiral, joining as you go. This eliminates the need for tedious seaming, making it an enjoyable and meditative project.
In this step-by-step tutorial, we’ll walk through how to knit this blanket, including:
✔️ Creating the center circle using pie-shaped wedges
✔️ Increasing stitches to reach 10 stitches on the needle
✔️ Working the continuous spiral
✔️ Different joining techniques for a seamless look
With detailed explanations, video tutorials, and knitting tips, this guide will help you confidently knit your own 10 Stitch Twist Blanket! 🧶💙
What You’ll Need For the 10 Stitch Blanket
Before we begin, here are the materials you’ll need:
- Yarn: Any weight of yarn can be used. Frankie Brown originally knit hers with Noro Kureyon (a worsted-weight yarn).
- Needles: Choose a needle size that works well with your yarn.
- Tapestry Needle: For weaving in ends.
- Stitch Markers (Optional): To track your progress.
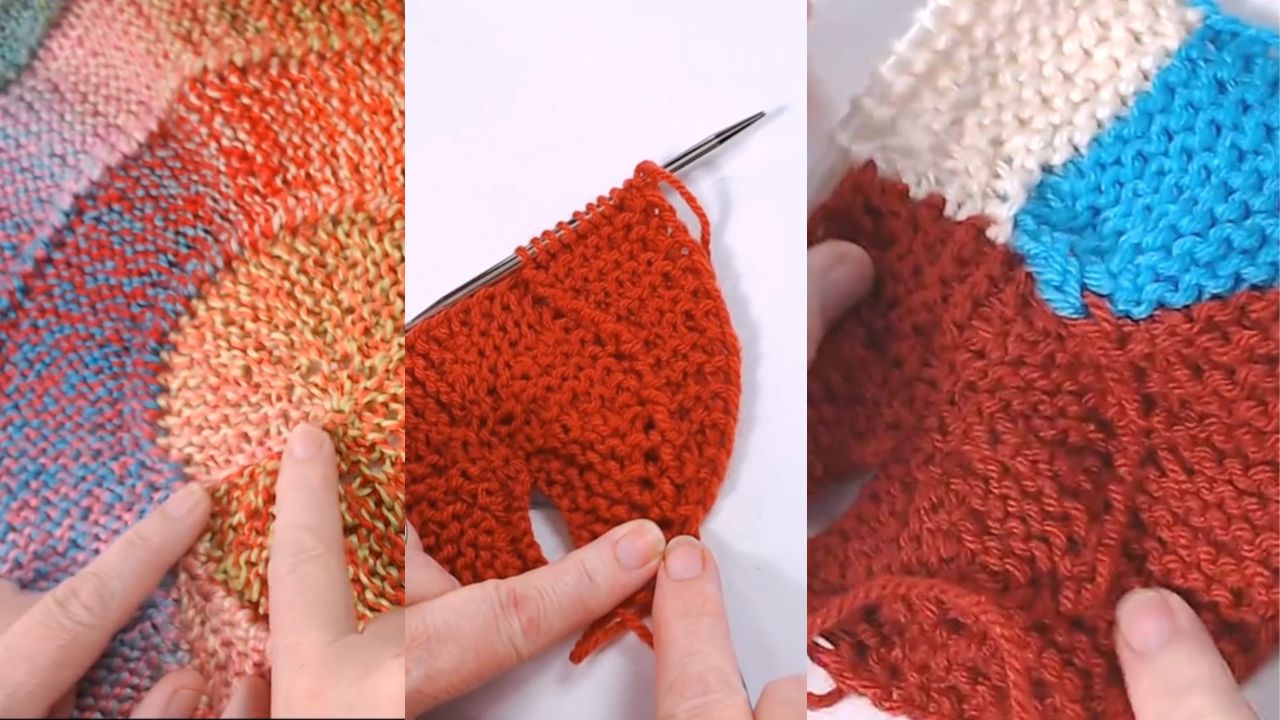
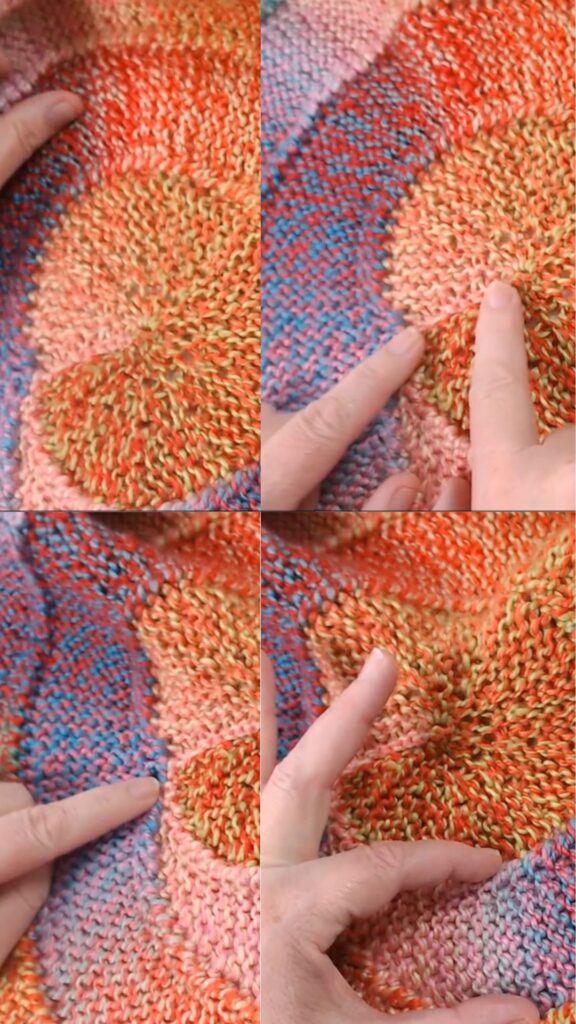
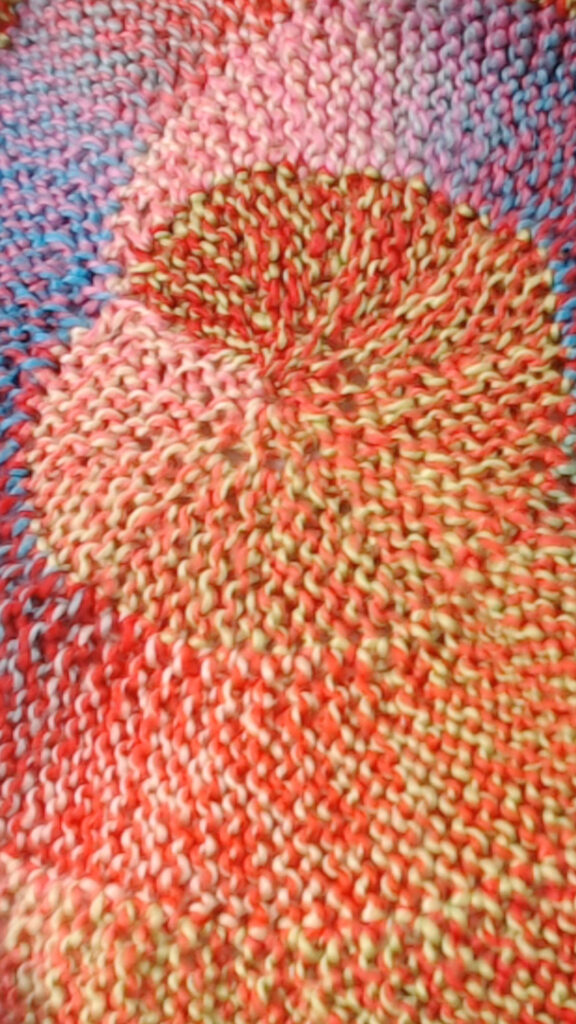
Step 1: Knitting the Center Circle
The 10 Stitch Twist Blanket begins with a small circular center, formed by knitting short rows to create wedge-shaped “pie pieces.” These pieces are then connected to form a complete circle.
🔹 Key Concept: Short Rows
This pattern uses short rows to create shaping. Instead of knitting all stitches in every row, you’ll work partway across, wrap a stitch, and turn back.
🎥 Video Tutorial – Starting the Center Circle
(Watch the video below to see how to create the pie-shaped wedges in detail.)
📝 Instructions:
1️⃣ Cast On 10 Stitches using the long-tail cast-on method.
2️⃣ Knit short rows, gradually increasing the number of stitches worked in each row.
3️⃣ Once a full pie piece is created, start the next section using the same technique.
4️⃣ Repeat these steps until the circle is complete and meets the starting edge.
🔹 Tip: Slipping the first stitch on each row creates a cleaner edge, making it easier to join stitches later.
Step 2: Joining the Center Circle
Once all pie sections are complete, it’s time to seam the final edge to complete the circular shape.
Joining the Ends:
- Use the long tail from your cast-on stitches to sew the first and last pie pieces together.
- You can use a mattress stitch or a simple whip stitch for a neat finish.
- Once joined, you’ll have one stitch remaining on your needle, ready to begin the spiral.
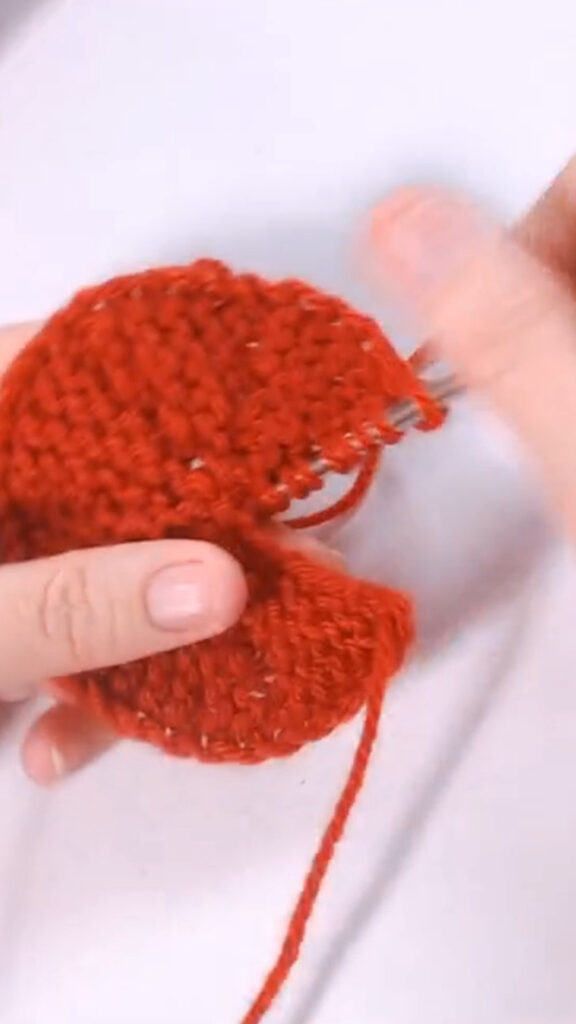
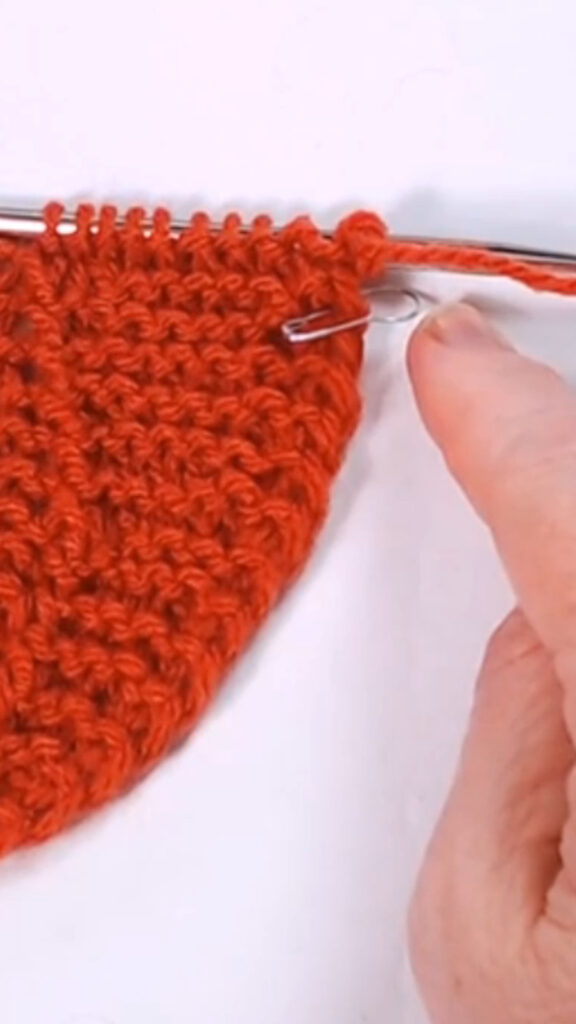
Step 3: Increasing to 10 Stitches
After joining the center, you’ll slowly increase from 1 stitch to 10 stitches.
How It Works:
1️⃣ Start with one stitch on your needle.
2️⃣ Increase one stitch every other row using the knit front & back (KFB) increase or a make one (M1) increase.
3️⃣ Continue increasing until you have 10 stitches on your needle.
4️⃣ Maintain a slipped-stitch edge for easier joining.
🔹 Tip: If the increase method in the original pattern feels confusing, you can modify it by always increasing on the second stitch instead of the first.
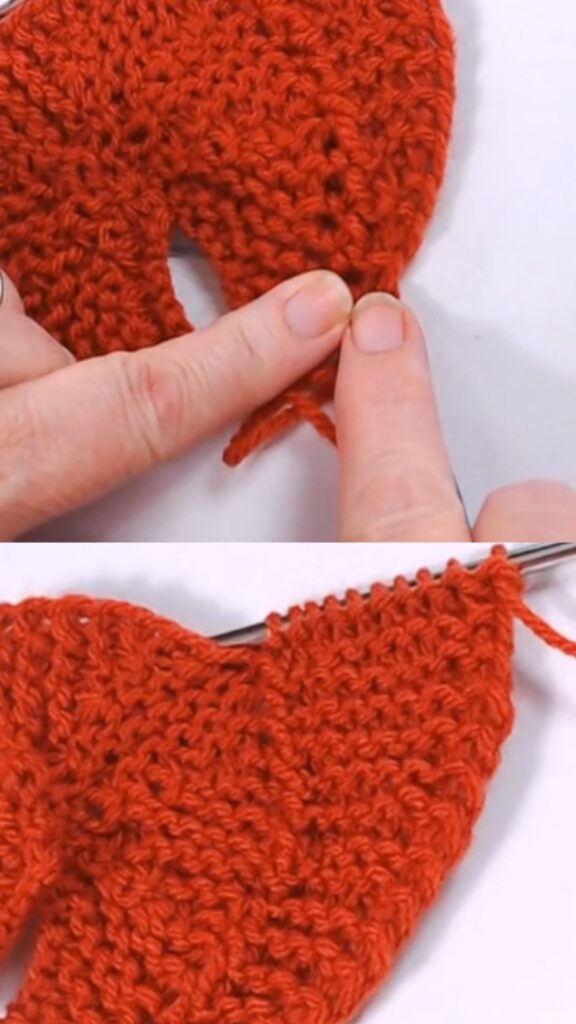
Step 4: Knitting the Spiral and Joining Stitches
Now that you have 10 stitches on your needle, the main body of the blanket begins.
This pattern is worked in a continuous spiral, where:
- You knit 10 stitches per row.
- The last stitch of each row is joined to the previous row’s edge.
- You work short rows at intervals to maintain the round shape.
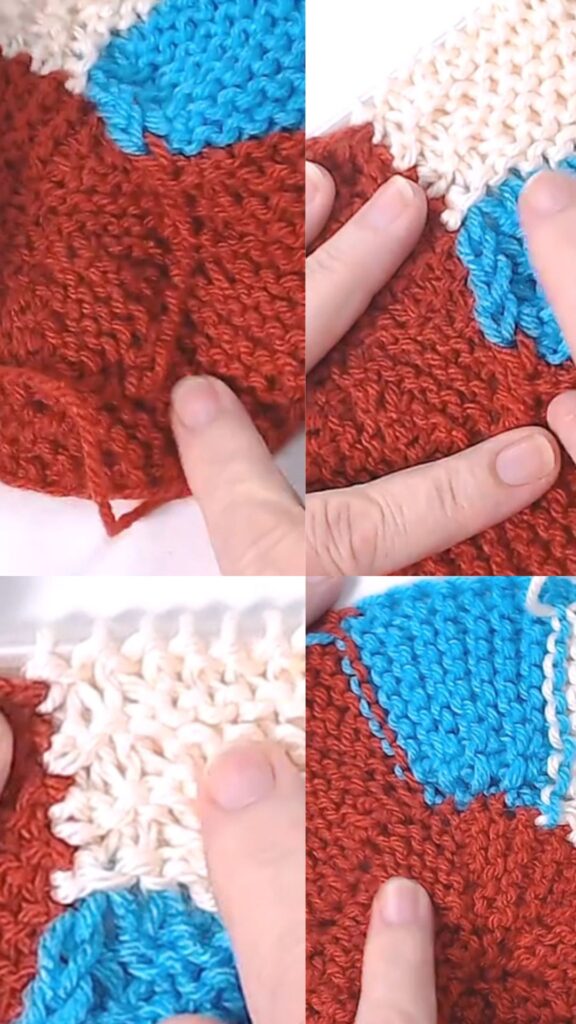
3 Ways to Join the 10 Stitches to the Blanket
There are multiple ways to join your stitches as you spiral outward. Here are three options:
🔹 1. Simple Join (Default Method)
- Slip the last stitch purlwise.
- Pick up a stitch from the previous row’s edge.
- Pass the slipped stitch over the picked-up stitch.
- This method creates a small ridge on the right side and a smooth back.
🔹 2. Chain Join
- Slip the last stitch knitwise.
- Create a yarn-over loop before picking up a stitch.
- Pass both the yarn-over and the last stitch over the picked-up stitch.
- This creates a decorative chain effect along the join.
🔹 3. Knit 2 Together (K2tog) Join
- Instead of slipping a stitch, knit the last stitch together with the picked-up stitch.
- This method creates a flatter seam that blends more smoothly.
🔹 Tip: Try each method on a swatch before deciding which looks best for your blanket!
Step 5: Expanding the Spiral
As your blanket grows, you’ll adjust the frequency of short rows to maintain the curvature:
1️⃣ First Section: Knit one short row (knit 8 stitches, wrap & turn) between each full row.
2️⃣ As the Blanket Grows: Increase the number of full rows between short rows.
3️⃣ Final Sections: Work long sections without short rows for a smoother edge.
🔹 Tip: Placing a stitch marker at the beginning of each new spiral can help track progress.
Finishing the Blanket
Once your blanket reaches the desired size:
✔️ Bind off all stitches using a stretchy bind-off method. OR
✔️ Slowly decrease a stitch just after the beginning Slip Stitch to get back to 1 stitch and cast off.
✔️ Weave in ends securely.
✔️ Block the blanket to smooth out the edges and even out stitches.
🔹 Optional: You can add an i-cord edging for a more polished finish.
📌 Pattern Source & Credit
The 10 Stitch Twist Blanket is a free pattern designed by Frankie Brown. You can download the full pattern here:
➡️ Ten Stitch Twist Blanket on Ravelry
Frankie Brown generously provides her patterns for free, encouraging knitters to donate to Children’s Liver Disease Foundation if they wish to support her work.
Next Steps
Learn more about Edges & Finishing
More Projects that use up your Stash Yarn.

")
")
")