
Superman Scarf: How to Knit a Diagonal Scarf Pattern (Free Pattern + Video Series)
Some knitting projects just stick with you. This diagonal scarf pattern is one of mine. I named it the Superman Scarf because of the yarn I used when I first made it, and the man I named it after. My dad had been sick for a long time and nearing the end. I sat many days and night in his hospital room and knit. This particular scarf was what I was working on the day he passed away.
When I was finally able to finish the scarf months later, I added the red corner, a nod to superman’s cape. I miss him.
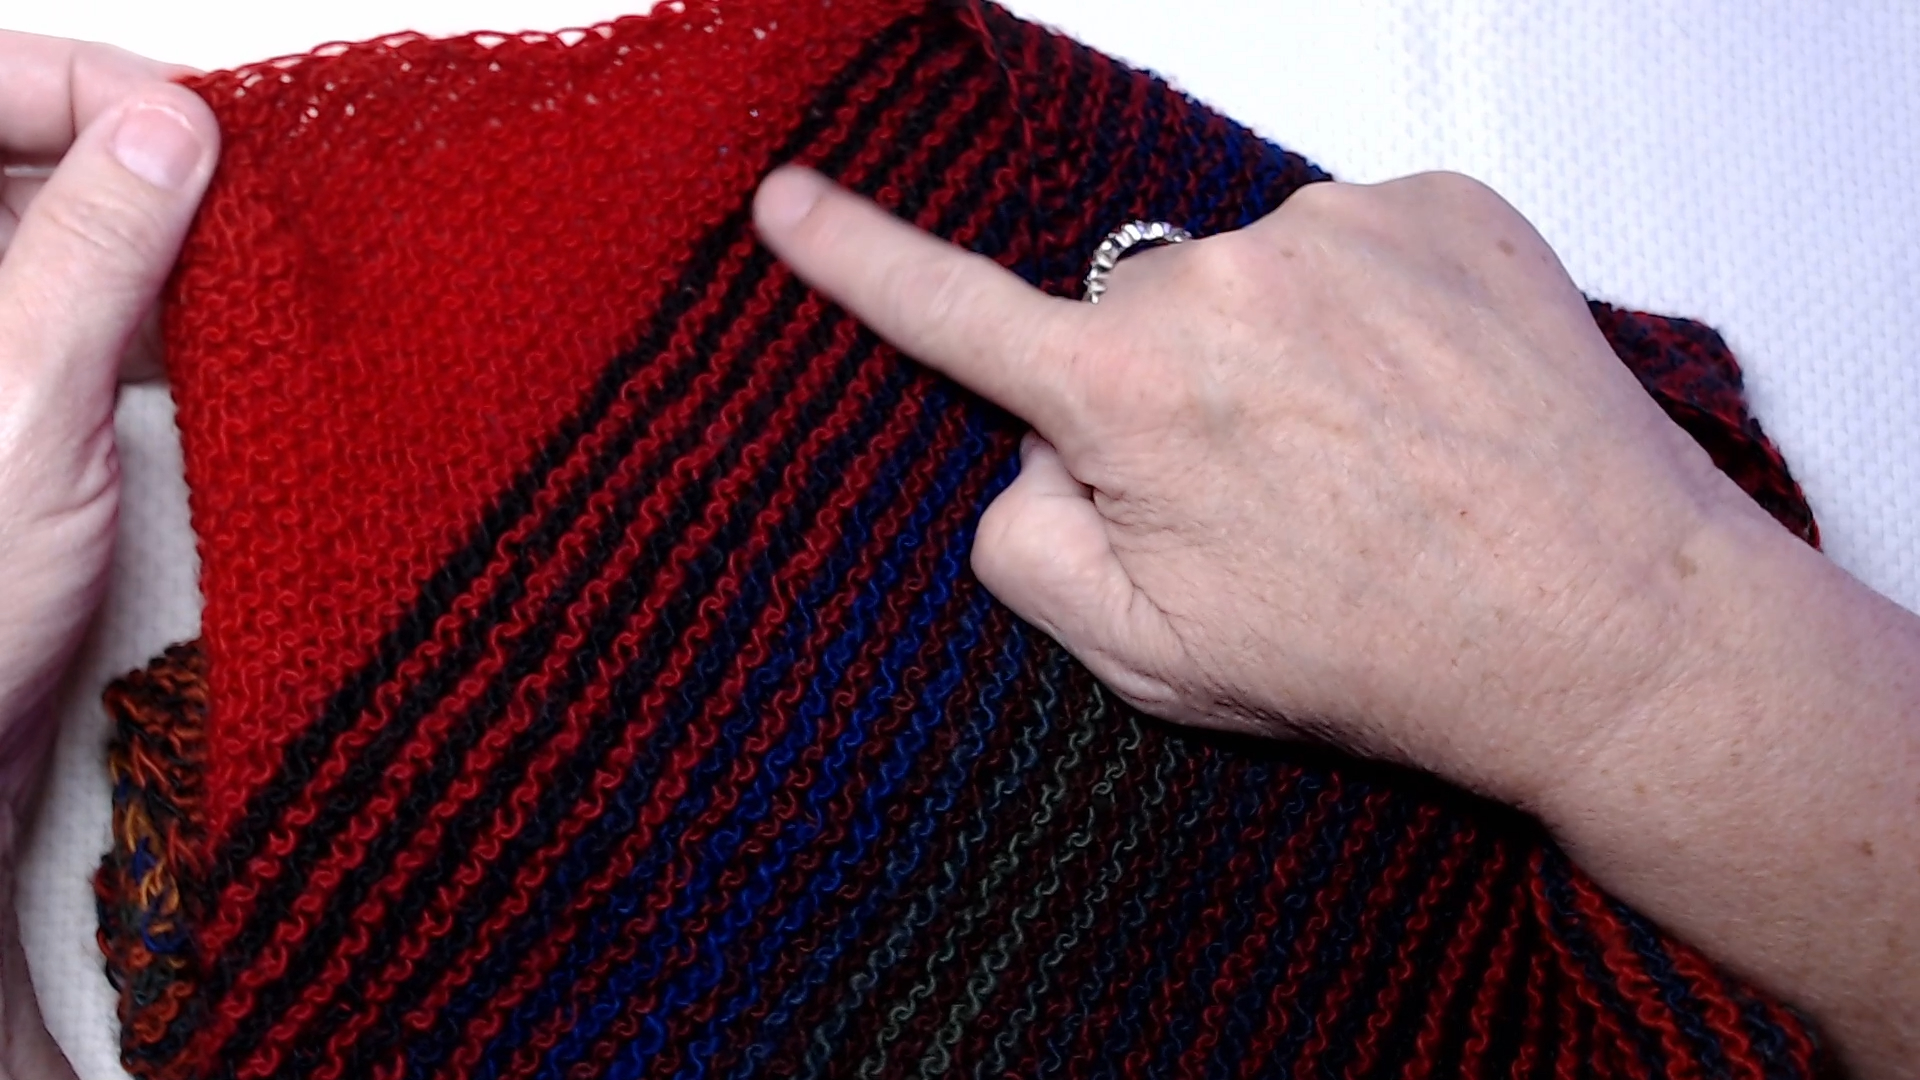
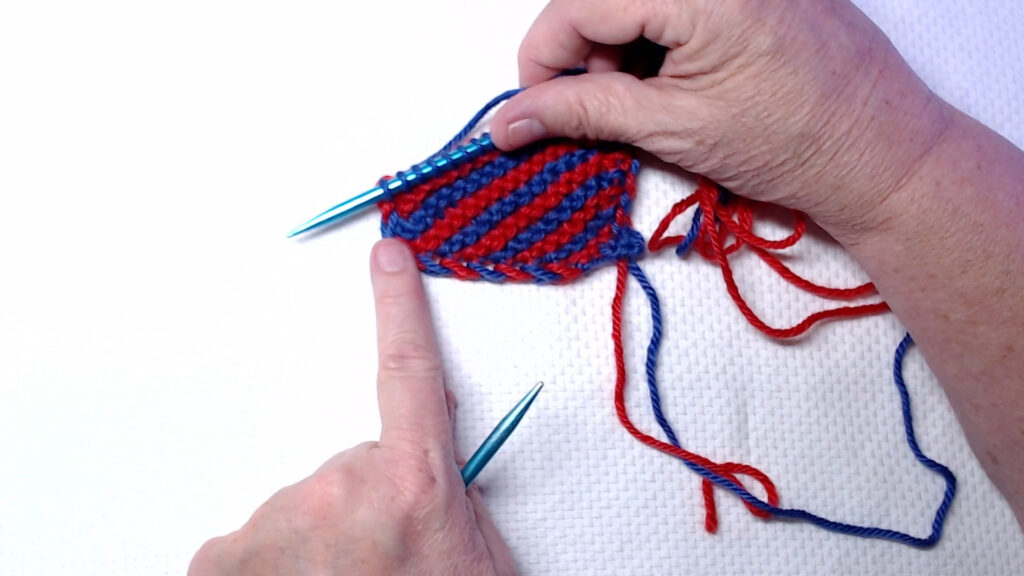
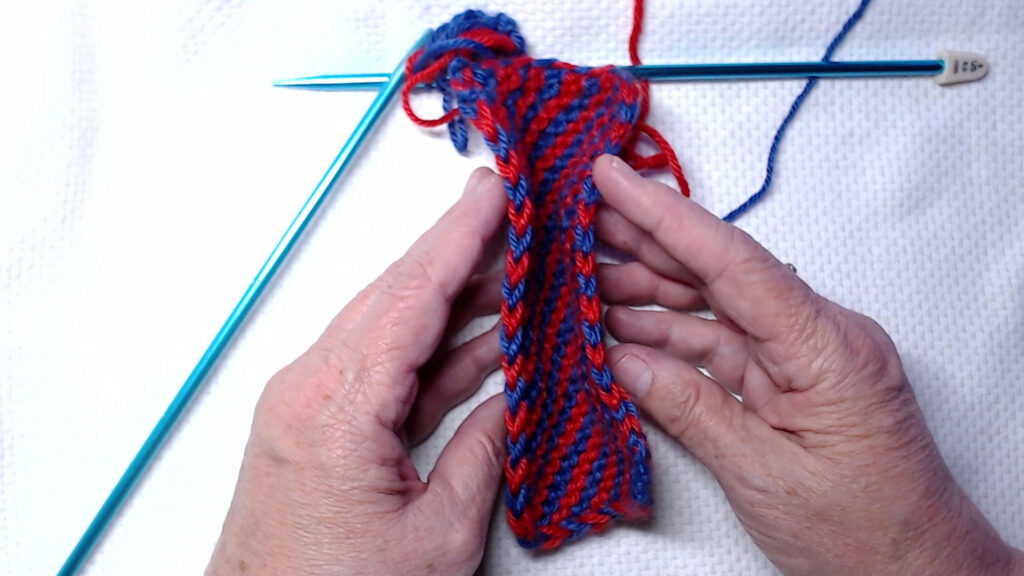
The diagonal knit scarf is worked entirely in garter stitch with slipped stitch edges. It starts with just 3 stitches, grows diagonally to your desired width, travels across as the body, then decreases back down to 3 stitches before binding off. No gauge swatch needed. No specific yarn weight required. Use whatever yarn you have and the needles that go with it. It works beautifully with variegated yarn, solid colors, or anything from your stash.
The full four-part video series walks you through every step from cast on to bind off. The free pattern is available to download below, and the written instructions are also included on this page if you want to follow along without printing anything.
Watch the Full Video Series
What You’ll Need
- Any yarn you like
- Knitting needles appropriate for your yarn (check the yarn label)
- A crochet hook or tapestry needle for weaving in ends
No gauge swatch needed. No specific yarn weight required. This pattern is designed to work at any size.
A Note on Yarn
This pattern is a great way to use up a single skein of something special. Variegated yarns look especially good because the diagonal construction lets the color shifts travel across the scarf at an angle rather than pooling in one spot. Solid colors work beautifully too.
In the intro video I share a look at several variegated yarns that work well for this pattern so you can get a sense of what to look for when choosing from your stash. I’ll post some links at the bottom of this page.
The Superman Scarf Pattern
Abbreviations
- CO: cast on
- kfb: knit into the front and back of the stitch (increase)
- k2tog: knit two stitches together (decrease)
- k1: knit 1 stitch
- Slip 1: slip the first stitch purlwise with yarn in front, then bring yarn to back before knitting
How the Diagonal Scarf Pattern Works
The shape comes entirely from where you place your increases and decreases.
During the increase phase you add a stitch at both edges on every right side row. The scarf gets wider with each pass until it reaches the width you want.
During the body you add one stitch at one edge and remove one stitch at the other edge on every right side row. The stitch count stays the same but the diagonal continues traveling across, which is what creates the body of the scarf.
During the decrease phase you remove a stitch at both edges on every right side row. The scarf narrows back down until you’re back to 3 stitches and ready to bind off.
The slipped stitch on the first stitch of every row creates a clean, even edge on both sides of the scarf.
Tips for Knitting the Superman Scarf
Slipping the first stitch matters. It creates those tidy edges that make the scarf look finished without any extra work. Make sure you slip purlwise with the yarn in front, then bring the yarn to the back before you start knitting.
Mark your right side rows. Use a stitch marker or a small safety pin on the right side of your work so you always know which row gets the increases or decreases. This becomes especially helpful during the body phase when the two rows look very similar.
Measure width before transitioning to the body. Lay your scarf flat and measure across the widest point before you start the body section. It’s much easier to check width before the corner turn than to try to measure mid-project.
The body length is up to you. There’s no set length for the body section. Knit until the scarf feels right for your yarn and your preference, then move into the decrease phase. Make sure you leave enough yarn for the final decrease phase, it takes more yarn than you might think, so don’t finish your yarn balls too early.
Blocking evens everything out. Garter stitch can look a little uneven off the needle, especially with handspun or rustic yarn. A light wet block will smooth the tension and open up the fabric beautifully.
What I Used to Make This Scarf
Some links contain affiliate links and I earn from qualifying purchases.
Final Thoughts
The Superman Scarf is one of those patterns that looks more complicated than it is. Once you understand the three phases, Grow | Maintain | Decrease, the rest is just garter stitch. It’s a great project for a beginner who has learned the basics and wants to make something with a little more shape, and it’s just as satisfying for an experienced knitter looking for a mindless project that still produces something interesting.
Grab the free pattern below and work through the video series at your own pace.
Next Steps
- Beginner Basics can help you if you get stuck on anything in this pattern.
- This pattern is perfect for stash yarn. Get more ideas in the Stash Knitting hub.
- Ready to tackle more projects? Visit Projects You Can Finish for more beginner-friendly patterns.
")

")
")