
Knitting Hack: How to Hide Purl Bumps When Changing Colors in 3 Steps
Struggling with Color Changes in Ribbing?
You’ve just switched yarn colors in your knitting project—only to find an ugly row of purl bumps ruining the look. Frustrating, right? So, let’s learn how to hide purl bumps when changing colors.
Whether you’re knitting a striped sweater, a cozy scarf, or any project with ribbing, those bumps can make your work look messy. But don’t worry—there’s a simple trick to hide purl bumps in knitting and make color changes look seamless.
In this guide, I’ll walk you through a knitting hack that eliminates purl bumps, so your ribbed fabric stays crisp and professional.
Why Do Purl Bumps Happen in Color Changes?
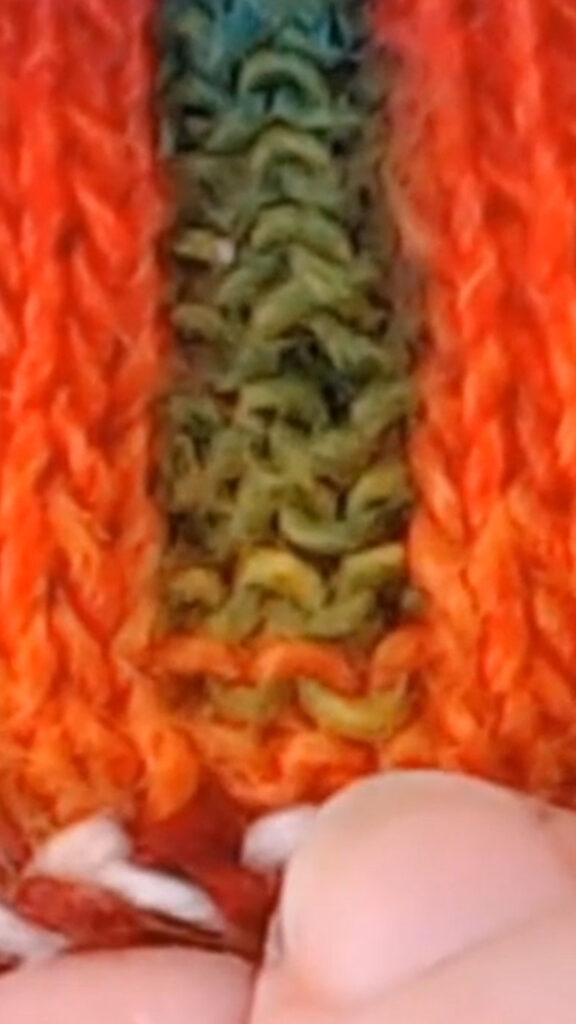
When switching colors in ribbing, purl stitches tend to trap the old yarn color, creating an uneven, bumpy look. Instead of a smooth transition, you get a line of visible color bleed. In this photo, the orange from each side is mixing with the green on the purl stitches and it doesn’t look good.
📌 The Problem: The purl stitches grab the previous color, making the transition obvious.
✅ The Solution: A small adjustment in the first row after changing colors prevents this from happening.
How to Hide Purl Bumps When Changing Colors in Knitting
Follow these easy steps to create smooth, invisible color transitions in ribbing:
Step 1: Change Colors at the Right Spot
- Always switch colors at the beginning of a new row.
- Start on a knit row (right side) for best results.
- Don’t tie knots—secure the yarn by weaving in later.
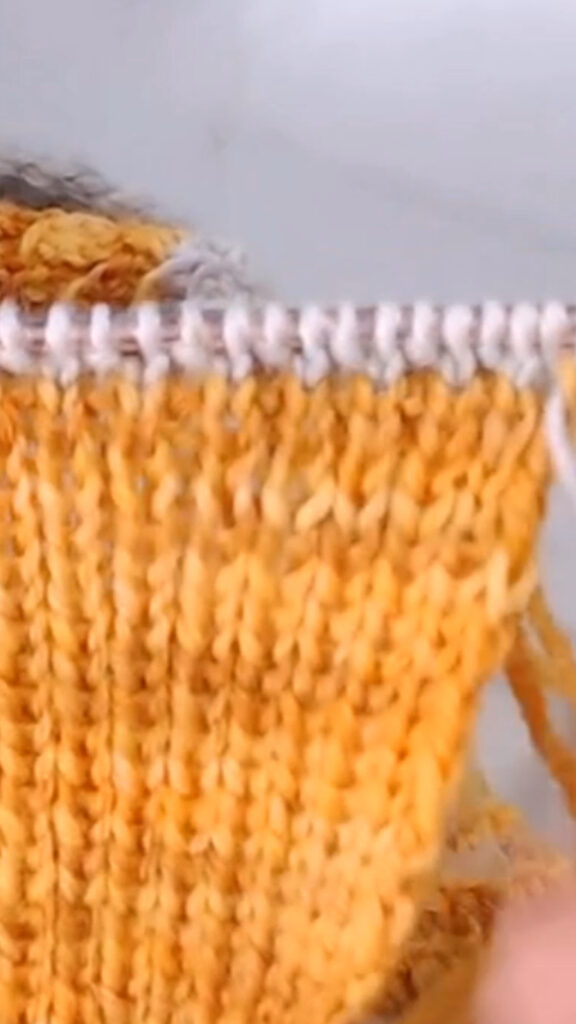
Step 2: Knit the First Row Instead of Ribbing
- Instead of following the knit-purl ribbing pattern, knit every stitch across the first row in the new color.
- This prevents the purl stitches from carrying over the old color.
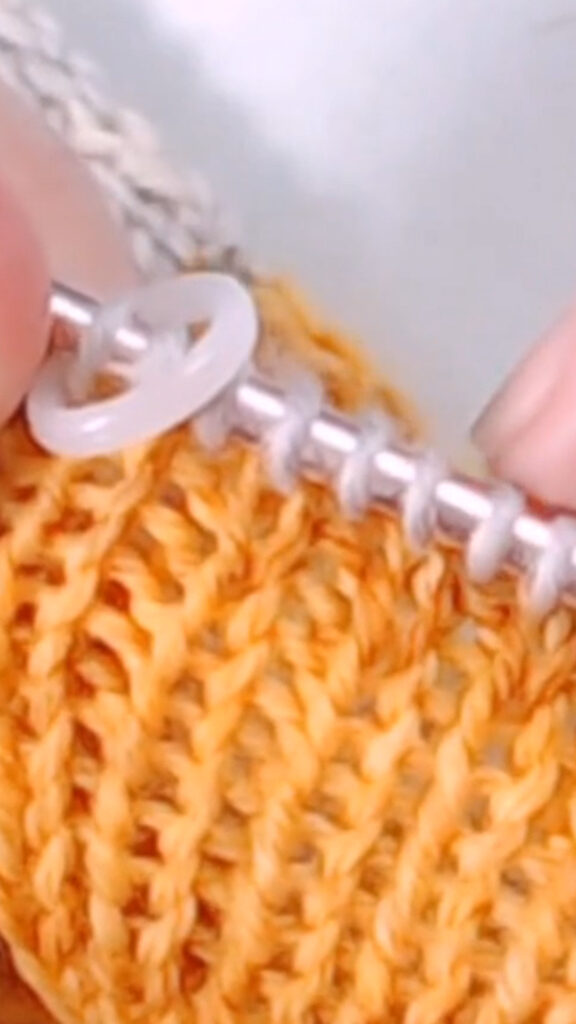
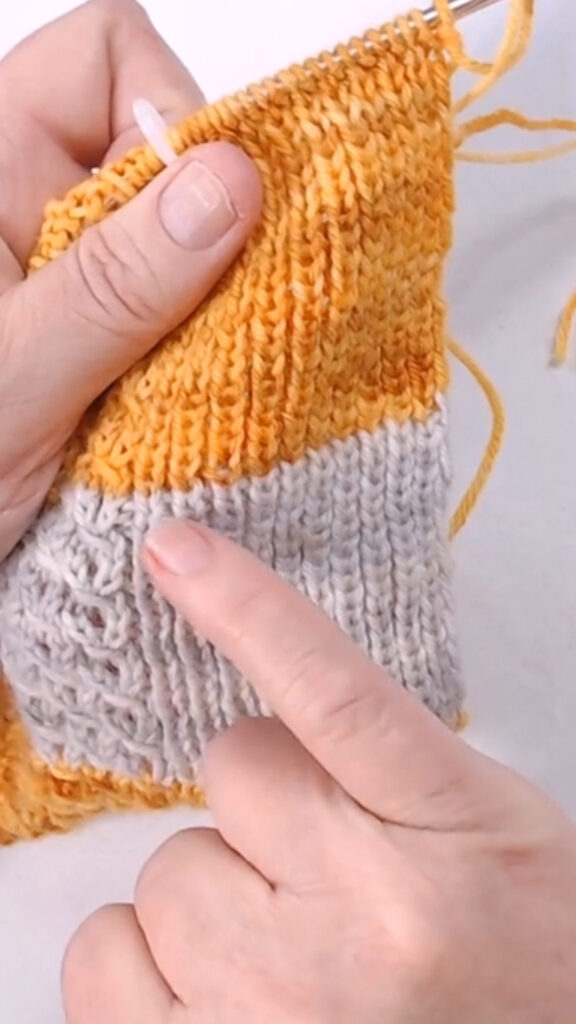
Step 3: Resume Ribbing on the Next Row
- On the next row, look at the stitches below to identify knits and purls.
- Return to the knit-purl ribbing pattern, aligning the stitches correctly.
Why This Trick Works
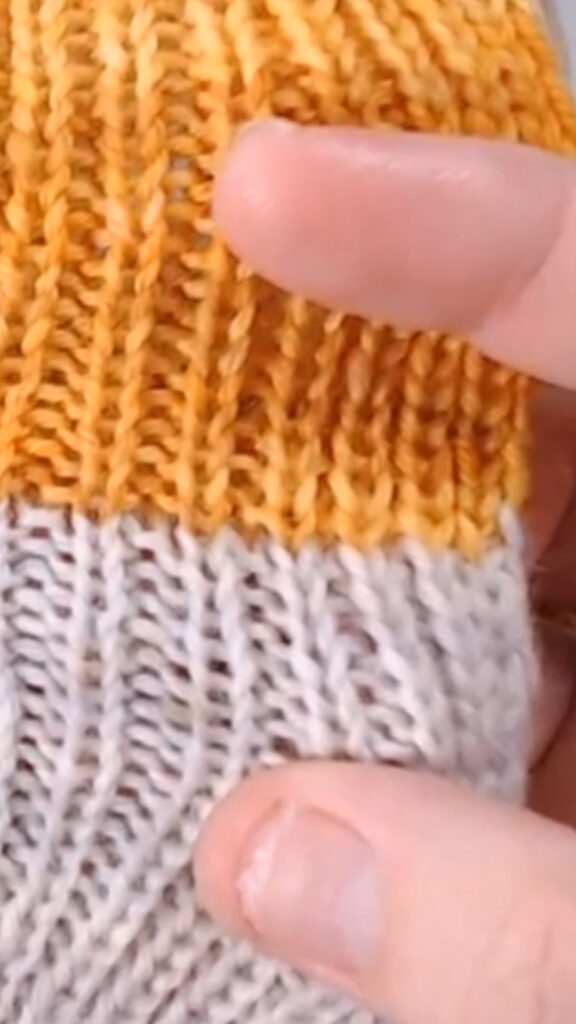
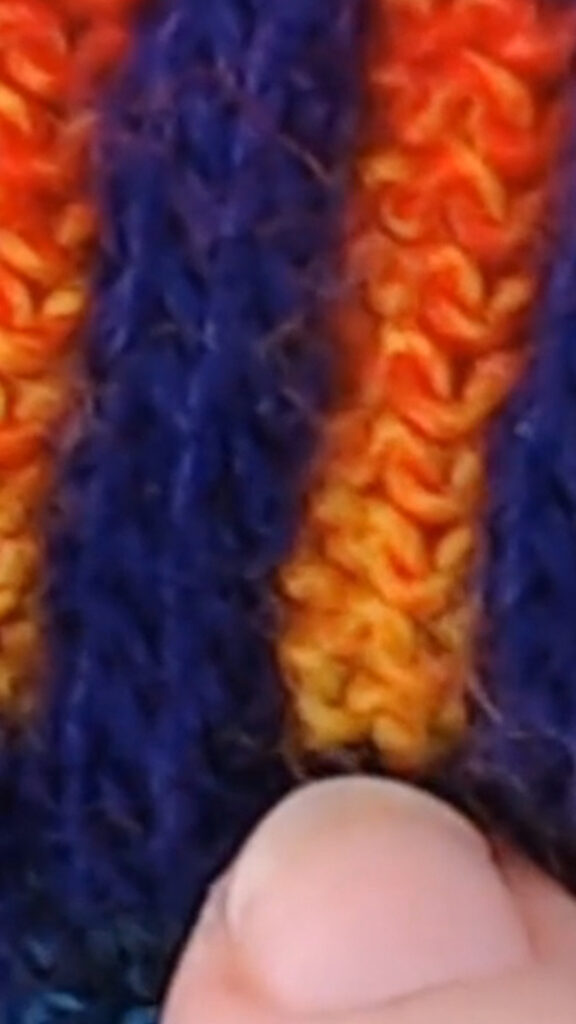
✔️ Eliminates harsh color transitions – Knitting the first row smooths out the switch.
✔️ Maintains ribbing stretch – Since you resume ribbing immediately, the fabric stays elastic.
✔️ Works on any ribbing pattern – Perfect for 1×1, 2×2, or any ribbed design.
Common Questions About Knitting Color Changes
Q: Does this work for stockinette stitch too?
A: You don’t need this trick for stockinette! Color changes naturally blend in knit-only patterns.
Q: Can I use this method for different yarn types?
A: Absolutely! It works for wool, cotton, acrylic—any fiber.
Q: What if I forget to do this trick?
A: If you’ve already finished the row, try duplicate stitching over the purl bumps to minimize their appearance.
Final Thoughts: A Simple Fix for a Big Problem
Knitting should be fun, not frustrating! This easy technique ensures that your color changes look clean and professional—no more annoying purl bumps.
Next Steps
If you’re building confidence with your stitches, Check out How to Unpurl Stitches and Fix Purl Mistakes Step by Step


