

How to Do the Kitchener Stitch (Step-by-Step Knitting Tutorial)
The Kitchener stitch is a grafting method that joins two sets of live stitches together so there is no visible seam. When done correctly, it looks like continuous stockinette fabric. That is why I use it to close the toe of a sock.
This tutorial walks you through the Kitchener stitch for stockinette stitch step by step, including the setup row, the four-step rhythm, and how to tighten the seam so it disappears.
What Is the Kitchener Stitch?
The Kitchener stitch is a grafting technique used to join two rows of live stitches. Instead of sewing the edges together like a mattress stitch, you duplicate the knit stitches with a tapestry needle so the join looks like it was knitted.
You will most often use the Kitchener stitch for:
- Closing the toe of a sock
- Grafting shoulder seams
- Joining pieces of stockinette fabric invisibly
If you are working in stockinette, make sure the right side (the knit side) is facing you while you work.
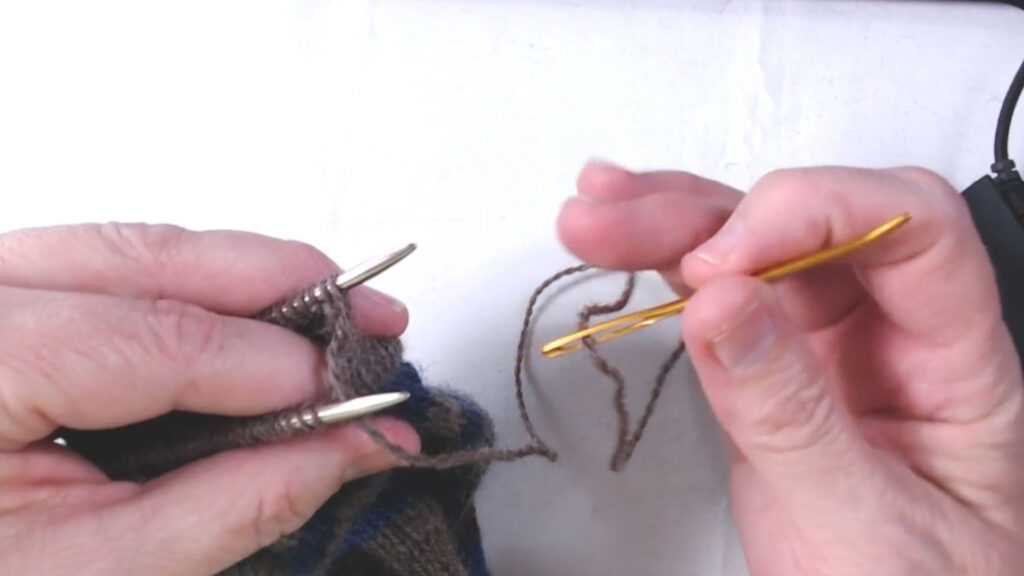
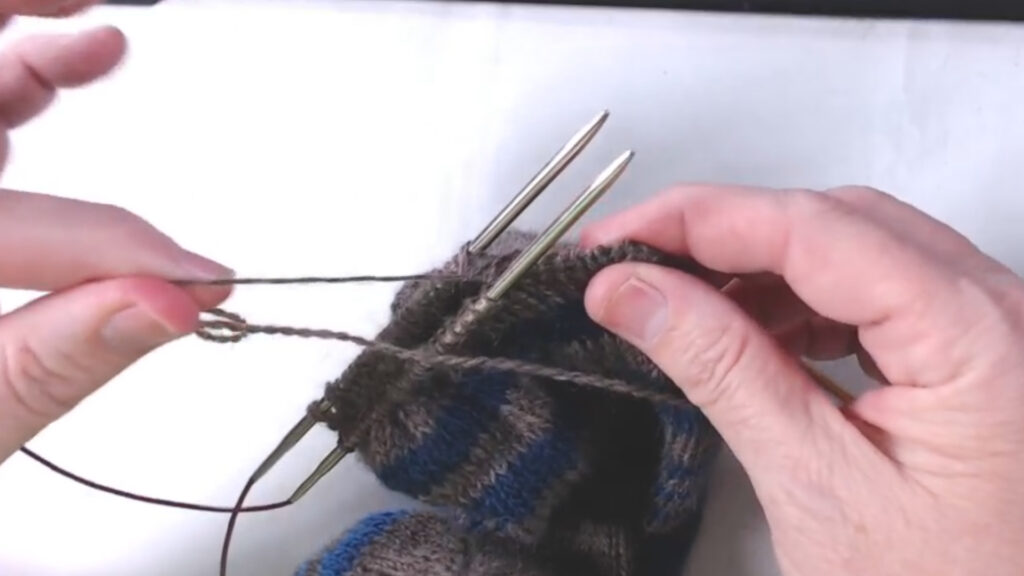
Cut and Prepare Your Yarn Tail
Before starting, cut your working yarn and leave a long tail.
A simple way to estimate the length is to lay the yarn across the stitches about four times. This gives you enough yarn to complete the graft without running out.
Thread the tail onto a tapestry needle with an eye large enough for your yarn.
Make sure:
- Both needles hold live stitches
- The right side of the fabric is facing you
- The working yarn is coming from the back needle
Work the Setup Row
Before beginning the four repeating steps, you need a setup.
- Insert the needle into the first stitch on the front needle as if to purl. Pull the yarn through. Leave the stitch on the needle.
- Insert the needle into the first stitch on the back needle as if to knit. Pull the yarn through. Leave the stitch on the needle.
Now you are ready to begin the Kitchener stitch repeat.
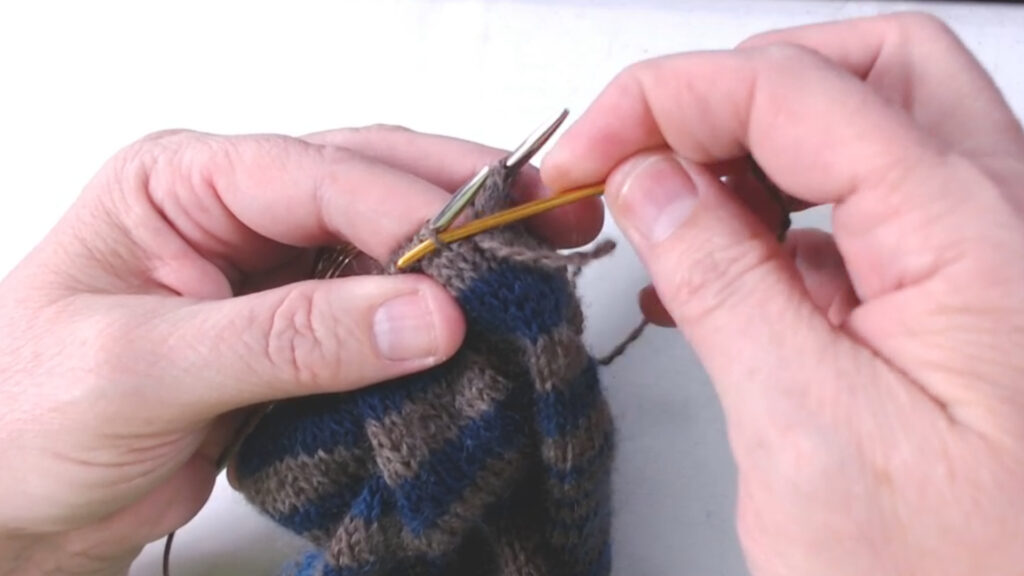
Follow the Four-Step Kitchener Repeat
The Kitchener stitch is worked in a repeating four-step sequence. Many knitters use a chant to remember it.
Front needle:
- Knit off
- Purl (leave on)
Back needle:
3. Purl off
4. Knit (leave on)
Here it is written clearly:
- Insert needle into first front stitch as if to knit. Pull through and slip the stitch off the needle.
- Insert needle into next front stitch as if to purl. Pull through and leave the stitch on the needle.
- Insert needle into first back stitch as if to purl. Pull through and slip the stitch off the needle.
- Insert needle into next back stitch as if to knit. Pull through and leave the stitch on the needle.
Repeat these four steps until all stitches are grafted.
If you need to pause, always stop after completing step four. That way you know exactly where to resume.
Keep Your Rhythm Steady
The Kitchener stitch is not difficult, but it can feel confusing at first.
A steady rhythm helps:
Front knit off
Front purl
Back purl off
Back knit
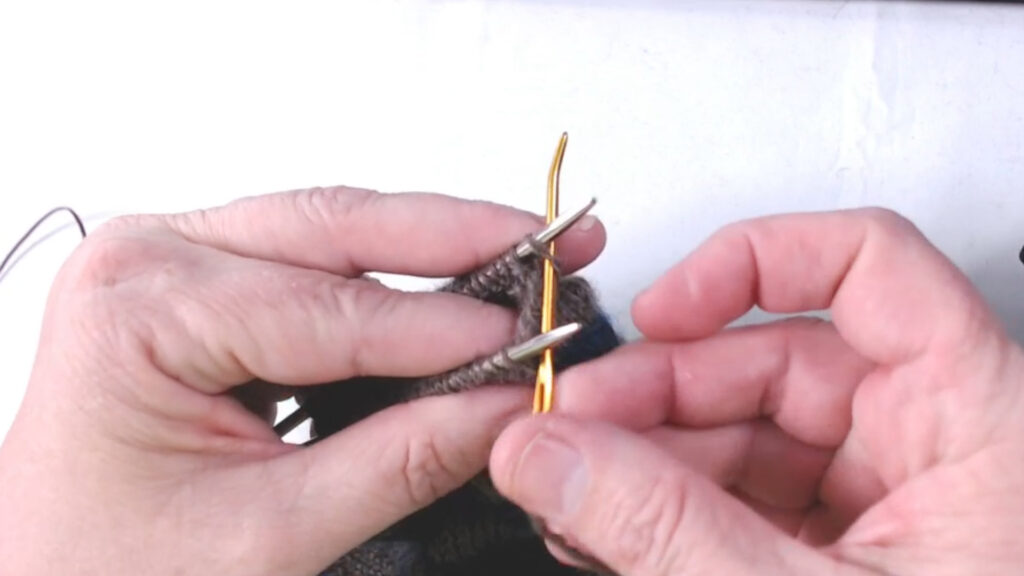
Be careful not to wrap the yarn around the needles accidentally as you move back and forth. Keep your stitches near the tips of the needles so they are easy to access.
If you ever need to back up, you can review how to tink or unknit step by step or how to un-purl stitches and fix purl mistakes.
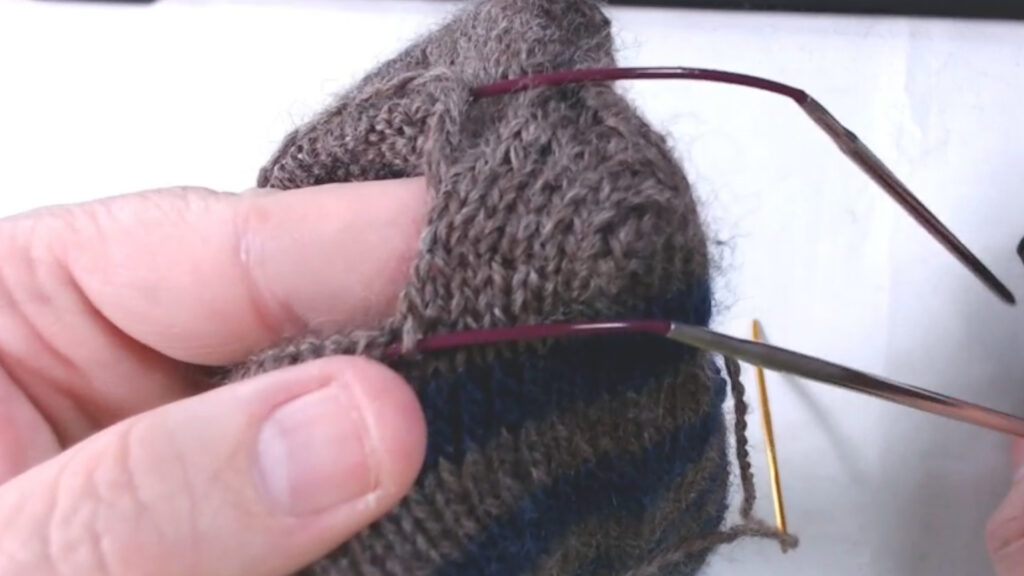
Tighten the Seam
After completing several repeats, gently tighten the graft.
Pinch the beginning of the seam so it does not pull too tight, then tug the working yarn to snug the stitches into place.
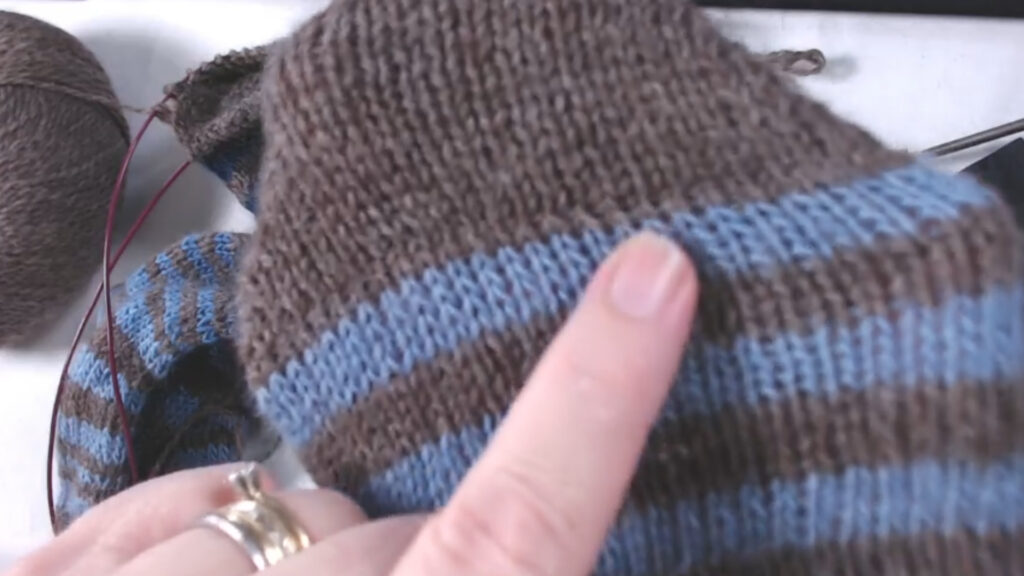
When tightened correctly, the join should look like smooth, continuous stockinette. You should barely see where the seam is located.
This is the beauty of the Kitchener stitch. It creates a completely invisible join.
Finish the Last Stitches
When you reach the final stitches:
- Complete the four-step sequence as usual
- Secure the yarn with a small knot on the inside if desired
- Weave in the end neatly on the wrong side
Your seam should look like uninterrupted knitting.
The Kitchener stitch takes practice, but once the rhythm clicks, it becomes second nature. It is one of those skills that feels confusing at first and then suddenly makes sense.
Next Steps
If you are building your core techniques, you may also find the Beginner Skill Building helpful.
Check for more Edges & Finishing: Clean Knitting Techniques for Polished Results
")
")
")
