
How to Pick Up Stitches Along an Edge (Slip Stitch vs Cast-Off Edge)
Picking up stitches along an edge is one of those techniques that shows up in all kinds of knitting projects like log cabin blankets, borders, button bands, and anywhere you’re adding a new section to existing fabric. It looks tricky at first, but once you know where to put your needle it becomes straightforward.
In this tutorial I’ll show you how to pick up stitches along two different types of edges: a slipped stitch edge and a cast-off edge. Each one has its own landmarks to look for, and knowing the difference makes the whole process much easier. There’s a full video below so you can follow along.
What You’ll Need
- Your knitting project with a finished edge
- A knitting needle in your working yarn size
- New yarn if you’re picking up in a different color
Why the Edge Type Matters
Not all knitted edges look the same, and the landmarks you use to pick up stitches depend on how that edge was created. A slipped stitch edge has clean holes that are easy to spot and easy to work into. A cast-off edge has a row of garter bumps that you’ll use as your guide instead. Knowing which type of edge you’re working on before you start saves a lot of frustration.
How to Pick Up Stitches Along a Slipped Stitch Edge
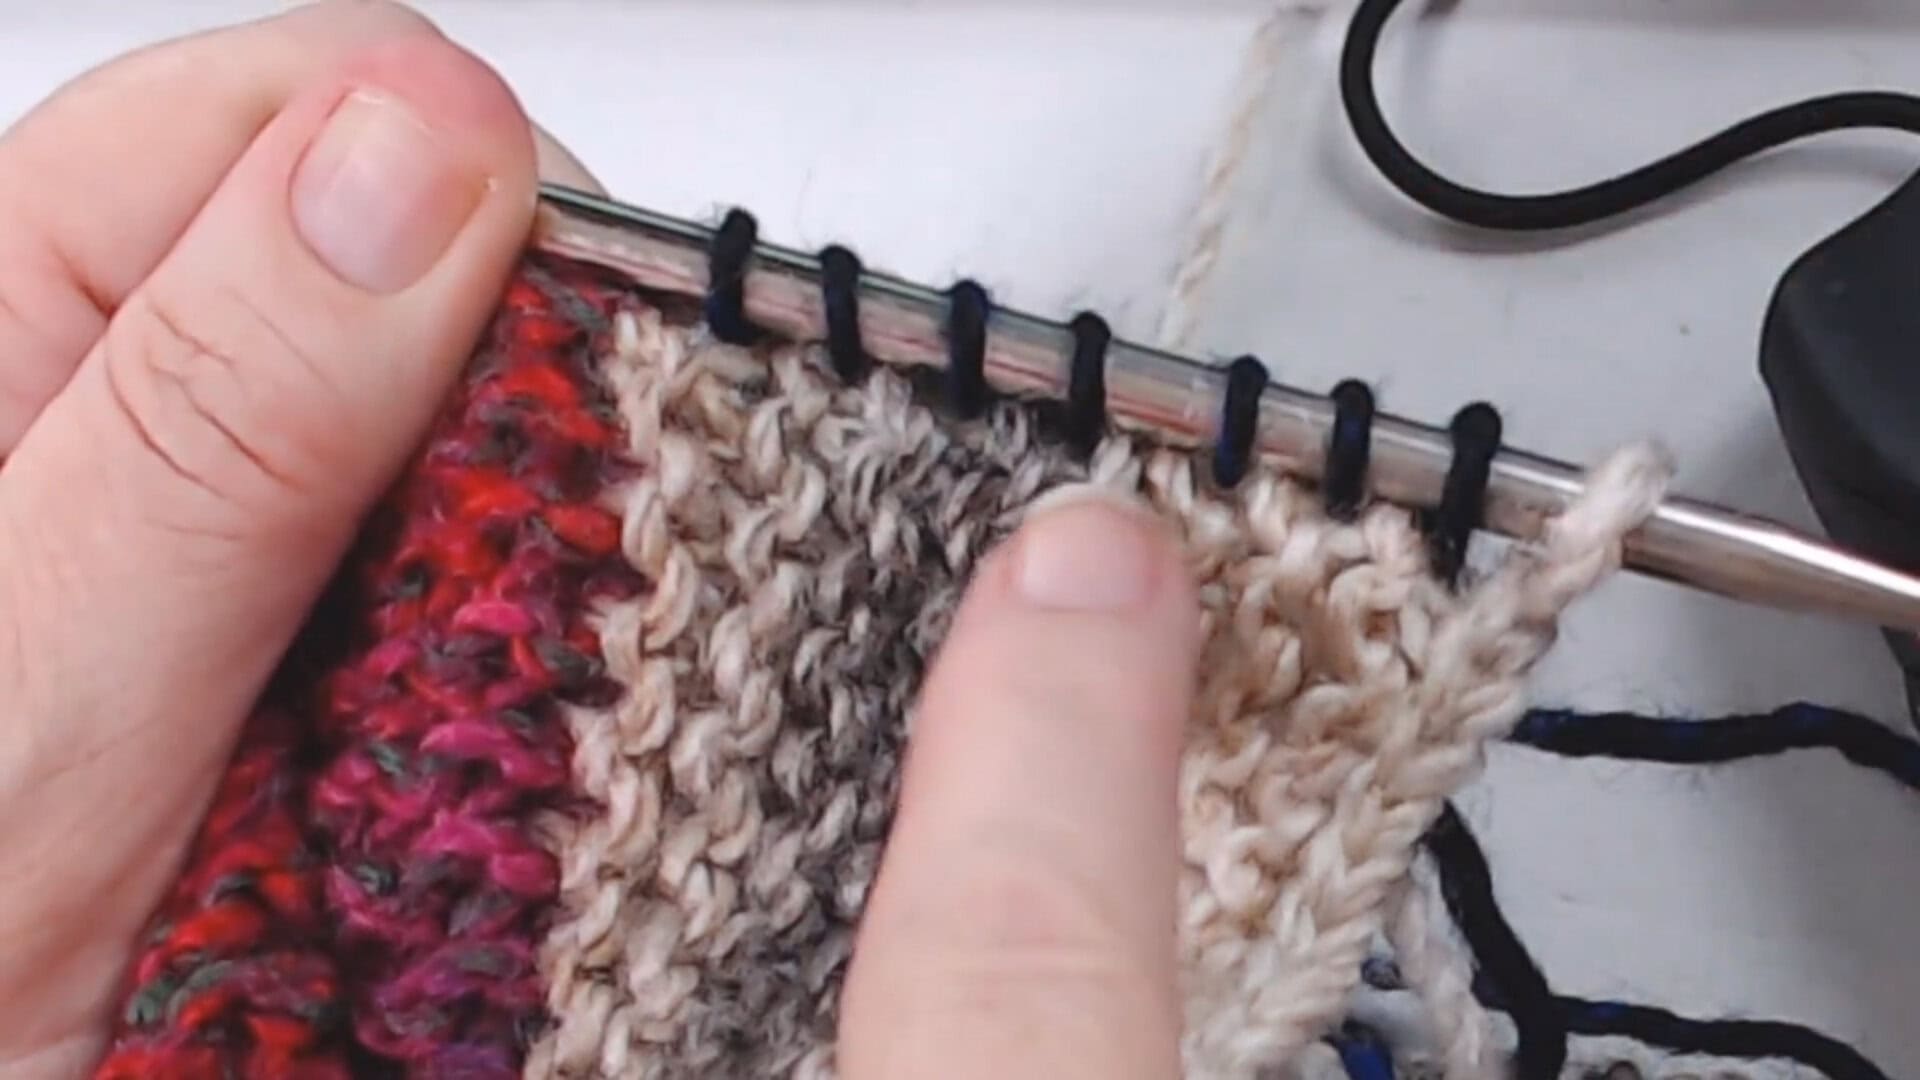
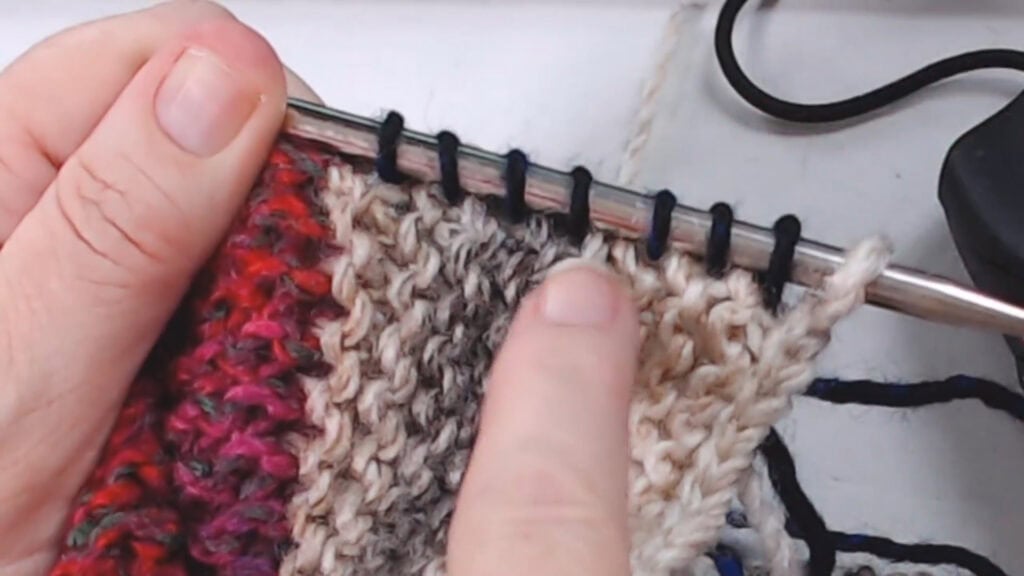
A slipped stitch edge is the easiest edge to pick up stitches along because the work is already done for you. When you slip the first stitch of every row while knitting, it creates a series of small holes running down the edge, one hole for every two rows. Those holes are exactly where your needle goes.
Step 1: Find the Holes
Look along the edge of your knitting. You should see a series of evenly spaced holes sitting just under each slipped stitch. They can be a little hard to spot in dark or busy yarn, so move to good light if you need to.
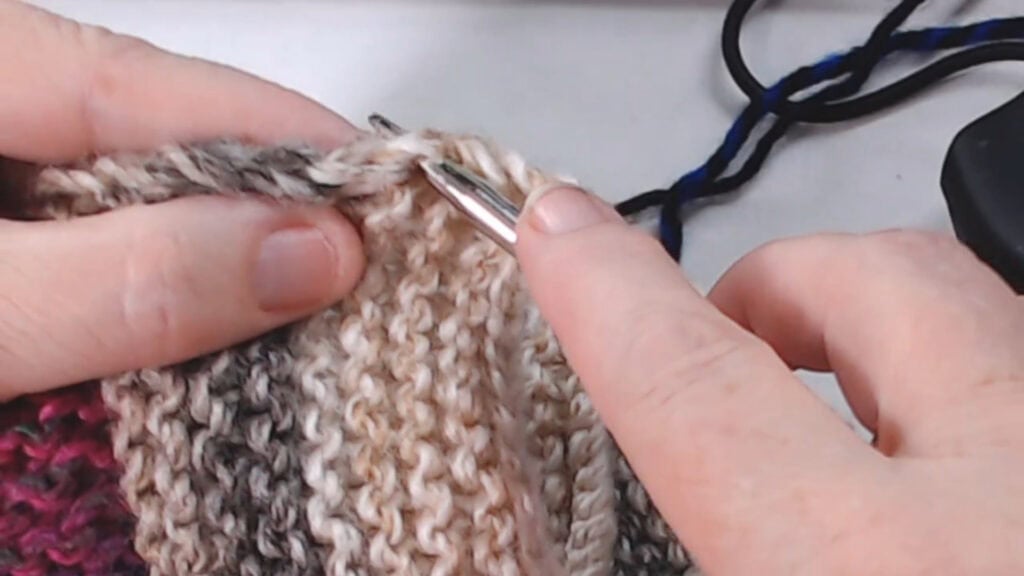
Step 2: Insert the Needle and Pull Through
Take your needle and insert it through the first hole. Wrap your working yarn around the needle just as you would when knitting a stitch, and pull it through. That’s your first picked-up stitch.
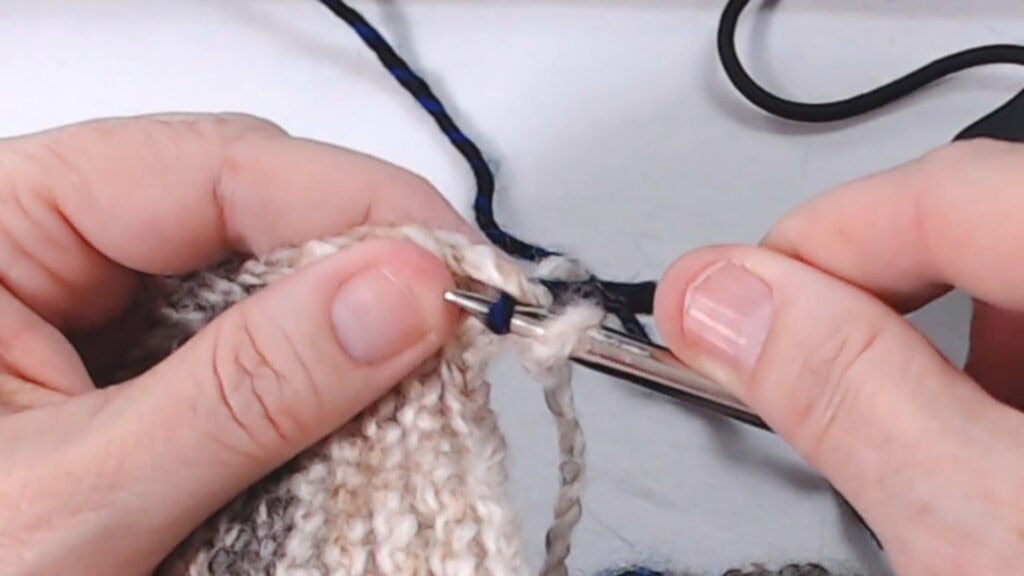
Step 3: Work Along the Edge
Continue inserting your needle into each hole, wrapping and pulling through. Work your way down the edge, picking up one stitch per hole.
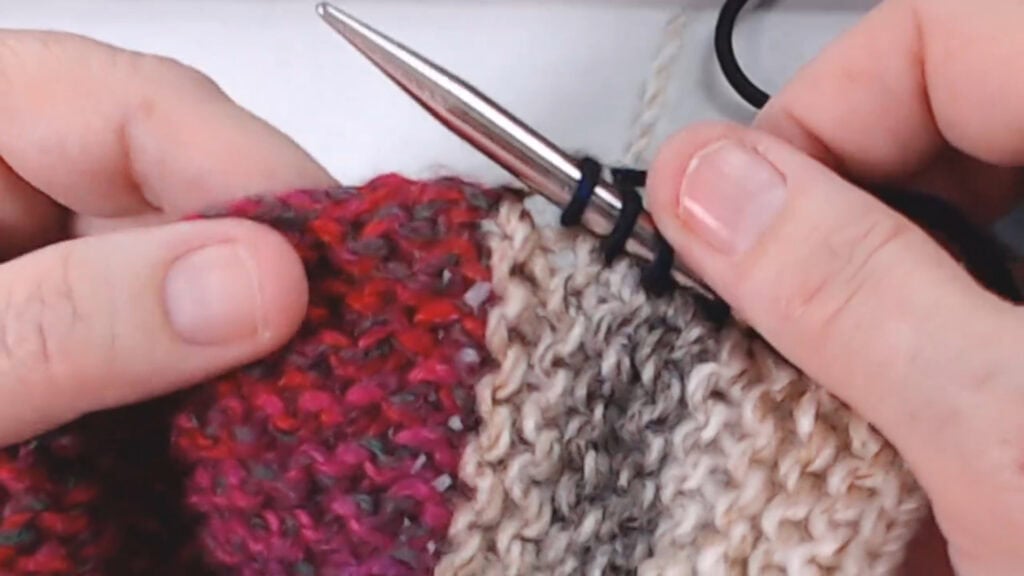
Step 4: Check Your Spacing as You Go
After picking up several stitches, stop and take a look. The stitches should be evenly spaced along the edge with no obvious gaps. If you spot a gap, check whether you accidentally skipped a hole. It is much easier to rip back a few stitches and fix it now than to notice it after you’ve picked up the entire edge.
This is worth doing even if you think everything looks fine. A gap that seems small while you’re picking up will be more noticeable once you start knitting.
How to Pick Up Stitches Along a Cast-Off Edge
A cast-off edge looks different from a slipped stitch edge. Instead of holes, you’ll see a row of garter bumps running along the top. Those bumps are your landmarks.
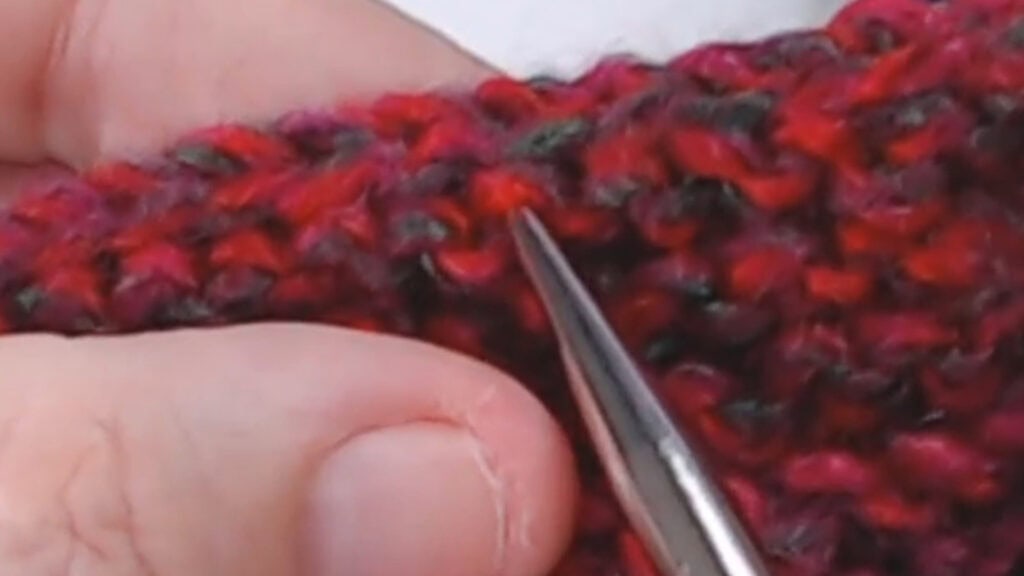
Step 1: Find the Garter Bumps
Look at the cast-off edge. You’ll see bumps sitting at both the top and the bottom of that final row. Pick one and stay consistent. I always use the top bump because it leaves a neater finish, but either works as long as you don’t switch back and forth.
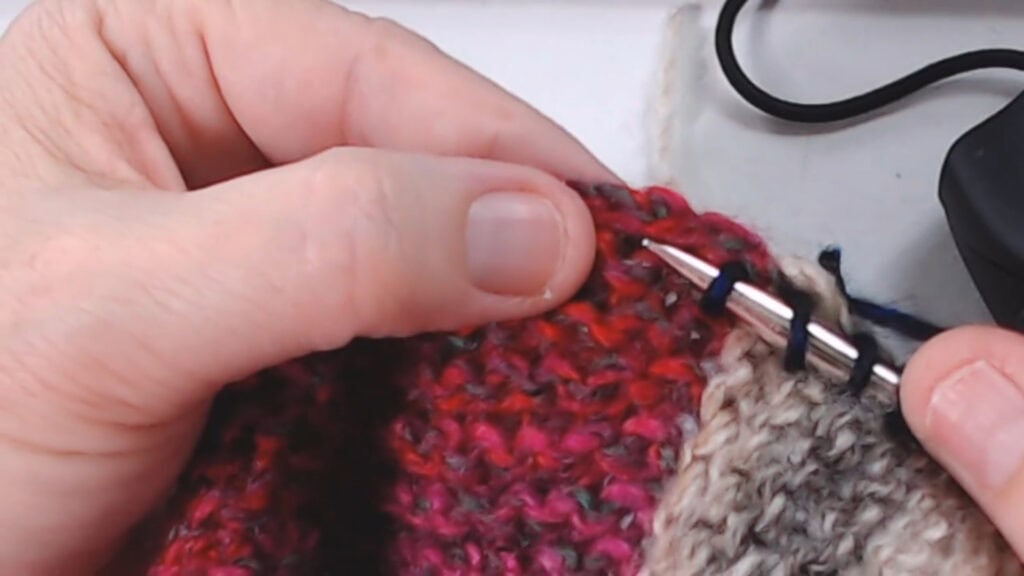
Step 2: Insert the Needle Just Above the Bump
Place your needle just above the top bump and pull your working yarn through. That’s one stitch picked up.
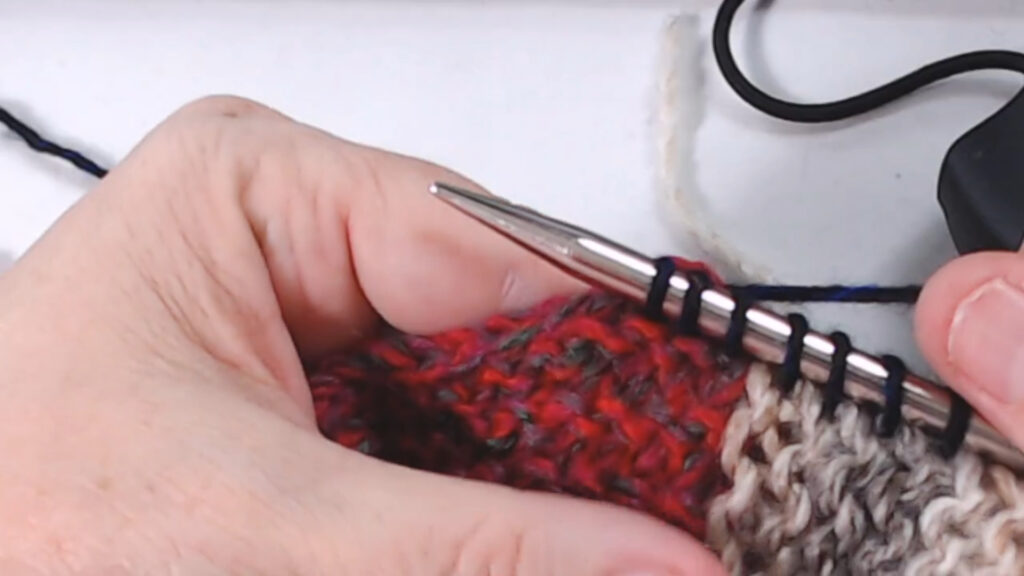
Step 3: Work Across the Edge
Move to the next top bump and repeat. Work all the way across, picking up one stitch per bump. Take your time, this edge is a little more tedious than the slipped stitch edge, but going slowly and staying consistent with the top bump gives you a clean, even result.
Tips for Picking Up Stitches Neatly
Check your spacing early. After the first several stitches, pause and look at the edge. Catching a skipped stitch or an uneven gap early saves you from having to rip back a large section later. Picking up Stitches Ratio.
Hold yarn tails out of the way. If you’re starting a new color, both the old tail and the new tail can get tangled in your work. Hold them to the side with your non-dominant hand while you pick up the first few stitches.
Go slowly on cast-off edges. The bumps can be harder to see than the holes on a slipped stitch edge. Rushing leads to missed bumps and uneven spacing.
Consistency matters more than speed. Whether you pick the top bump or the bottom bump on a cast-off edge doesn’t make a huge difference, but switching between them throughout the row does. Pick one and stick with it all the way across.
Final Thoughts
Picking up stitches is one of those techniques that feels awkward the first few times and then becomes second nature. The slipped stitch edge practically guides your needle for you, and the cast-off edge just takes a little patience to work across consistently. Either way, checking your spacing as you go is the habit that makes the biggest difference in how the finished edge looks.
Next Steps
- Learn how to create a clean edge to pick up from: How to Do a Slipped Stitch Edge
- Explore more edge and finishing techniques: Edges & Finishing Hub

")
")
")