How to Purl Stitch for Beginners | Step-by-Step Knitting Tutorial (Part 3)
If you’re learning how to knit, chances are you’ve already tackled the knit stitch—and now you’re ready to add the next foundational skill to your toolbox: the purl stitch.
In this beginner-friendly guide, I’ll walk you through exactly how to purl step-by-step, explain what the stitch does, and show you how knit and purl stitches combine to create beautiful fabric textures like stockinette stitch. Whether you’re working through your first swatch or picking your needles up after years away, I promise this post will help everything click into place.
The purl stitch is the mirror image of the knit stitch. When you learn both, you unlock nearly every pattern you’ll ever want to try.
The main difference? In the knit stitch, you insert your needle from the bottom up, with the yarn in the back. In the purl stitch, you insert your needle from the top down, with the yarn in the front.
Together, knit and purl stitches can create nearly any texture in knitting—ribbing, seed stitch, stockinette, moss stitch, and more.
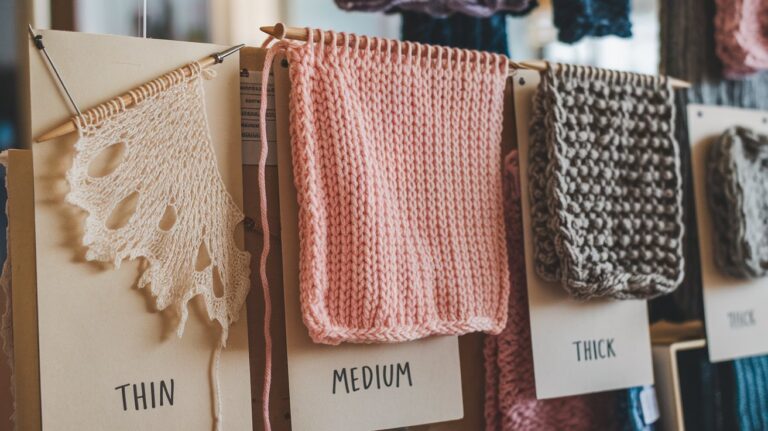
You might be wondering—why not just knit every row? Isn’t that easier? Yes, and you’ll get what’s called garter stitch, a perfectly squishy texture great for scarves and blankets.
But if you want to create that classic smooth fabric with little “V” shapes on the front and bumps on the back, you’ll need to alternate knit and purl rows. That’s called stockinette stitch—and it all starts with learning to purl.
Step-by-Step: How to Purl Stitch
Let’s break it down slowly. You’ll get a lot more out of this if you watch the video and read along!
🧷 Step 1: Yarn in Front
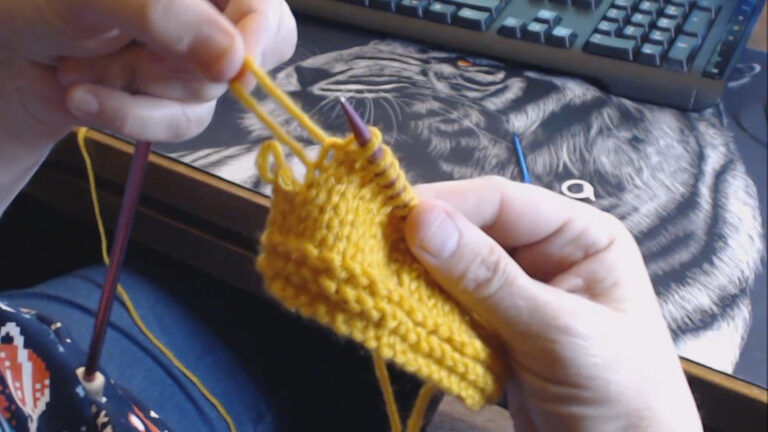
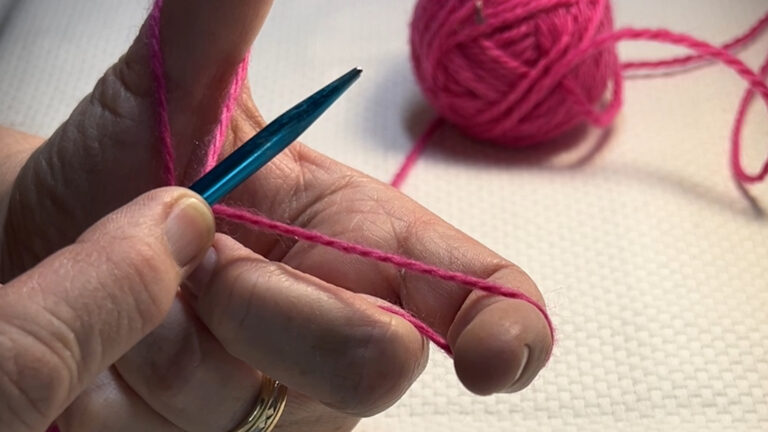
Start with your working yarn (the yarn attached to your ball) in the front of your work. I like to drape it across my thumb as a reminder that it’s not supposed to be hanging out in the back like it does when we knit.
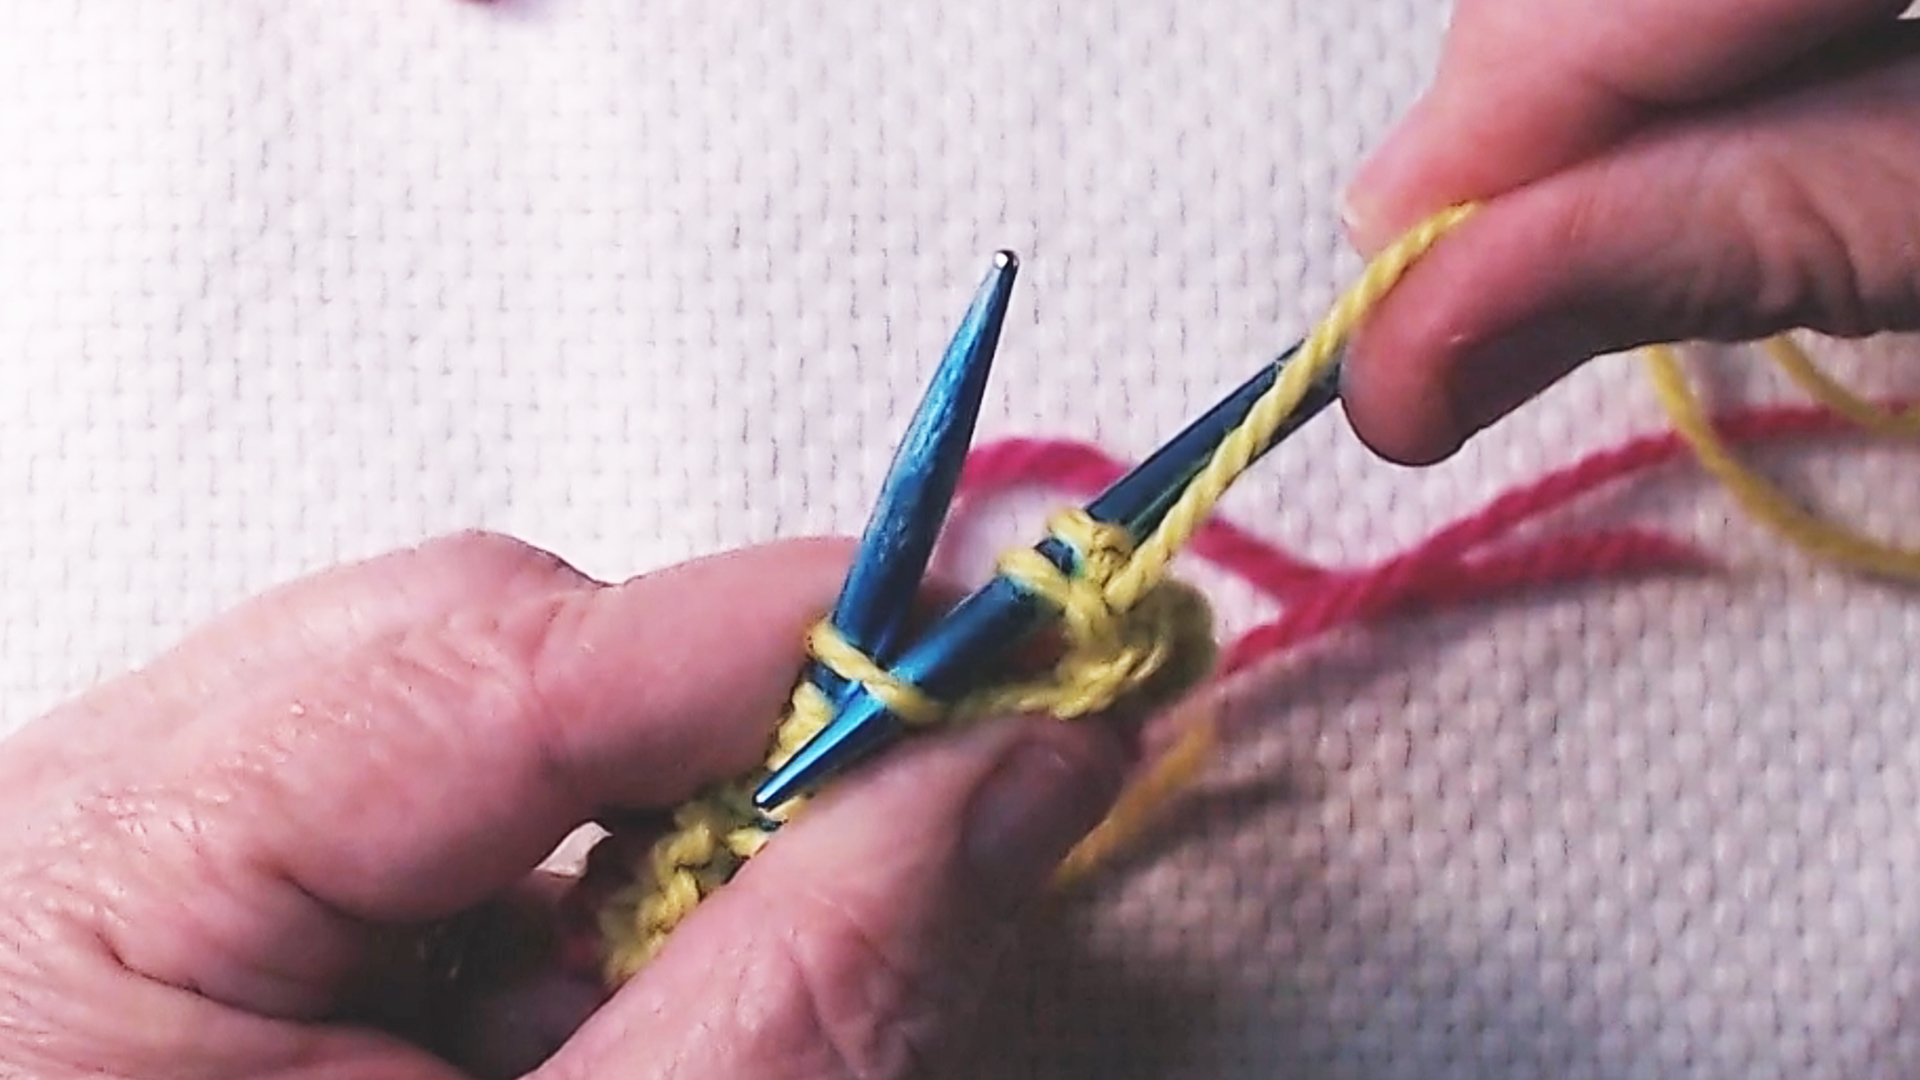
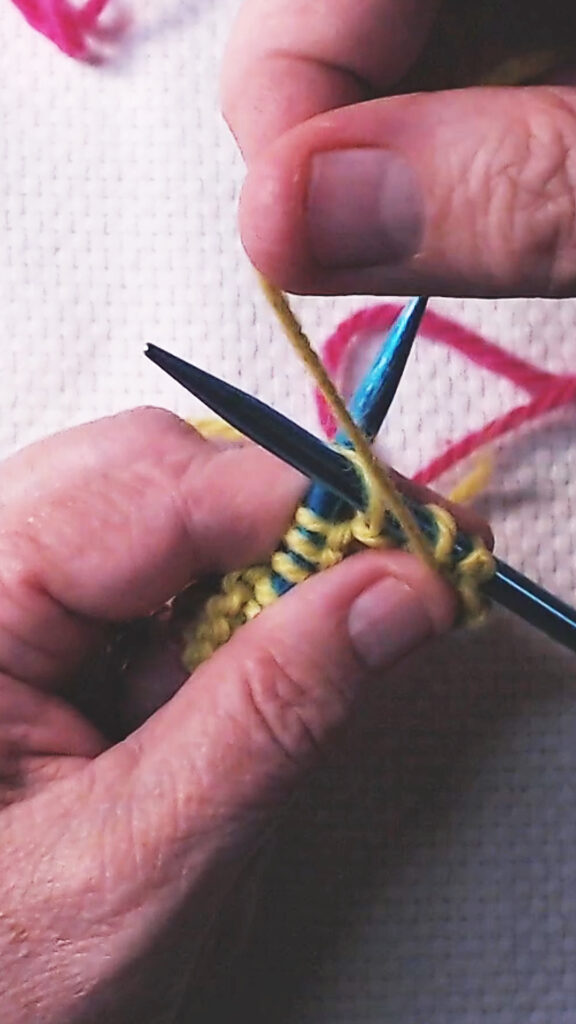
🧷 Step 2: Insert Your Needle from the Top Down
With your yarn in front, insert your right-hand needle into the first stitch from the top down. You’re making an “X” just like you do when you knit, but your right-hand needle will be in front of the left needle this time.
🧷 Step 3: Wrap the Yarn
Bring the working yarn between the needles, then wrap it around the front needle. This is the opposite of knitting, where we go behind the back needle.
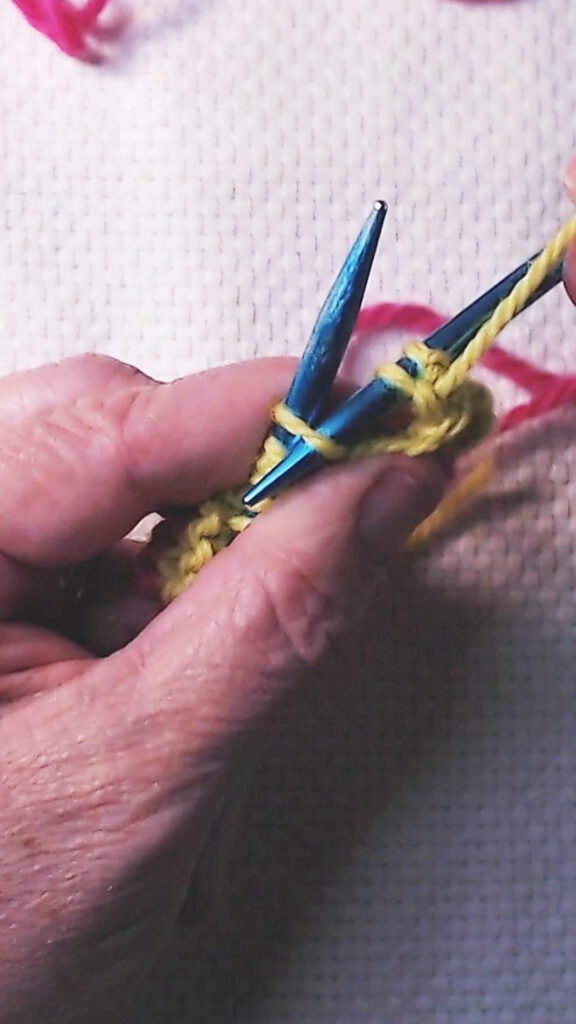
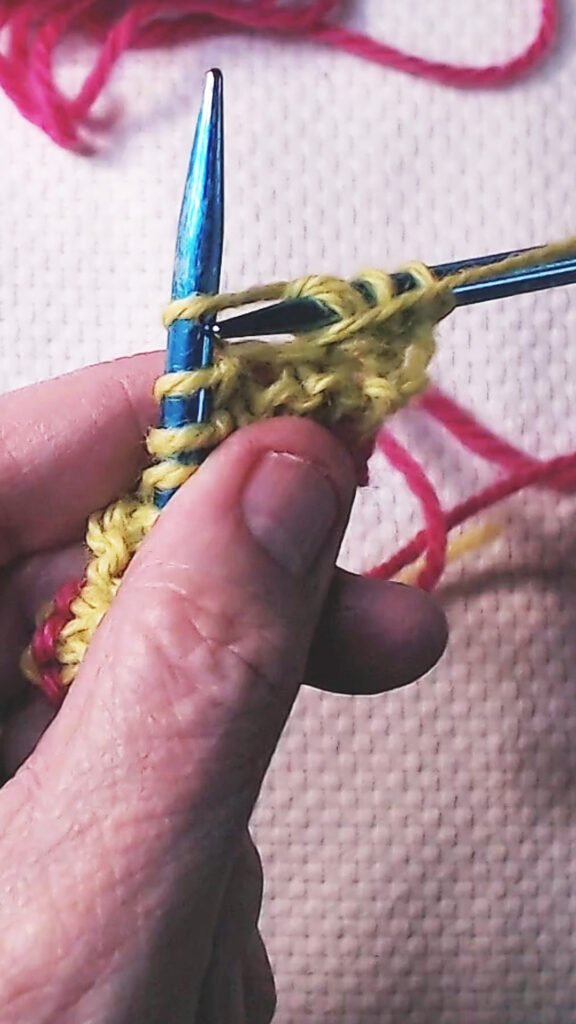
🧷 Step 4: Draw the Loop Through
Now, very slowly, bring the right-hand needle tip back through the stitch, drawing the new loop with it. It might feel awkward at first, but trust that your needle will find its way.
Jen’s Tip: If you’re struggling to find the “hole” to pull your needle back through, take a breath and go slow. You’ll start to feel where the yarn wants to go with a bit of practice.
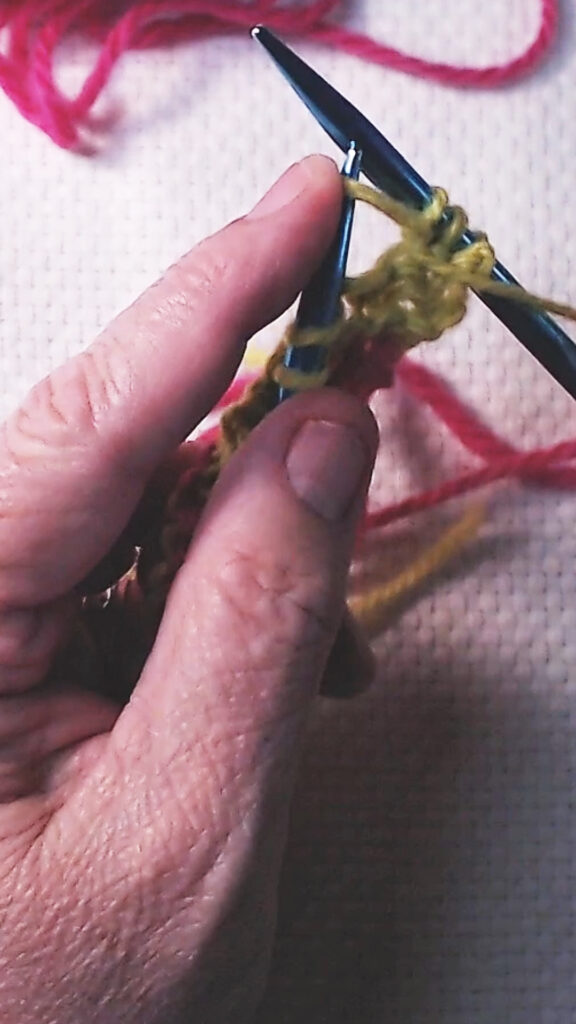
🧷 Step 5: Slide It Off
Once the new loop is sitting on your right-hand needle, gently slide the old stitch off the left needle. Congratulations—you’ve just purled a stitch! 🎉
🔄 What Happens When You Combine Knit and Purl Stitches?
Here’s where the magic begins. In the video, I demonstrate what happens when you:
Knit one row
Purl the next row
Repeat…
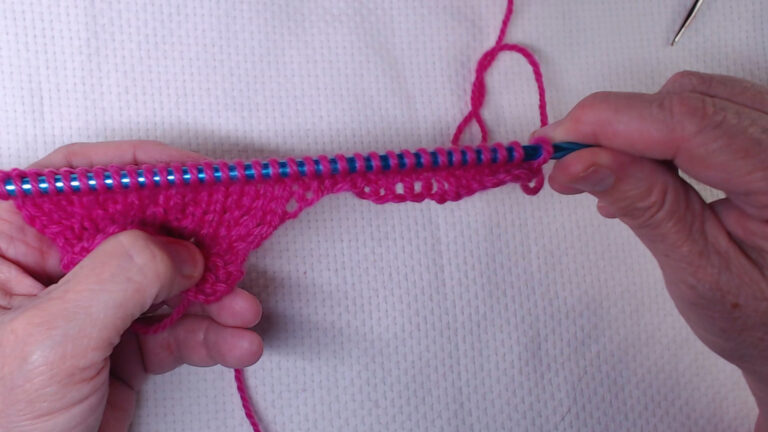
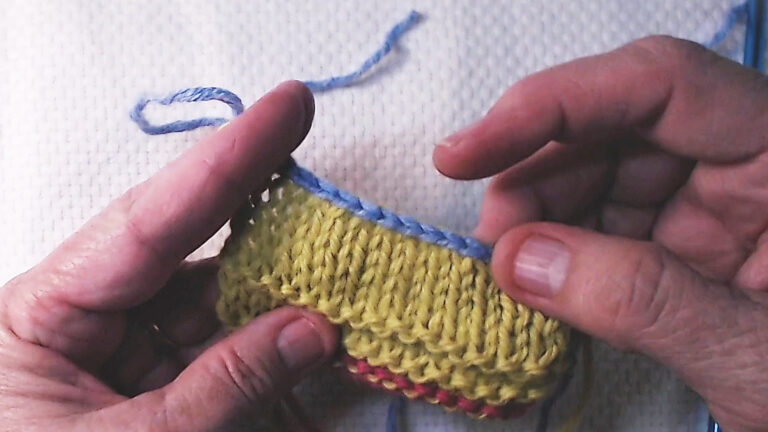
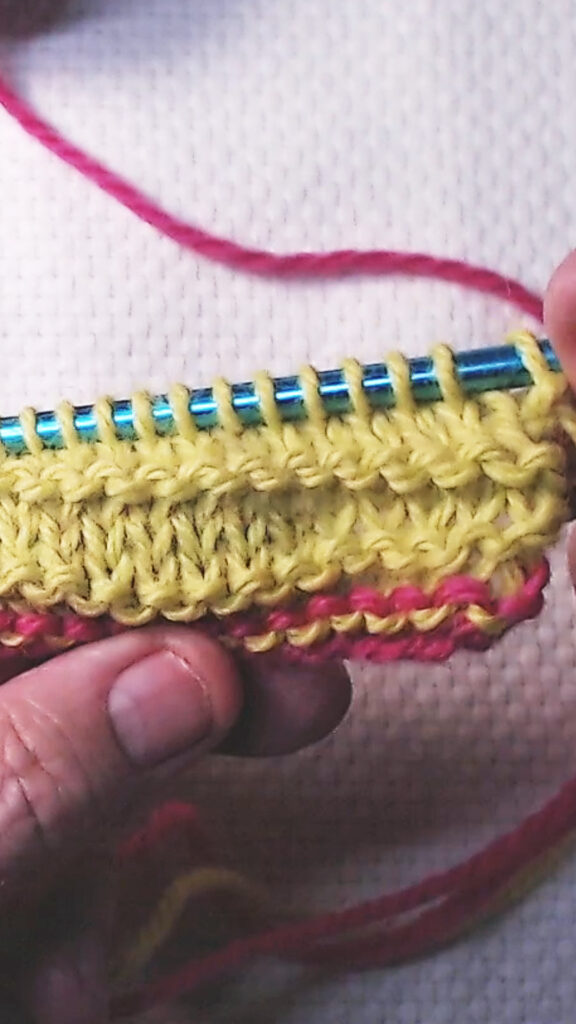
And what you get is a beautiful, flat, smooth piece of fabric called stockinette stitch. The “V”s you see? Those are your knit stitches. The bumpy texture on the back? That’s your purl stitches.
The side with the V’s is often called the right side, and the bumpy side is the wrong side. (Though honestly, there’s no wrong side when you’re learning—every stitch counts.)
🧶 What If You Make a Mistake?
Let’s say you accidentally purl two rows in a row, instead of alternating. That’s okay! In the video, I even do this on purpose so you can see how the fabric changes.
What you’ll notice is:
Your fabric no longer looks smooth and flat.
Instead, you’ll get a row of purl “bumps” across the front.
This is a great opportunity to learn how to read your stitches—something I’ll go over more in future videos.
📸 Picture This – Pin for Later!
Want a quick reminder of what a purl stitch looks like? Pin this post so you can come back when you’re sitting down with your yarn and needles.
🤓 Nerdy Knitting Tip: Why It Feels Awkward
Purling often feels less natural than knitting, especially when you’re just starting out. That’s because your hands have to reach forward instead of back, and you can’t always see what you’re doing.
But I promise—your hands will learn. And just like with knitting, you’ll find your own comfortable rhythm.
💡 What’s Next?
Now that you’ve learned the purl stitch, you’ve got all the skills you need to:
Knit garter stitch (knit every row)
Create stockinette stitch (knit one row, purl one row)
Try ribbing (knit one, purl one within the same row—coming soon!)
We’ll cover all of these in future blog posts and videos. You’re building a solid foundation, and I’m so proud of you for sticking with it!
📚 Keep Learning
Ready to keep going? Here’s what’s next in the series:
I’d love to know: 🧶 What’s been the hardest part of learning the purl stitch for you? 🧶 Do you have a favorite type of fabric to make—garter or stockinette?
Let me know on Instagram or by replying to my latest reel—we’re doing this together. ❤️
Every knitter has faced that heart-dropping moment—you look down and realize a stitch (or two!) has fallen off the needle at the end of a row. It looks messy, confusing, and maybe even a little scary. But don’t worry! To fix dropped stitches at the edge of your knitting is totally doable with a simple…
Sometimes a pattern throws you a curveball: “Cast on 5 stitches at the beginning of the next row.” Wait… what? You’ve already started your project! Don’t worry — this is a common technique, especially in sweaters, underarm shaping, shawls, or anytime a pattern grows mid-stream. Let’s look at how to Add Stitches at the Beginning…
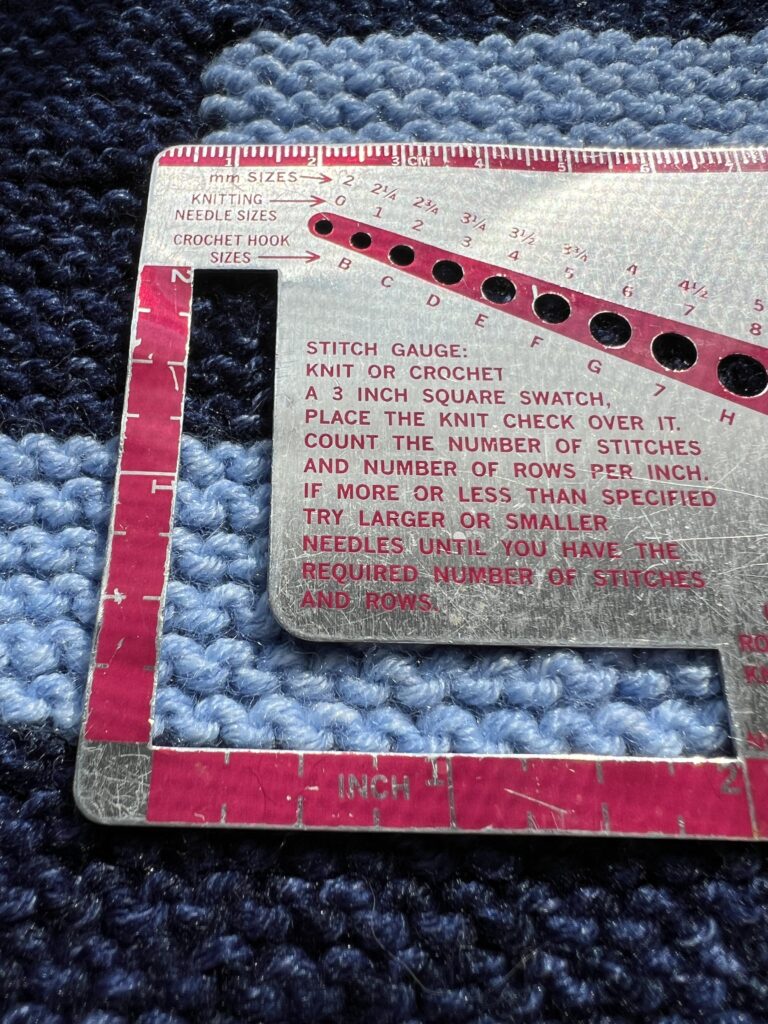
This post may contain affiliate links. As an Amazon Associate, I may earn a commission on qualifying purchases. This site also utilizes AI to assist with content creation. Gauge Made Simple Have you ever followed a knitting pattern exactly but ended up with a hat that was too big or a sweater that didn’t fit?…
Want a Neat Start to Your Knitting Projects? Try the Long Tail Cast On If you’re just getting started with knitting, the long tail cast on is one of the most useful techniques to learn. It creates a nice, stretchy edge and is perfect for scarves, sweaters, or just about any project. In today’s tutorial,…
Introduction: Yarn Selection Made Easy Choosing the right yarn is just as important as picking the right needles. With so many fiber types, weights, and textures, it can be overwhelming for beginners. So let’s get into the Beginner’s Guide to Yarn. Have you ever started a knitting project only to realize your yarn was too…
So, you’ve cast on, learned how to knit and purl, and now you’re ready for that final, satisfying step: binding off. Also known as casting off, this essential knitting skill lets you finish your project neatly—without your stitches unraveling. In this post, I’ll walk you through how to bind off one stitch at a time,…


")