
How to Work a Yarn Over in Knitting (Knit Side and Purl Side)
A yarn over in knitting is one of those techniques that feels mysterious until it clicks, and then you start seeing it everywhere. It shows up in lace patterns, decorative scarves, beaded wraps, and any time a pattern calls for a little eyelet or hole in the fabric on purpose. This includes how to yarn over before a purl stitch, after a purl stitch, and between knit and purl stitches
Here is the thing about yarn overs: new knitters make them accidentally all the time and do not know what happened. Once you understand what a yarn over in knitting actually is, you can both avoid them when you do not want them and place them exactly where you do.
A yarn over in knitting is an increase. It adds a stitch and leaves a small hole, called an eyelet, in your fabric. That hole is the point. When you line them up in a pattern, they create texture and openwork designs. The video below shows you how to work a yarn over on the knit side, on the purl side, and includes a little hack for closing the hole if you ever put one in by accident.
What You Will Need
- Your knitting with stitches on the needle
- Working yarn
- A crochet hook or spare needle for fixing accidental yarn overs
What a Yarn Over in Knitting Looks Like
Before we get into how to work one, it helps to know what you are aiming for. A yarn over in knitting leaves a small hole in your fabric. When you combine yarn overs with decreases like knit two together, you get lace patterns where the fabric is full of deliberate holes arranged in a design.
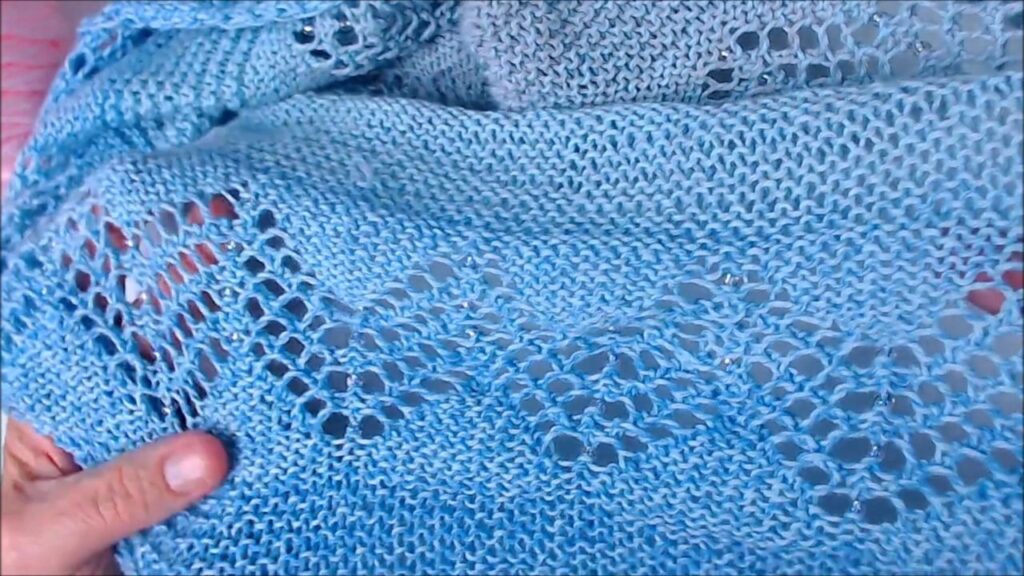
You will find yarn overs used in scarves, shawls, wraps, and any project where you want openwork or a delicate look. They also pair beautifully with beads if you want to add a little sparkle.
How to Work a Yarn Over in Knitting on the Knit Side
Working a yarn over on the knit side means the stitch that comes after the yarn over is a knit stitch.
Step 1: Bring the Yarn Forward
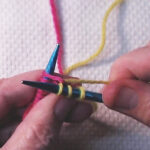
When you are ready to place the yarn over in knitting, bring your working yarn between the needles to the front of your work, just as you would if you were about to purl. But you are not going to purl.
Step 2: Knit the Next Stitch Normally
With your yarn still in front, go into the next stitch as if to knit. As you reach around behind to wrap the yarn for the knit stitch, that forward position of the yarn creates an extra loop on the needle. That loop is your yarn over.
Go ahead and complete the knit stitch normally and keep going. You have just worked a yarn over in knitting on the knit side.
Step 3: Work the Yarn Over on the Following Row
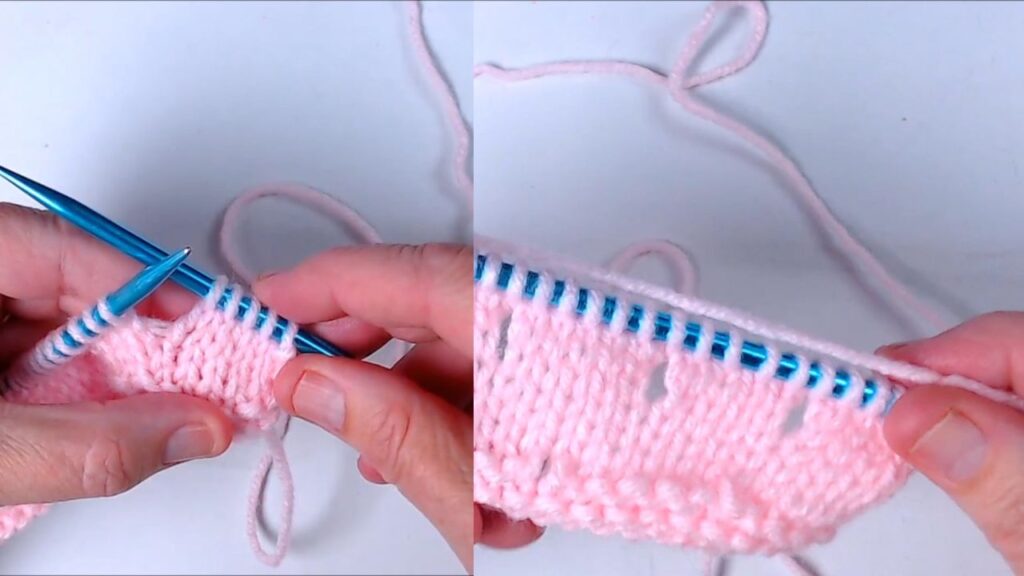
When you come back around on the next row and reach that yarn over stitch, it will look a little strange. There is no real connection underneath it like a normal stitch. It just sits on the needle like a loose loop.
Do not panic. Just purl into the front leg of it the same way you would any other stitch and keep going. The eyelet will open up as you work the row and you will be able to see the hole forming.
Yarn Over Before a Purl Stitch
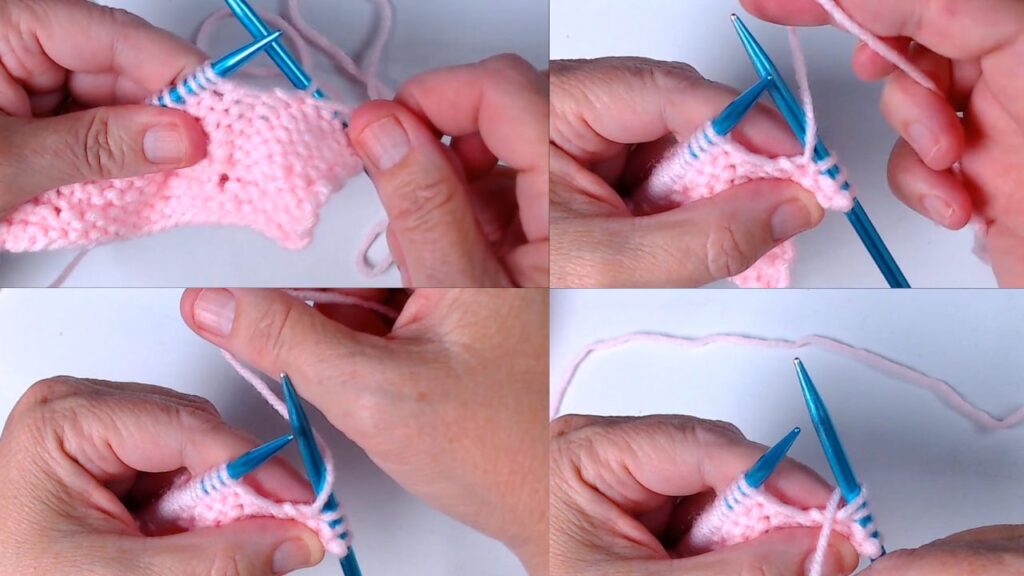
Working a yarn over on the purl side means the stitch that comes after the yarn over is a purl stitch.
The approach is a little different here because your yarn is already in front when you are purling.
Step 1: Wrap the Yarn Over the Right Needle
With your yarn in front, bring it up and over the top of the right hand needle, wrapping all the way around and back to the front. That wrap is your yarn over.
Step 2: Purl the Next Stitch
With your yarn back in front after the wrap, go ahead and purl the next stitch normally. You have added an extra stitch and it will leave an eyelet on the following row.
Step 3: Work the Yarn Over in Knitting on the Following Row
On the next row when you reach the yarn over, it will look like that same loose floppy loop. Knit into the front leg of it just as you would any other stitch and keep going.
A Note on When to Use Which Method
The method you use depends on what stitch comes after the yarn over, not which side of the fabric you are on.
If the next stitch is a knit, use the knit side method. If the next stitch is a purl, use the purl side method. You can have both types of yarn overs in the same row if your pattern alternates between knit and purl stitches. The pattern will tell you what comes next and you work the yarn over accordingly.
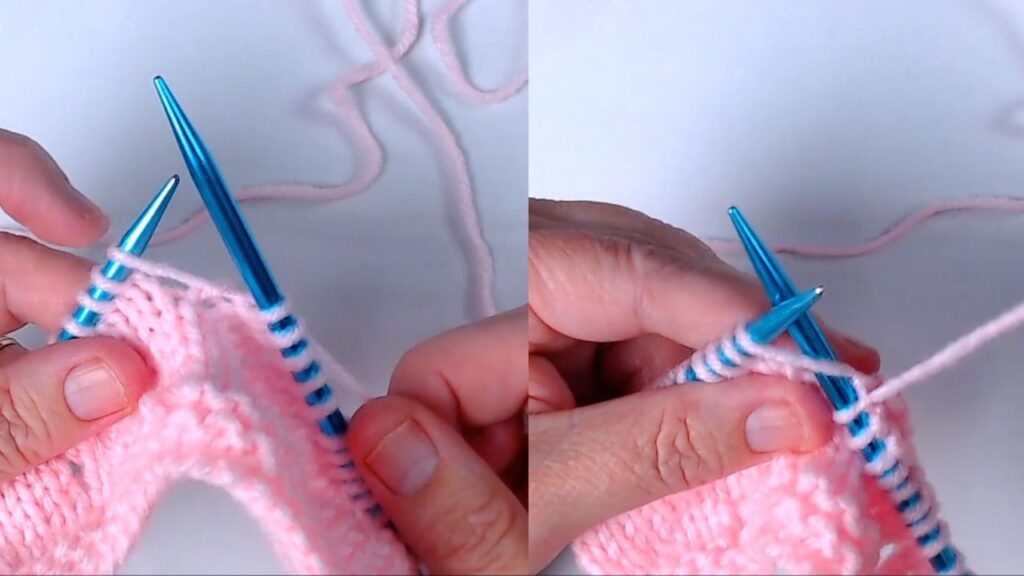
The Hack for Closing the Hole
Sometimes you put in a yarn over by accident and you do not want to tink all the way back to fix it. Or maybe you are using a yarn over as an increase but you do not want the eyelet to show. Either way, there is a way to close the hole on the very next row.
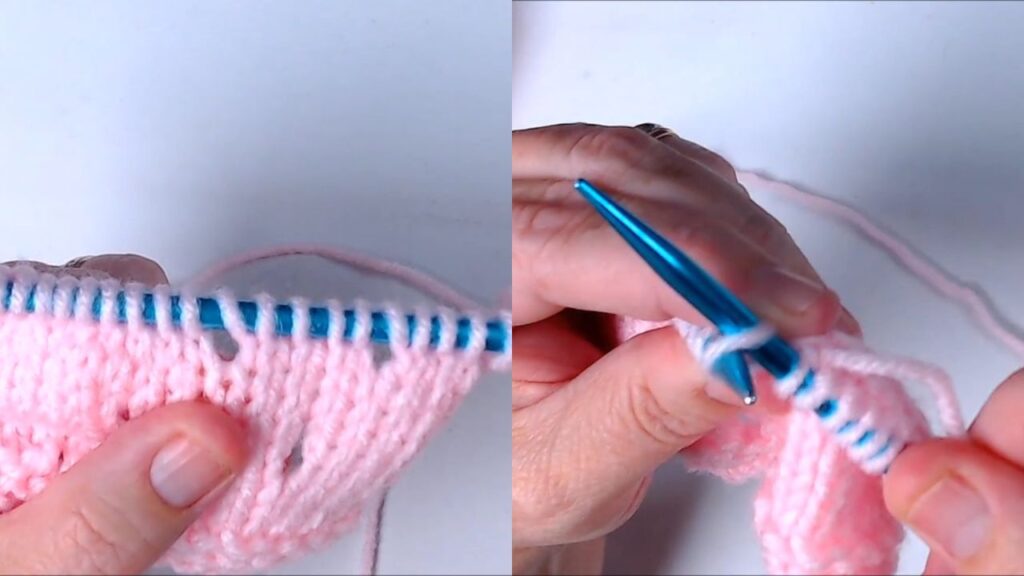
When you reach the yarn over stitch on the following row, instead of knitting into the front leg of it, knit into the back leg. It is a short little leg tucked behind the needle and it can be a little tricky to get your needle in there. Use your index finger to help ease the stitch open if you need to.
Knitting through the back leg closes the hole and leaves just a very subtle twist in the fabric instead of an eyelet. It is barely noticeable in most yarns.
Tips for Working Yarn Overs
The yarn over will look floppy and weird on the needle. That is correct and expected. It does not look like a normal stitch and that is fine. Just work into it on the next row as the pattern directs.
The eyelet does not appear until the following row. When you work the yarn over, you cannot really see what it is doing yet. After you work the next row and pull the fabric down, that is when the hole opens up. Do not second guess yourself mid-row.
Count your stitches after a yarn over row. Each yarn over adds one stitch. If your pattern does not pair each yarn over with a decrease, your stitch count will go up. Check the pattern to see whether that is intended.
Accidental yarn overs are common for beginners. If your stitch count keeps going up without any explanation, look back through your last few rows for yarn overs you did not mean to put in. They happen when the yarn drifts to the front between stitches.
Final Thoughts
Once you get comfortable with yarn overs, a whole category of knitting opens up. Lace patterns, decorative eyelets, beaded designs, all of it runs on this one technique. Start with a practice swatch and work a few on each side until the motion feels natural. Then grab a simple lace pattern and put them to work.
FAQ
What is a yarn over before a purl stitch?
A yarn over before a purl stitch just means the stitch coming after your yarn over is a purl. Since your yarn is already in front when you are purling, you wrap it up and over the right needle and back to the front before you purl the next stitch. That wrap is your yarn over. It feels a little awkward the first time but once you do it a few times it becomes automatic.
How do you do a yarn over when purling?
Bring your yarn up and over the top of the right needle, wrapping all the way around until it is back in front again. Then purl your next stitch normally. That extra wrap is sitting on your needle as a new stitch and it will leave a little eyelet on the following row.
What do you do with a yarn over between a knit and a purl stitch?
It depends on which comes first. If you just knitted and the next stitch is a purl, bring the yarn forward between the needles, then wrap it up and over the needle and back to the front before you purl. If you just purled and the next stitch is a knit, your yarn is already in front — just go ahead and knit the next stitch and that forward position of the yarn creates the yarn over automatically as you wrap for the knit stitch.
Next Steps
- Ready to put yarn overs to work in a project? Browse Projects You Can Finish for patterns that use this technique.
- Learn more increase techniques in the Increases and Decreases hub
You Might Also Enjoy:

Find this helpful? Save JennyKnits as your go-to knitting resource on Google.
