

Loctite for Knitting Needles Stops Interchangeable Needles from Unscrewing | Loctite Hack
This page contains affiliate links for Loctite for Knitting Needles and other products. I may earn a small commission at no extra cost to you.
Please tell me I am not the only one this has happened to. You are knitting along on your interchangeable needles and at some point you realize your stitches will not slide over the join. The needle has started to unscrew. There is a gap right at the connection point and now nothing moves smoothly. Or worse, the needle unscrews completely and your stitches are sliding off the cable.
It happens. It has happened to me more times than I care to admit. So I went looking for a fix and found one in the last place I expected: the mechanics aisle. Loctite for Knitting Needles is the solution!
There is a full video below showing exactly how to apply it and how to remove it when you need to change needle sizes.
Stop Your Interchangeable Needles From Unscrewing Mid-Project
The Problem with Interchangeable Needle Joins
Interchangeable needles are one of the best investments a knitter can make. One set covers dozens of needle sizes and you can swap cables and tips as needed. But the screw join that makes them interchangeable is also their weak point.
The more you knit, especially on projects where you are constantly scooching stitches up and over the join, the more that connection can work itself loose. And once it starts to unscrew, it does not stop on its own.
The Fix: Loctite Thread Locker Stick
Loctite is a product mechanics use to keep bolts and screws from vibrating loose. It works by adding just enough resistance to the threads that the connection stays put under normal use but can still be undone when you need it to.
It turns out it works beautifully on interchangeable knitting needle joins for exactly the same reason.
Which Loctite to Buy
This part matters, so read carefully before you order.
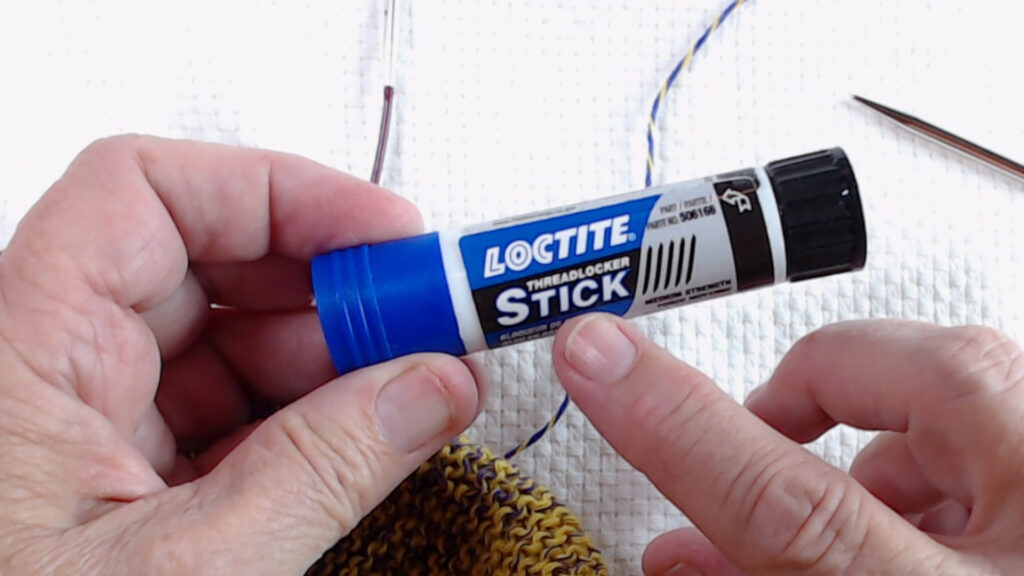
You want the stick version, not the liquid. The liquid can drip onto your yarn or run down your cables and make a mess. The stick looks a little like a chapstick and is easy to control.
You want the blue cap, which is medium strength. This is the critical detail. Blue cap means it holds the needle securely but you can still unscrew it when you need to.
Do not buy the red cap. Red is permanent strength. If you use the red cap version on your needle joins you will never get your needles apart again. Blue only.
How to Apply Loctite to Your Interchangeable Needles

Step 1: Get Your Stitches Back onto the Cable
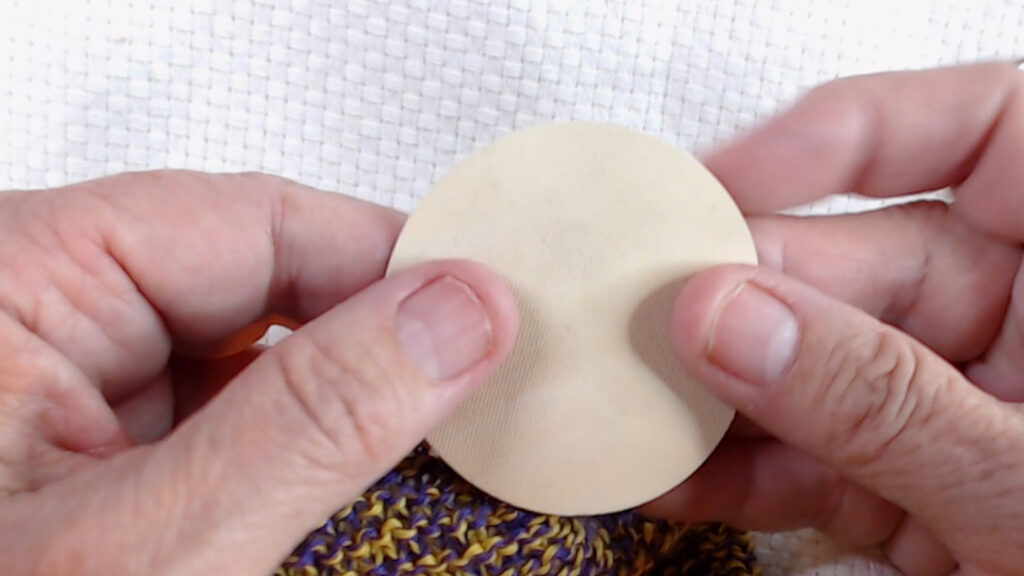
If your needle has already started to unscrew and your stitches are off the cable, get them back on first before doing anything else. Take your time and do not rush this part.
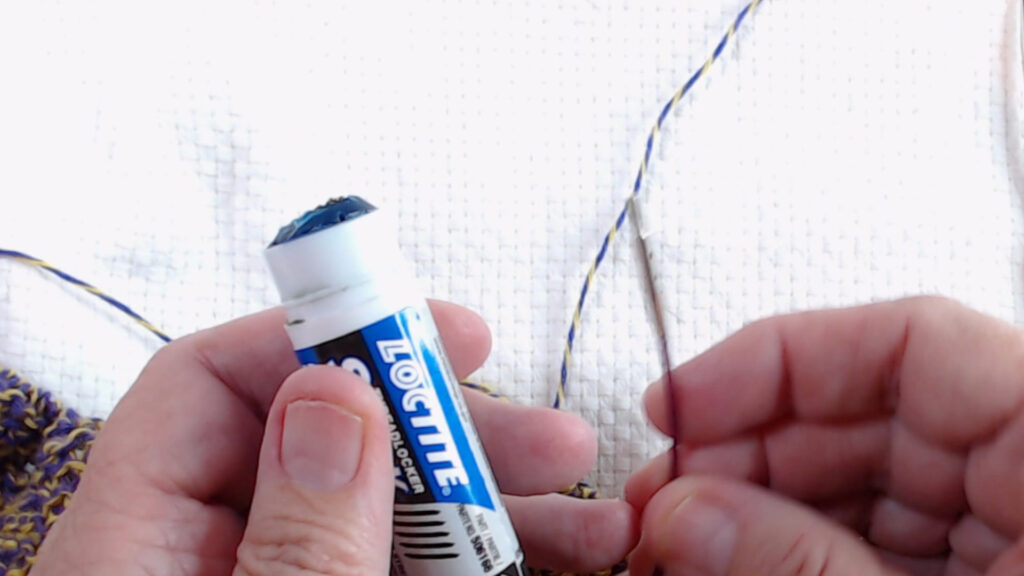
Step 2: Apply a Small Amount to the Cable Threads
Unscrew the needle tip from the cable. Take the Loctite stick and apply a small dab directly to the threads on the cable end. You do not need much. A light coat is enough.
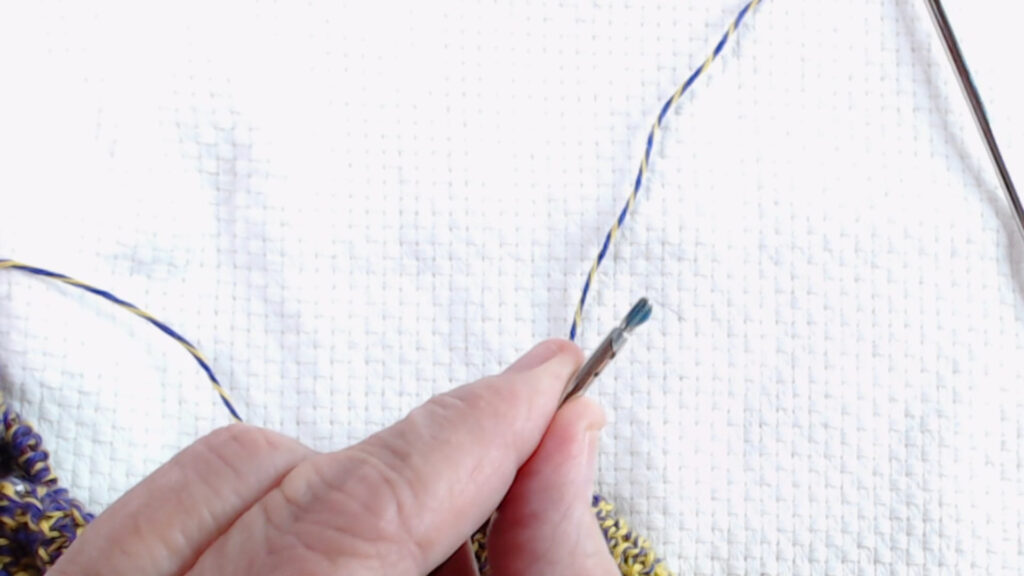
Step 3: Wipe Off the Excess
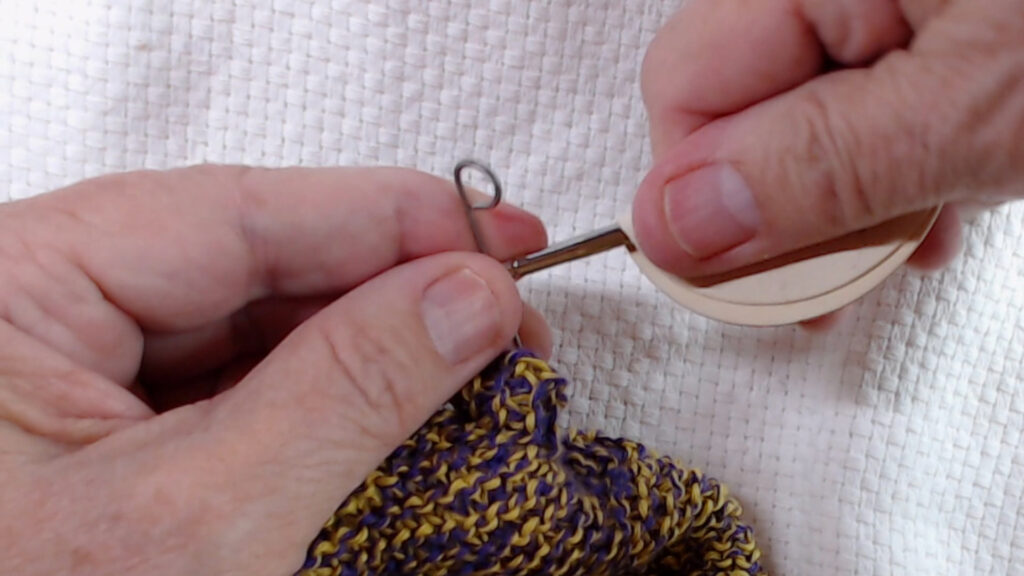
Before screwing the needle back on, wipe off any excess. You want just enough to coat the threads, not a thick buildup. Using the little key pin that came with your needle set gives you some leverage here and helps you wipe cleanly.
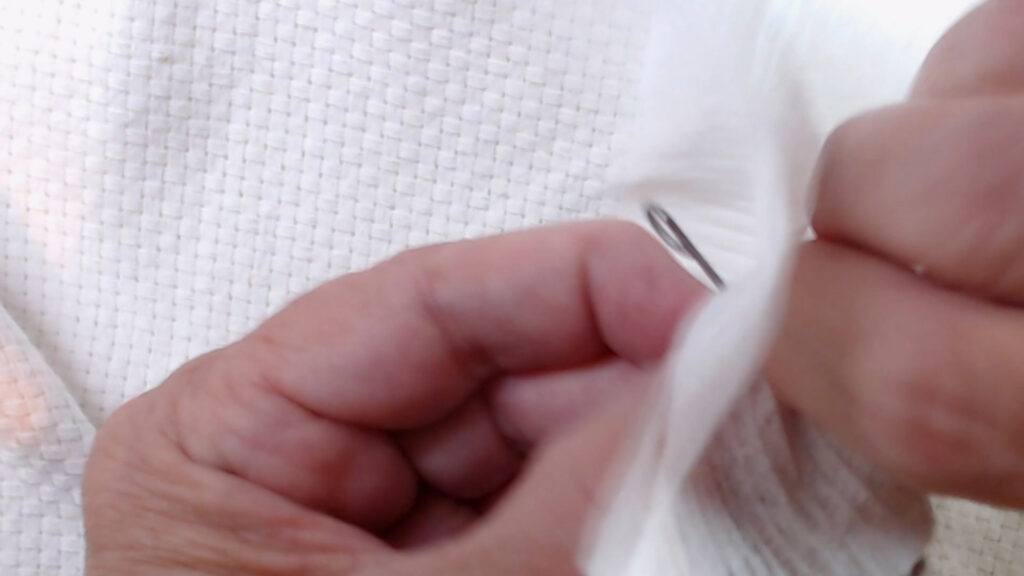
Step 4: Screw the Needle Back On
Screw the needle tip back onto the cable. You will feel a little resistance as you tighten it, which is exactly what you want. That resistance is the Loctite doing its job. Tighten it until it is snug but not cranked down hard.
Step 5: Clean Up the Join
Wipe away any excess Loctite that may have squeezed out right at the join where the needle meets the cable. You do not want any residue getting onto your yarn as you knit.
That is it. Your needle is now secure and your stitches will slide right over that join without snagging.
How Long Does It Last?
A long time. Once applied, the Loctite holds for weeks of regular knitting without needing to be reapplied. It is not something you need to redo every time you sit down to knit.
How to Remove the Needle When You Need To
When you need to change needle sizes or swap tips, you can still unscrew the needle. It just takes a little more effort than normal because of the resistance.
Use a rubber jar opener or a rubber grip pad to get some traction on the needle tip. Insert your key pin for leverage on the cable end. Then tug and unscrew. You will feel the resistance but it is not impossible to break the seal. Once it starts to turn it unscrews normally from there.
The Loctite stays in the threads and will continue to provide resistance the next time you screw that tip back on, so you may not need to reapply it for a long time.
Tips for Using Loctite on Knitting Needles
Blue cap only. It bears repeating. Medium strength blue cap is what you want. Red is permanent and not reversible.
Stick not liquid. The stick gives you control. The liquid does not.
Less is more. A small amount on the threads is all you need. More does not mean better and excess Loctite near your yarn is something to avoid.
Keep a rubber grip handy. A rubber jar opener makes removing the needle tip much easier when the time comes. The rubber jar opener that came with some needle sets works perfectly for this.
Clean the join after applying. Wipe the area where the needle meets the cable before you start knitting so there is no residue near your yarn.
Final Thoughts
This is one of those knitting hacks that seems a little odd until you try it and then wonder how you ever knitted without it. If interchangeable needle joins loosening up has been a problem for you, Loctite Thread Locker stick is a genuinely good solution. It is inexpensive, easy to apply, and lasts for a long time. Just remember, blue cap, not red.
This is the first video in my new Knitting Hacks playlist. More coming soon.
Next Steps
- Check out more tools and accessories in the Tools and Gear hub
- Browse all knitting tutorials on JennyKnits
")

")
")