
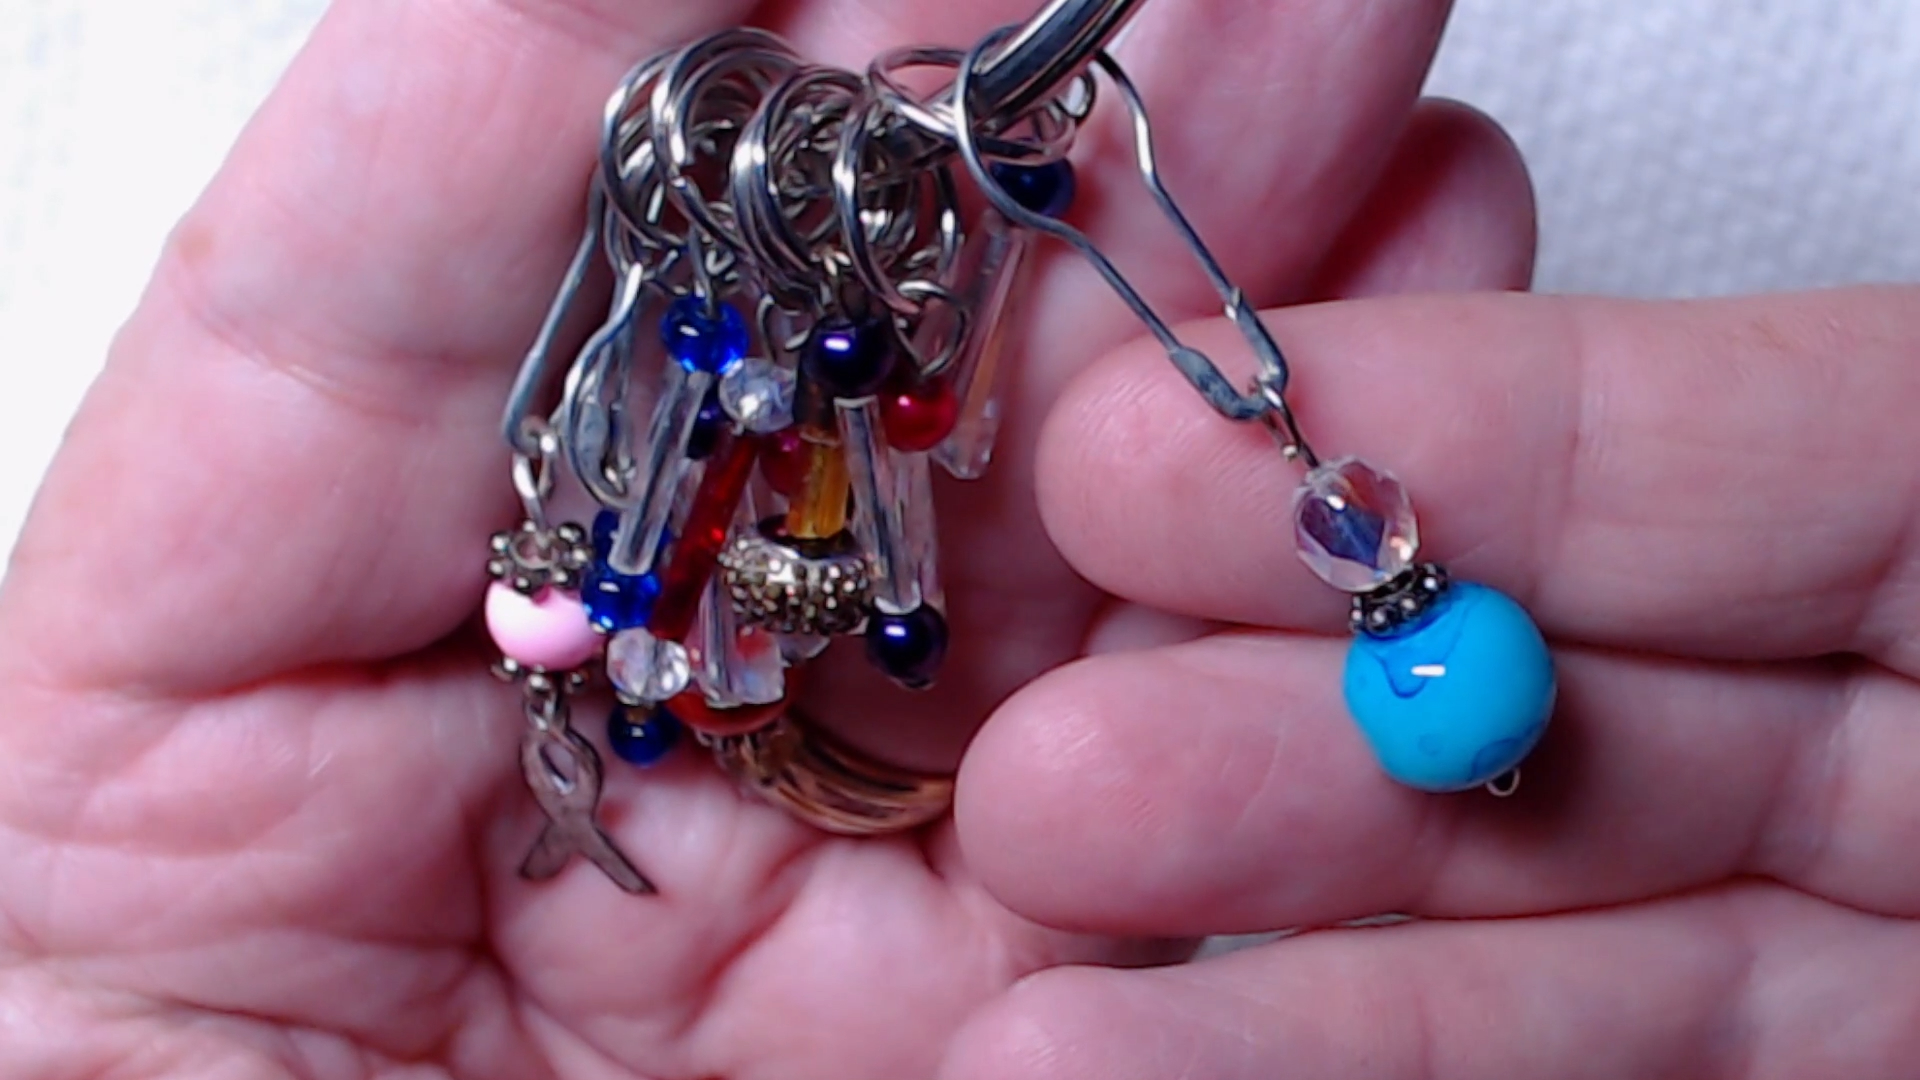
How to Make Your Own DIY Beaded Stitch Markers
This page contains affiliate links. I may earn a commission at no extra cost to you.
If you knit for any length of time, you end up needing stitch markers constantly, and buying them one set at a time gets old fast. So today I am showing you how I make my own DIY Beaded stitch markers using supplies I already had sitting around in my craft stash.
This is a simple project, it does not take much time, and once you get the hang of it you will probably never buy stitch markers again. They also make a really sweet handmade gift for the knitters in your life.
Play How to Make Your Own DIY Beaded Stitch Markers
What You’ll Need:
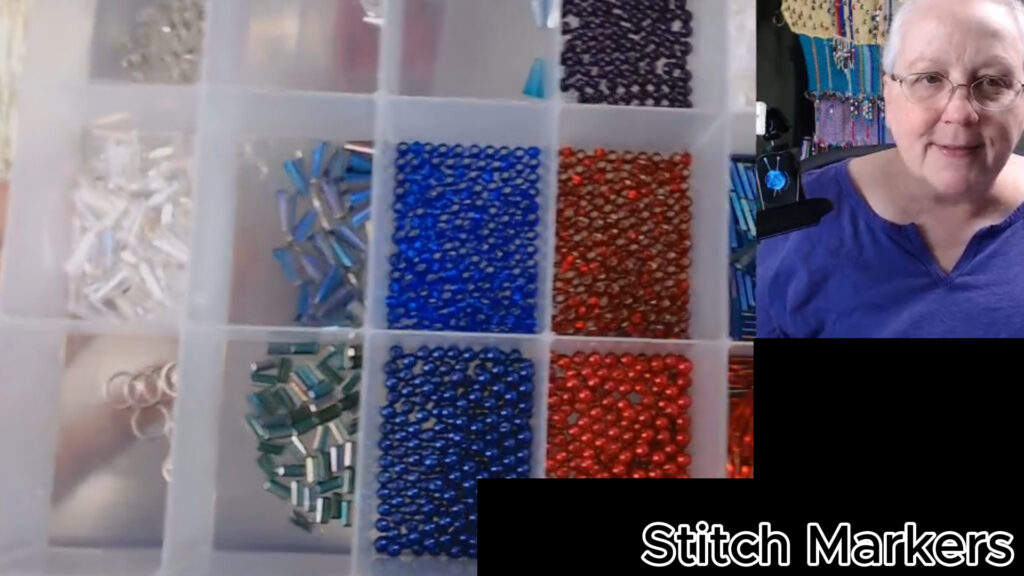
Bead organizer box – https://amzlink.to/az0b2DEAHfWWN
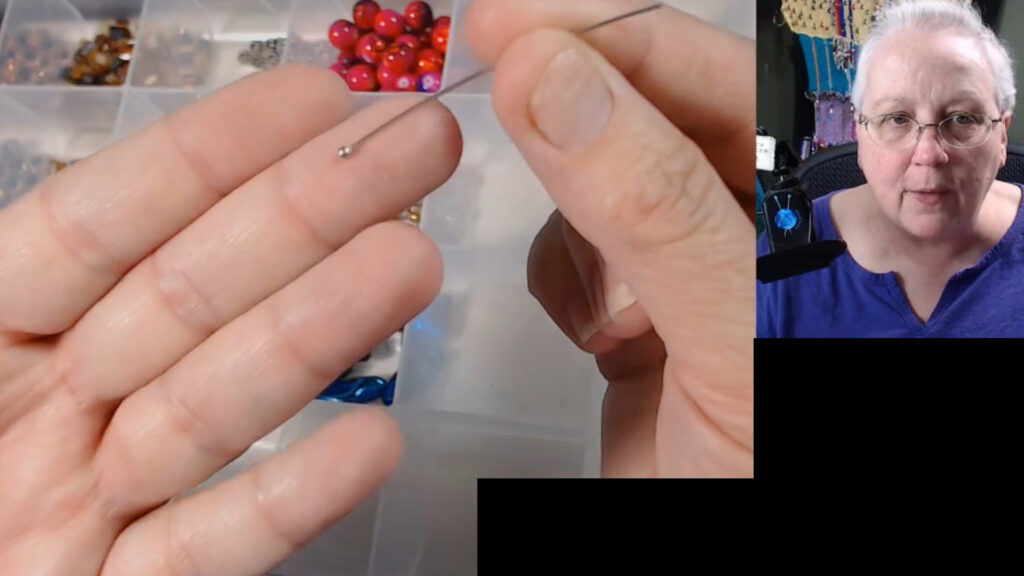
Headpins – https://amzlink.to/az0he9vhGgkFF
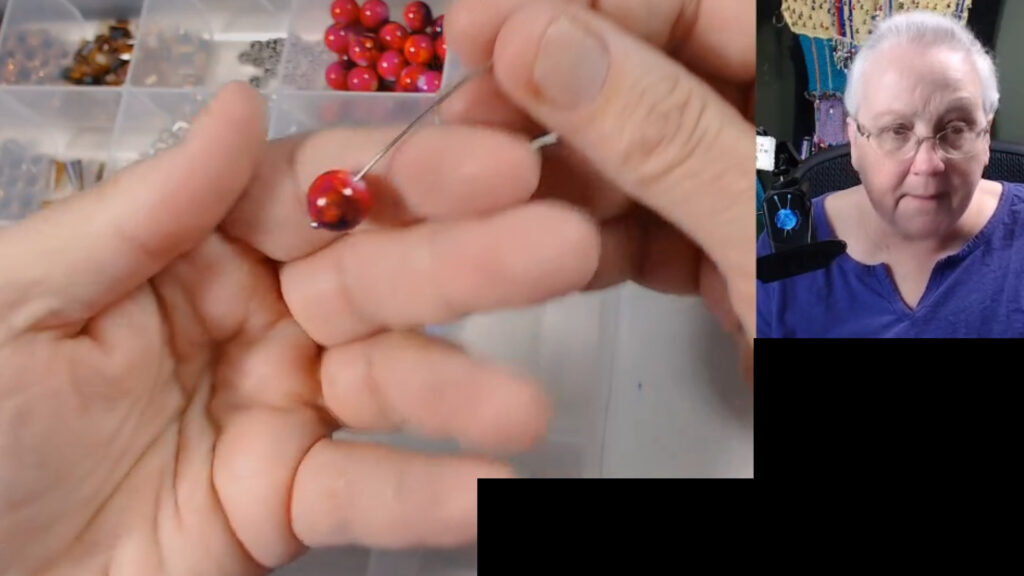
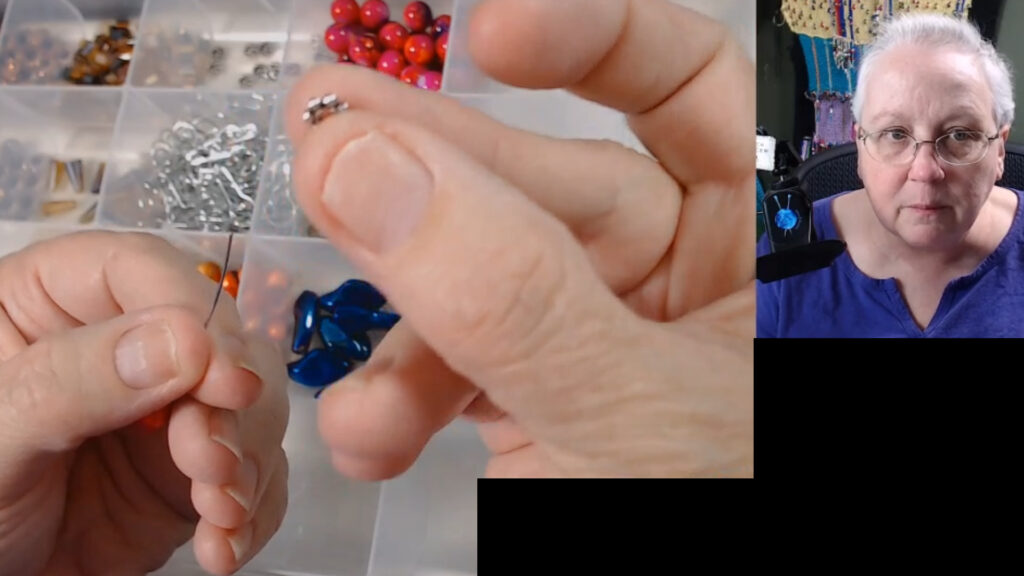
Beads – https://amzlink.to/az0SZ32nU6zNT
spacers beads – https://amzlink.to/az0CZPokDT4z5
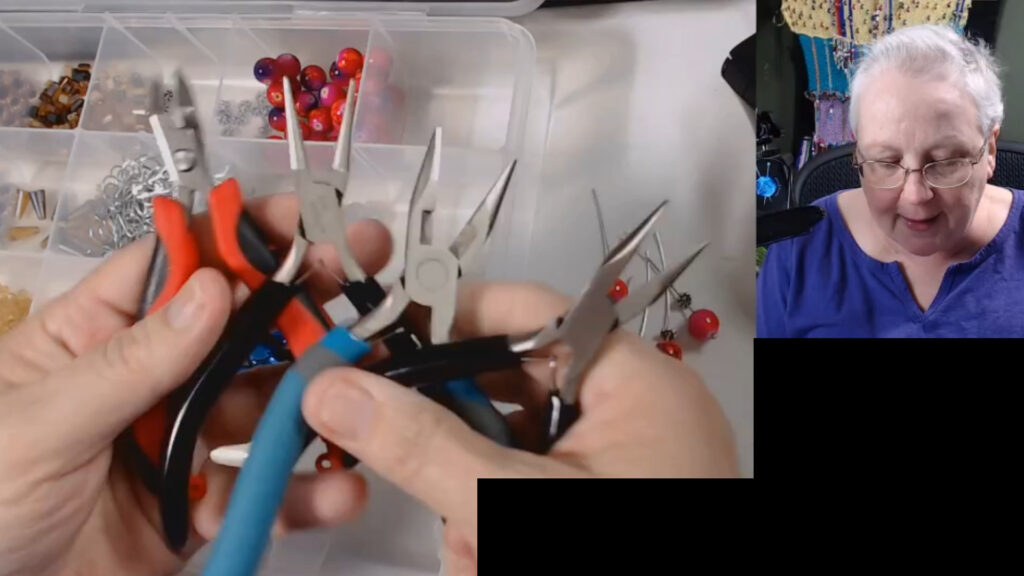
needle nose pliers – https://amzlink.to/az0FTSnXzhMdv
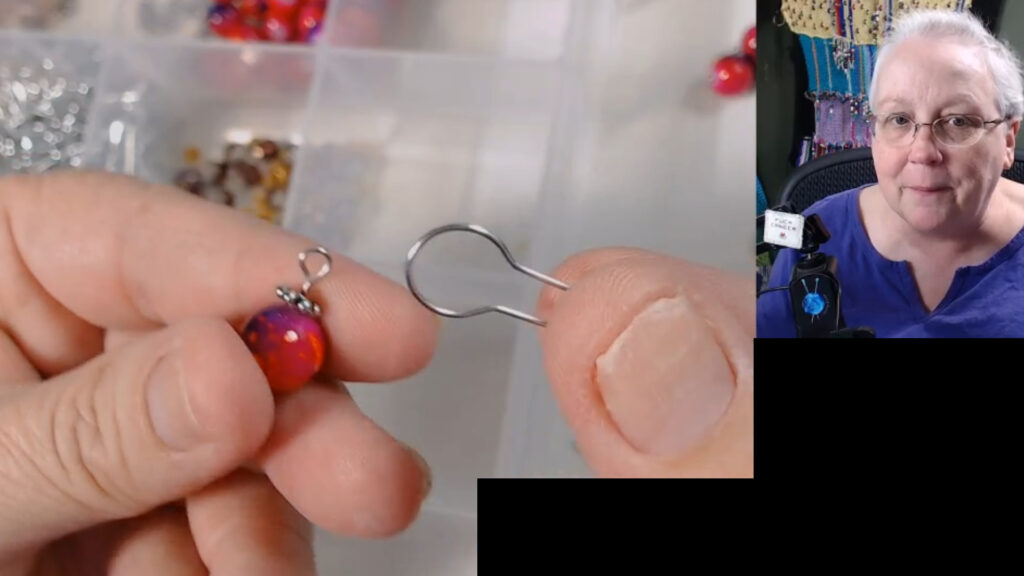
bulb safety pins – https://amzlink.to/az06nvA56Z0Au
Why Make Your Own Stitch Markers
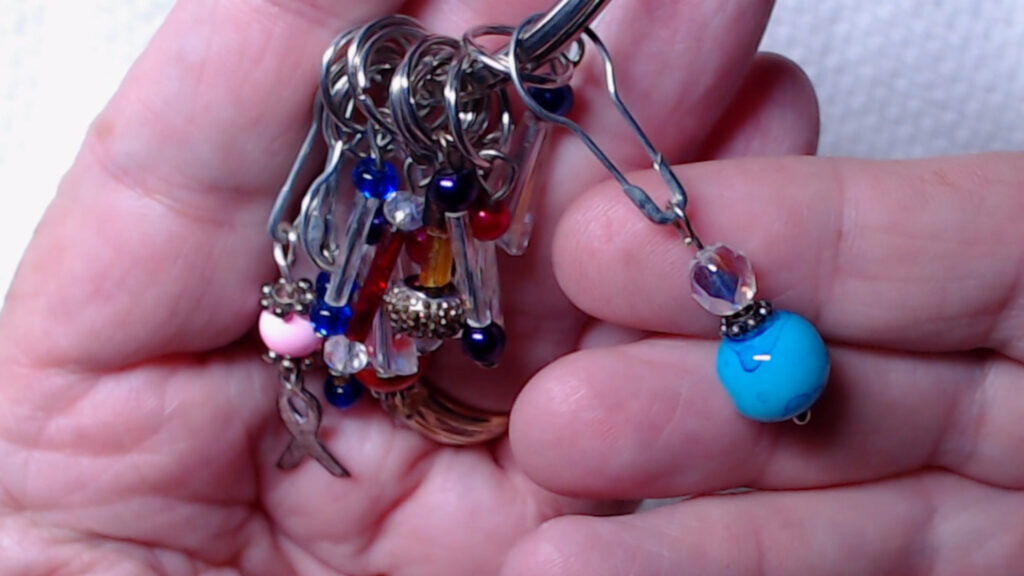
I collect beads whenever I find them on sale, so I always have a little stash of them in my cubbyhole bead box. Making my own stitch markers means I can match them to whatever I am into at the moment. I play World of Warcraft, so a lot of mine are in game colors. You could just as easily do school colors, a favorite color, or a color that matches whatever project you are working on. The combinations are pretty much endless, which is half the fun.
How to Make Beaded Stitch Markers
Step 1: Thread Your Beads Take a head pin and start threading on whatever beads you like. I like to keep mine light and not too long, so I usually go with three to five beads plus a spacer or two for a little visual interest. I make an assembly line and thread up five or six at a time so I am not stopping and starting the whole way through.
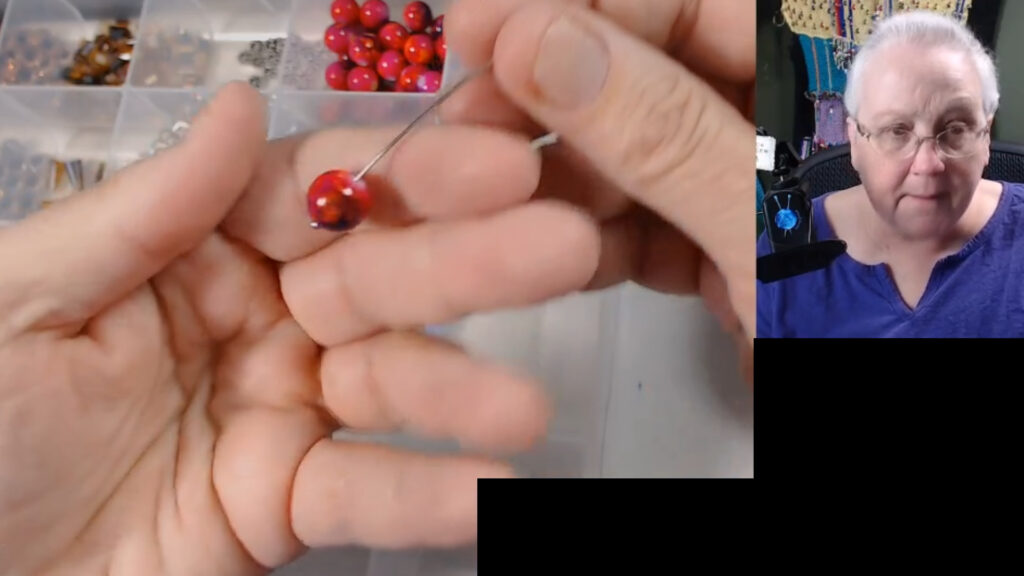
Step 2: Bend the Wire Once your beads are on, bend the wire just above the top bead to about a 90 degree angle, maybe even a little more. This keeps everything from sliding back off while you work on the next step. I go through and bend all of my wires before I move on, same assembly line idea as threading.
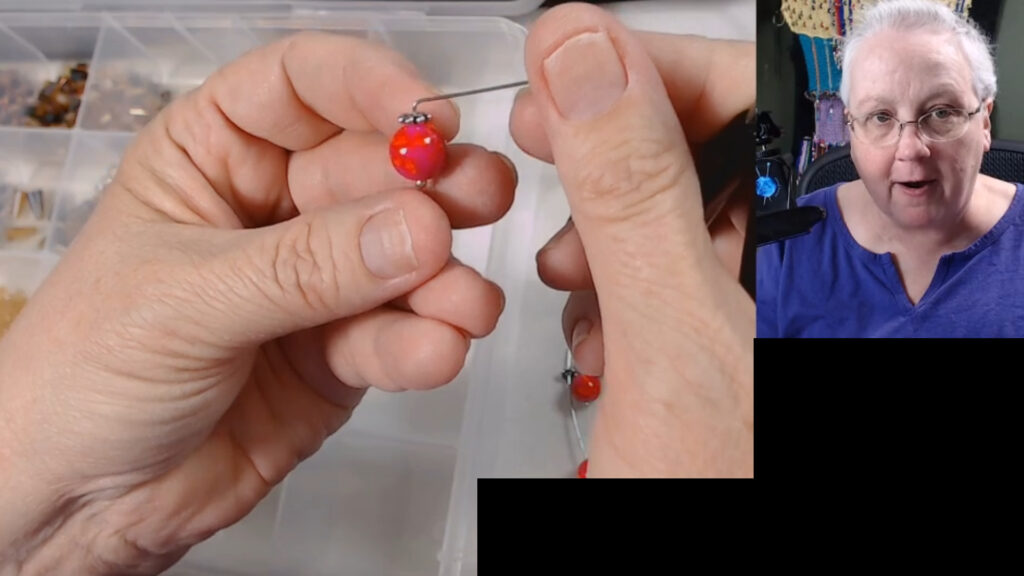
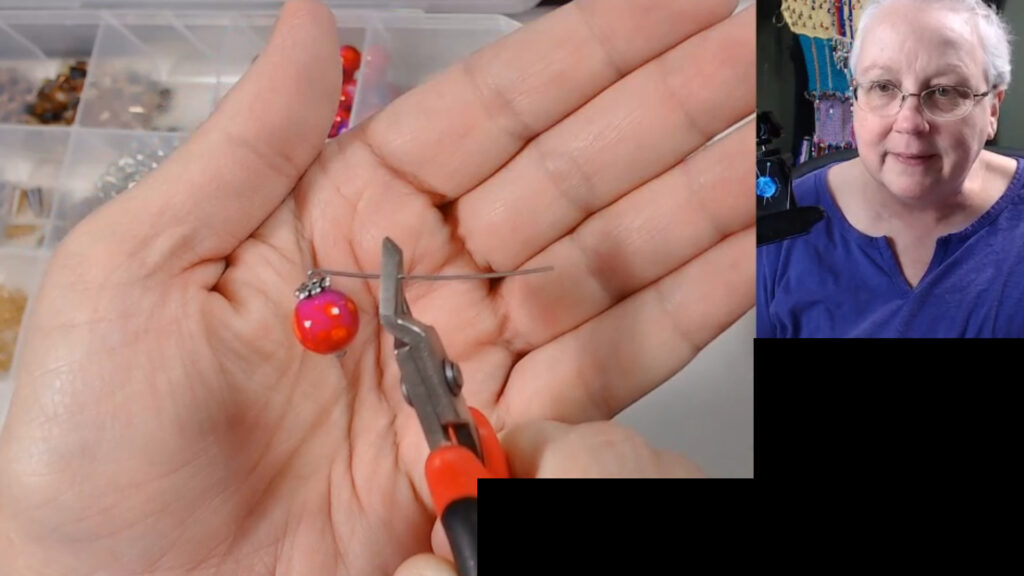
Step 3: Cut the Wire Cut the wire, leaving a little bit of length above your bend, not too much. I always put my hand over the wire while I cut it because that little cut piece loves to fly across the room otherwise.
Step 4: Form the Loop This is the step that takes the most practice. Grip the very tip of the wire in your round nose pliers, just enough that you cannot see the wire past the jaw of the pliers. Bend the wire around the rounded prong of the pliers, then take the pliers out, regrip a little further along, and keep bending until the end of the wire meets back up with itself. You do not want a gap where the loop closes. It should look like one continuous circle when you are done.
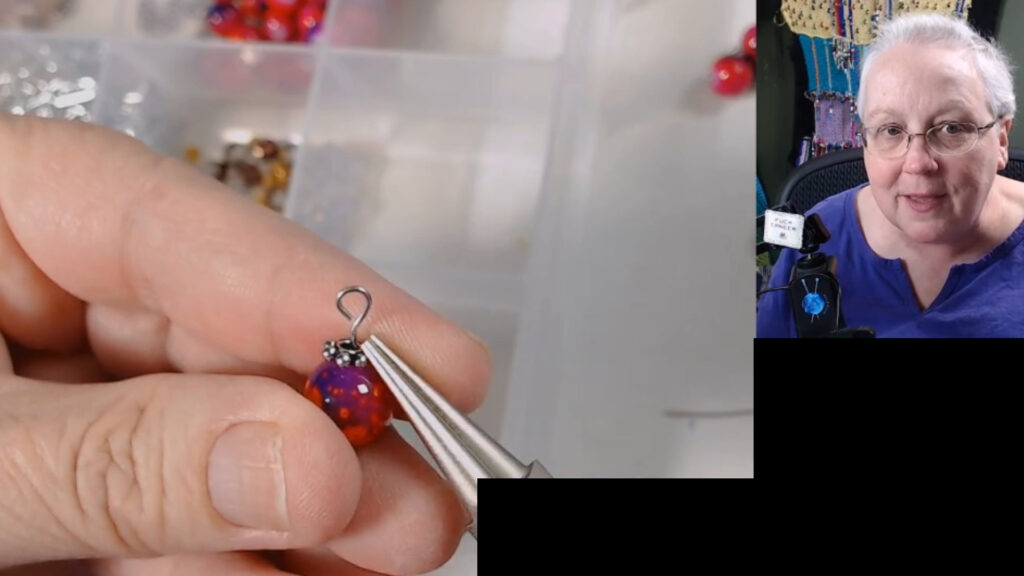
Do not worry if your first few are a little wonky. Mine were too. I am not a jewelry maker, I am a knitter, so if you find a different way that works better for you, you are probably doing it right.
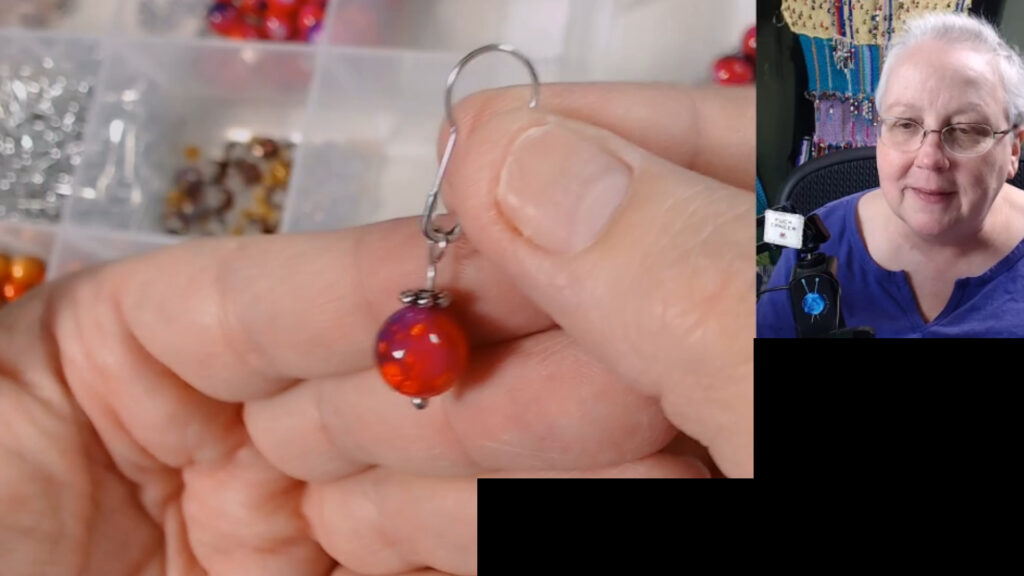
Step 5: Add the Safety Pin Slide a bulb style safety pin onto your finished loop. I like these because they work for both knitting and crochet. You can clip them right onto crochet stitches, or spin the bulb around and slip the loop over a knitting needle.
Tips for Making Stitch Markers
Keep them light. Heavy beads will drag on your needle and get annoying fast. A few small beads plus a spacer or two is plenty.
Practice the loop closure. This step has the biggest learning curve. Getting the wire ends to meet cleanly without a gap just takes repetition, so do not be discouraged by your first attempts.
Match the moment. Making a set in someone’s favorite colors or a team’s colors turns this from a craft project into a genuinely thoughtful gift.
Keep your cutting hand covered. That little clipped end of wire has a mind of its own. Cup your hand over it while you cut so it does not go flying.
Final Thoughts
This is one of those projects that feels a little fiddly the first time and then gets easy fast. Once you have made a handful, you will start knocking them out while watching TV, same as a lot of our knitting. And there is something satisfying about clipping a stitch marker onto your work that you made yourself instead of one you bought off a card at the craft store.
Next Steps Explore more tools and notions for your knitting bag: Tools & Gear Hub
New to picking the right notions for a project? Start here: Beginner Basics
What I Used to Make The Stitch Markers:
Bead organizer box – https://amzlink.to/az0b2DEAHfWWN
Headpins – https://amzlink.to/az0he9vhGgkFF
Beads – https://amzlink.to/az0SZ32nU6zNT
spacers beads – https://amzlink.to/az0CZPokDT4z5
needle nose pliers – https://amzlink.to/az0FTSnXzhMdv
bulb safety pins – https://amzlink.to/az06nvA56Z0Au
You Might Also Enjoy:
Find this helpful? Save JennyKnits as your go-to knitting resource on Google.
